


How to Expand Video Using Runway
Runway makes video expansion easy. It allows you to transform videos into new aspect ratios by generating new areas around your input video. Plus, you can expand horizontally or vertically, keeping everything looking natural.
However, many have no idea how to expand video using Runway. If you also want to know step-by-step instructions, then keep reading. Here, we are explaining everything in detail, along with best practices to expand video with this platform. Let's get started!
How to Expand Video Using Runway?
Follow these detailed steps to expand a video properly with Runway:
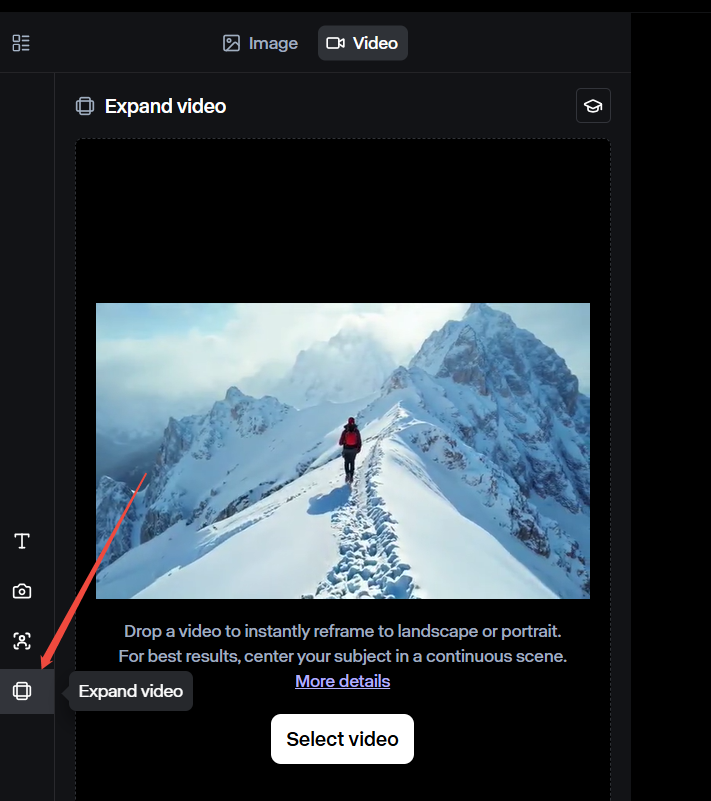
Step 1: Open the Expand Video Tool
Go to Runway’s official website and log in. Click “Start a session” to enter the video workspace. Next, choose the Gen-3 Alpha Turbo as your model. Then find the expand video tool on your left.
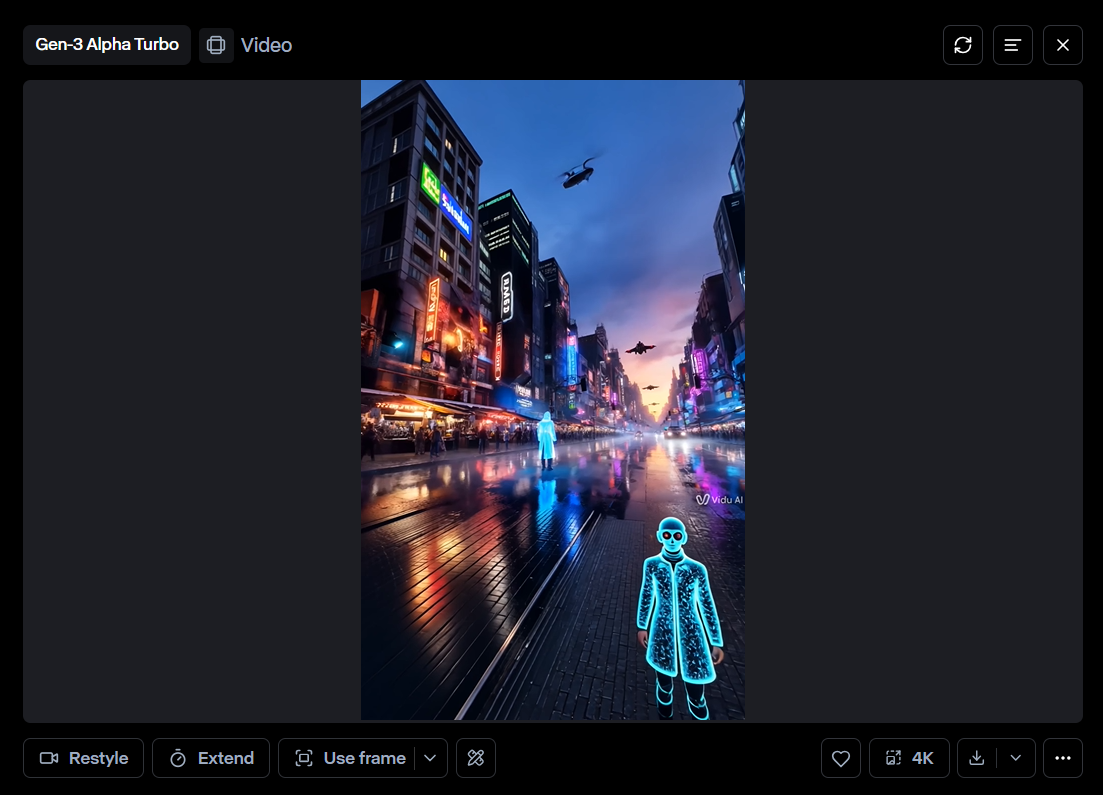
Step 2: Upload Video
Click to upload a video from your device and make sure it’s at least 620x620 pixels. This ensures the expanded video stays clear and doesn’t turn blurry.
Then, choose the final video size you want:
- 1280x768 (wider video, good for YouTube and websites)
- 768x1280 (taller video, good for TikTok, Instagram Reels, or Shorts)
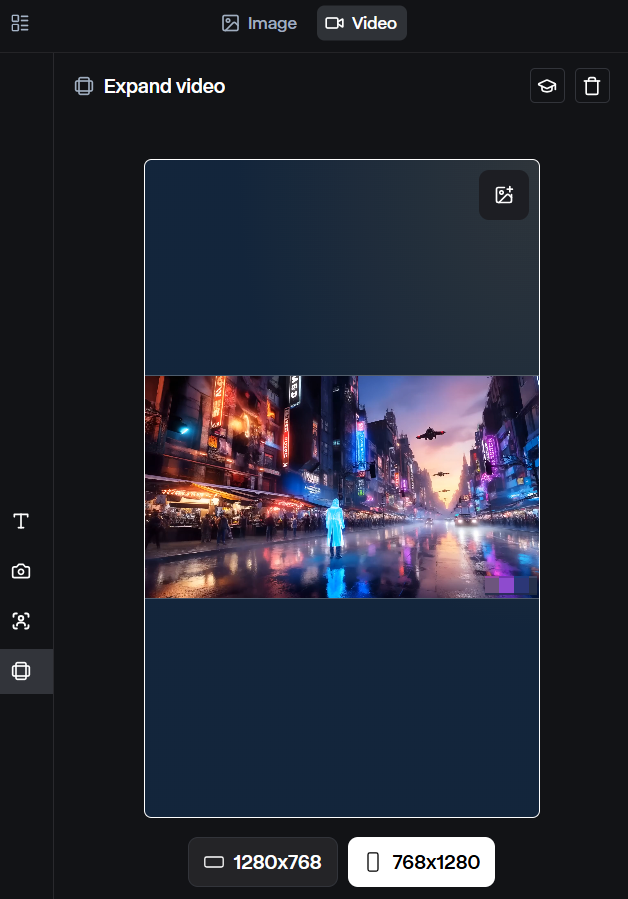
Runway automatically adjusts the expansion direction based on your uploaded video:
- If you upload a horizontal video, it expands vertically to fill more screen space.
- If you upload a vertical video, it expands horizontally to make it fit wider screens.
Step 3: Choose an Expansion Method
Runway gives you three main ways to expand a video:
- Auto-Generate Without a Text Prompt: Click the Generate button without adding any instructions. Runway looks at the existing frames and adds new content that matches what is already in the video. This is the fastest option and works well when you just need a simple expansion.
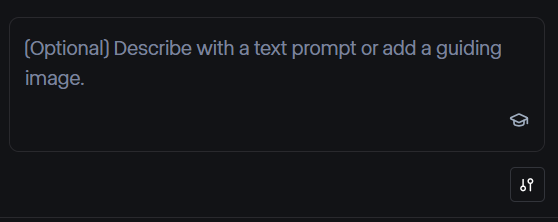
- Use a Text Prompt for More Control: Inputting text prompts helps you gain more control over the final expanded video. By describing what you want to be shown in the expanded areas, you can effectively reduce the risk of the tool producing unpredictable results.
- Add a Guiding Image: Take a screenshot of your first video frame, edit it to show how you want the extra space to look, and upload it into Runway. The AI then follows this image as an expansion guidance.
Step 4: Preview and Download
After clicking on the Generate button, Runway will process your video and expand it, but don’t just hit download right away—preview it first. Make sure everything looks smooth. If something seems off, adjust other settings or give it another try until it looks just right.
Once you're happy with it, go ahead and download the video.
Best Practices for Expanding Videos in Runway
Let's have a look at some important tips to get the best expansion results:
Ensure the Subject Is in the Center of the Frame
Before you expand your video, take a moment to check if the main subject is positioned well. If it’s too close to the edge, Runway might have a hard time filling in the background naturally, which could make some parts look off or distorted.
If the video was shot with the subject off to one side, try cropping or repositioning it before expansion. For videos where centering is not possible, consider using a text prompt to guide the AI.
Use a Text Prompt for Better Results
Using a text prompt helps you guide the AI and get better results. Instead of letting it guess what to add, you can describe exactly what should appear in the expanded part.
For example, if your video shows a mountain landscape, you can type: "Expand the mountain range, extend the clouds, and add more trees in the foreground."
This tells Runway to keep the new parts in line with your vision. Without a text prompt, the AI might generate random contents that don't match, making the video look unnatural.
Run Multiple Expansions
Expanding a video once can improve a shot, but repeating the process creates a more professional effect. Here’s why:
- Landscapes feel more epic.
- Backgrounds get richer (with added depth).
- Zoom-ins look natural and professional.
While this method takes more time and effort, the results are worth it.
Conclusion
Expanding videos with Runway is simple. Just follow the steps discussed above, and you will be able to expand videos while keeping them clear and sharp.
Now that you know how to expand videos using Runway, try it out and see the difference for yourself. Your videos will look more professional and stand out online!