


How to Remove an Object Using Runway?
Unwanted objects in videos can be frustrating, and traditional editing tools make removing them complicated. But what if you could erase anything in mere minutes? Runway’s Inpainting tool can help you do this.
Ready to learn how to remove an object using Runway? We're explaining each step in this detailed guide. Keep reading!
How to Remove Objects Using Inpainting in Runway?
Follow this step-by-step guide to get clean and professional-looking results easily:
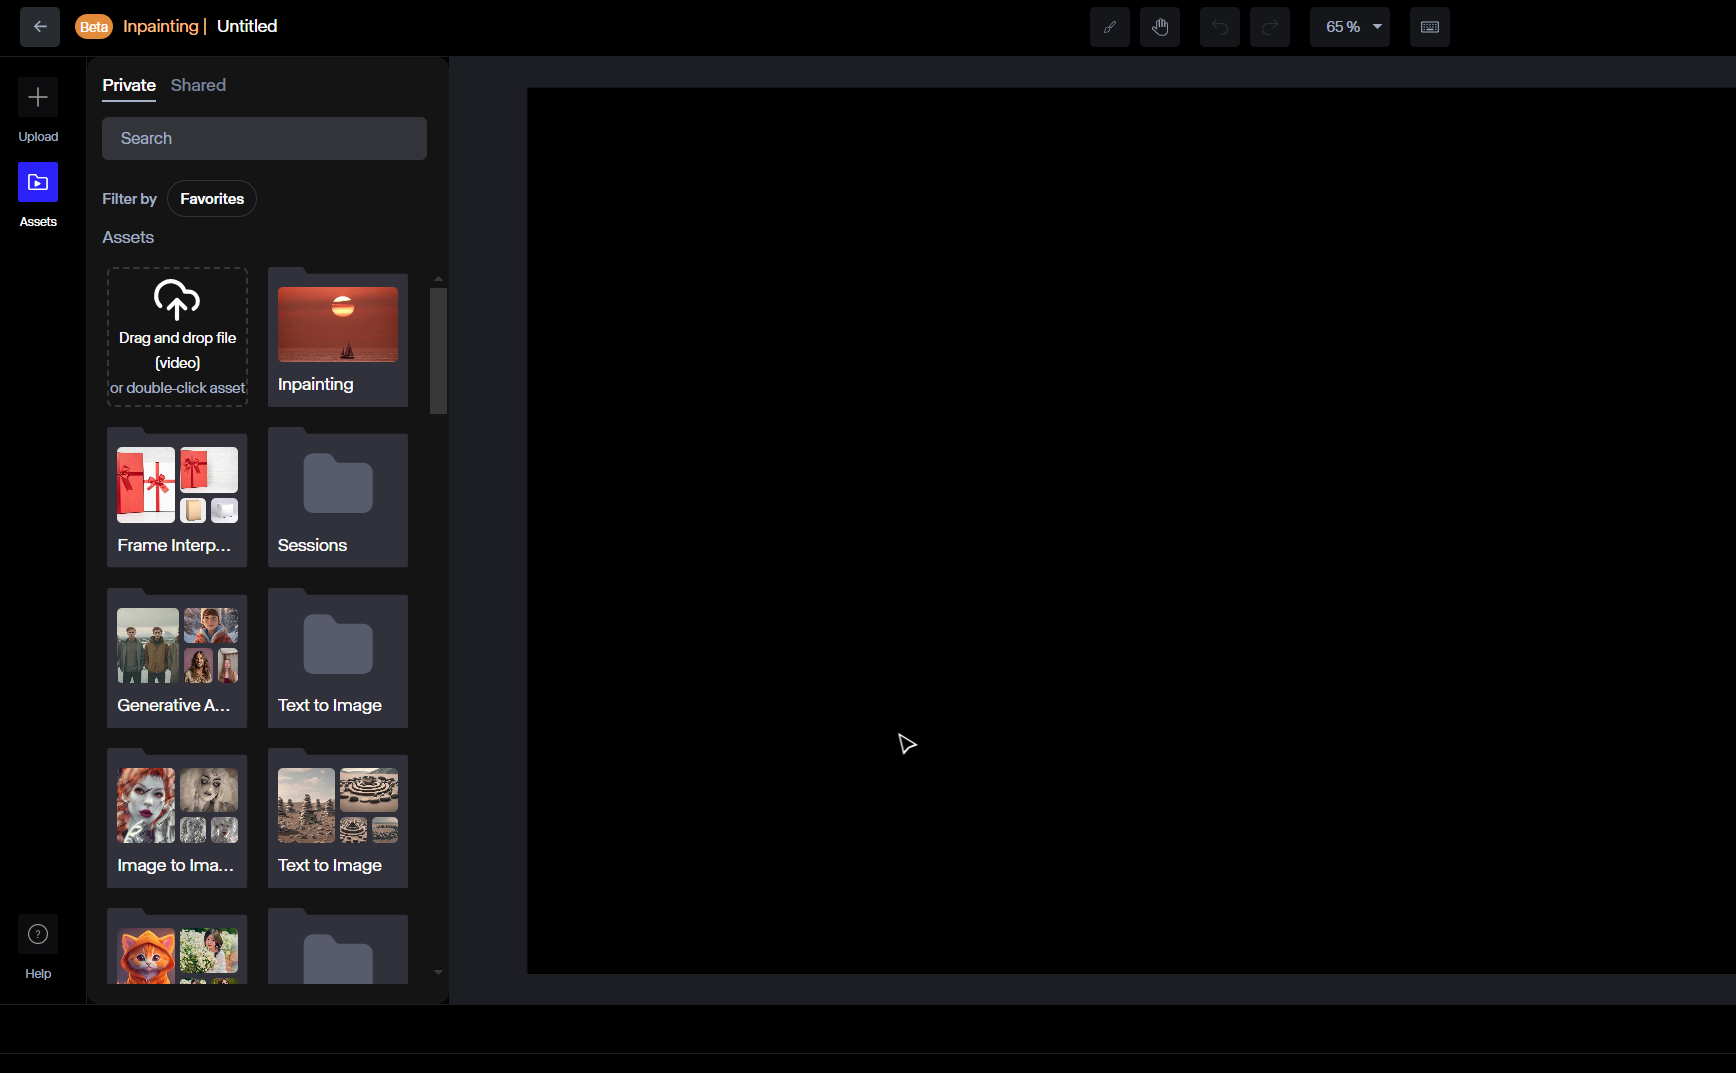
Step 1: Access the Inpainting Tool
To start, go to Runway's official website and sign in to your account. Once logged in, you'll be taken to the main dashboard.
At the left side of the page, find the All Tools option and select the Inpainting tool.

Step 2: Select Your Video Clip
You can either click the Upload button on the left or drop your video into Runway. Or you can directly select a video in your Runway assets.
For the best results, choose a high-quality video where the object you want to remove is visible. The AI works best when there is enough background information for it to fill in the missing parts naturally.
If the object is too large or moving too much, the inpainting might not be as smooth, so pick your clips carefully.
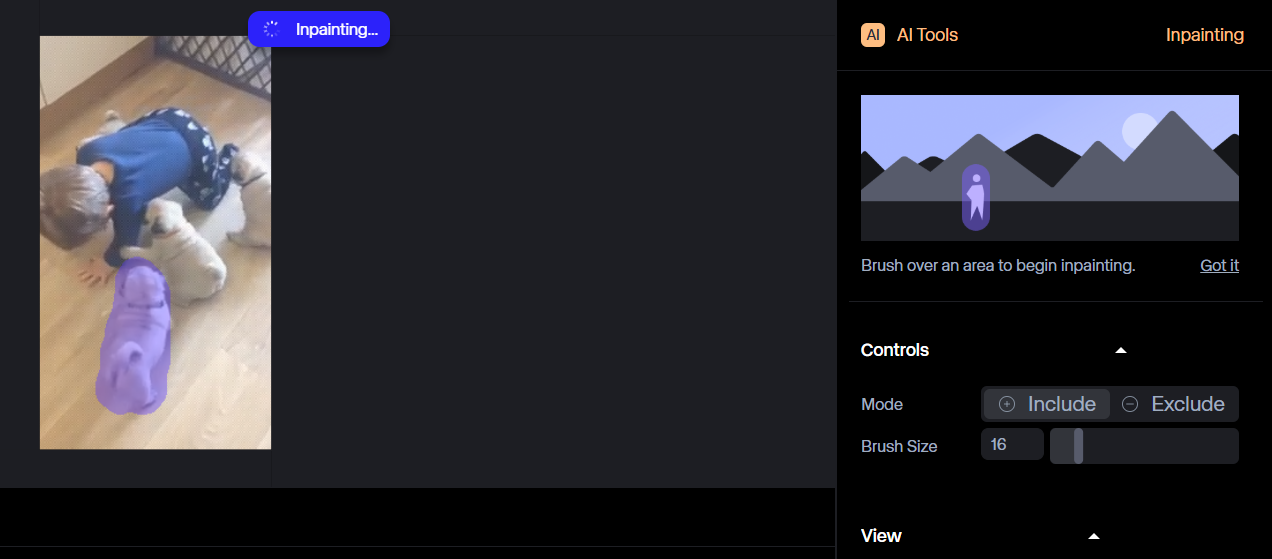
Step 3: Apply the Inpainting Effect
Now, it's time to remove the unwanted object. You will already see a brush on your screen. Use it to paint over the object you want to remove. Make sure you cover the entire area properly.
You can also adjust the brush size from the settings. Most users prefer to do this to be more precise, especially for smaller objects.
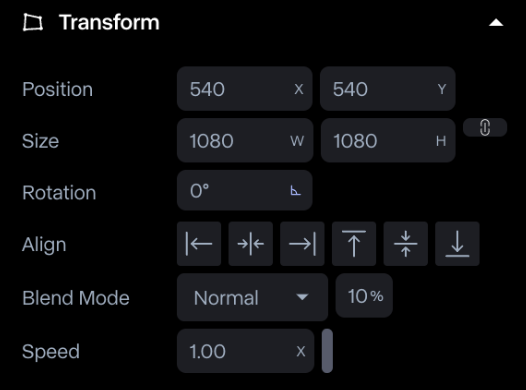
Runway will process the video clip and remove the object. If you want to edit the video more, click on "Done Inpainting" at the bottom of the right bar and it will open up the advanced editing tools bar on the right side.
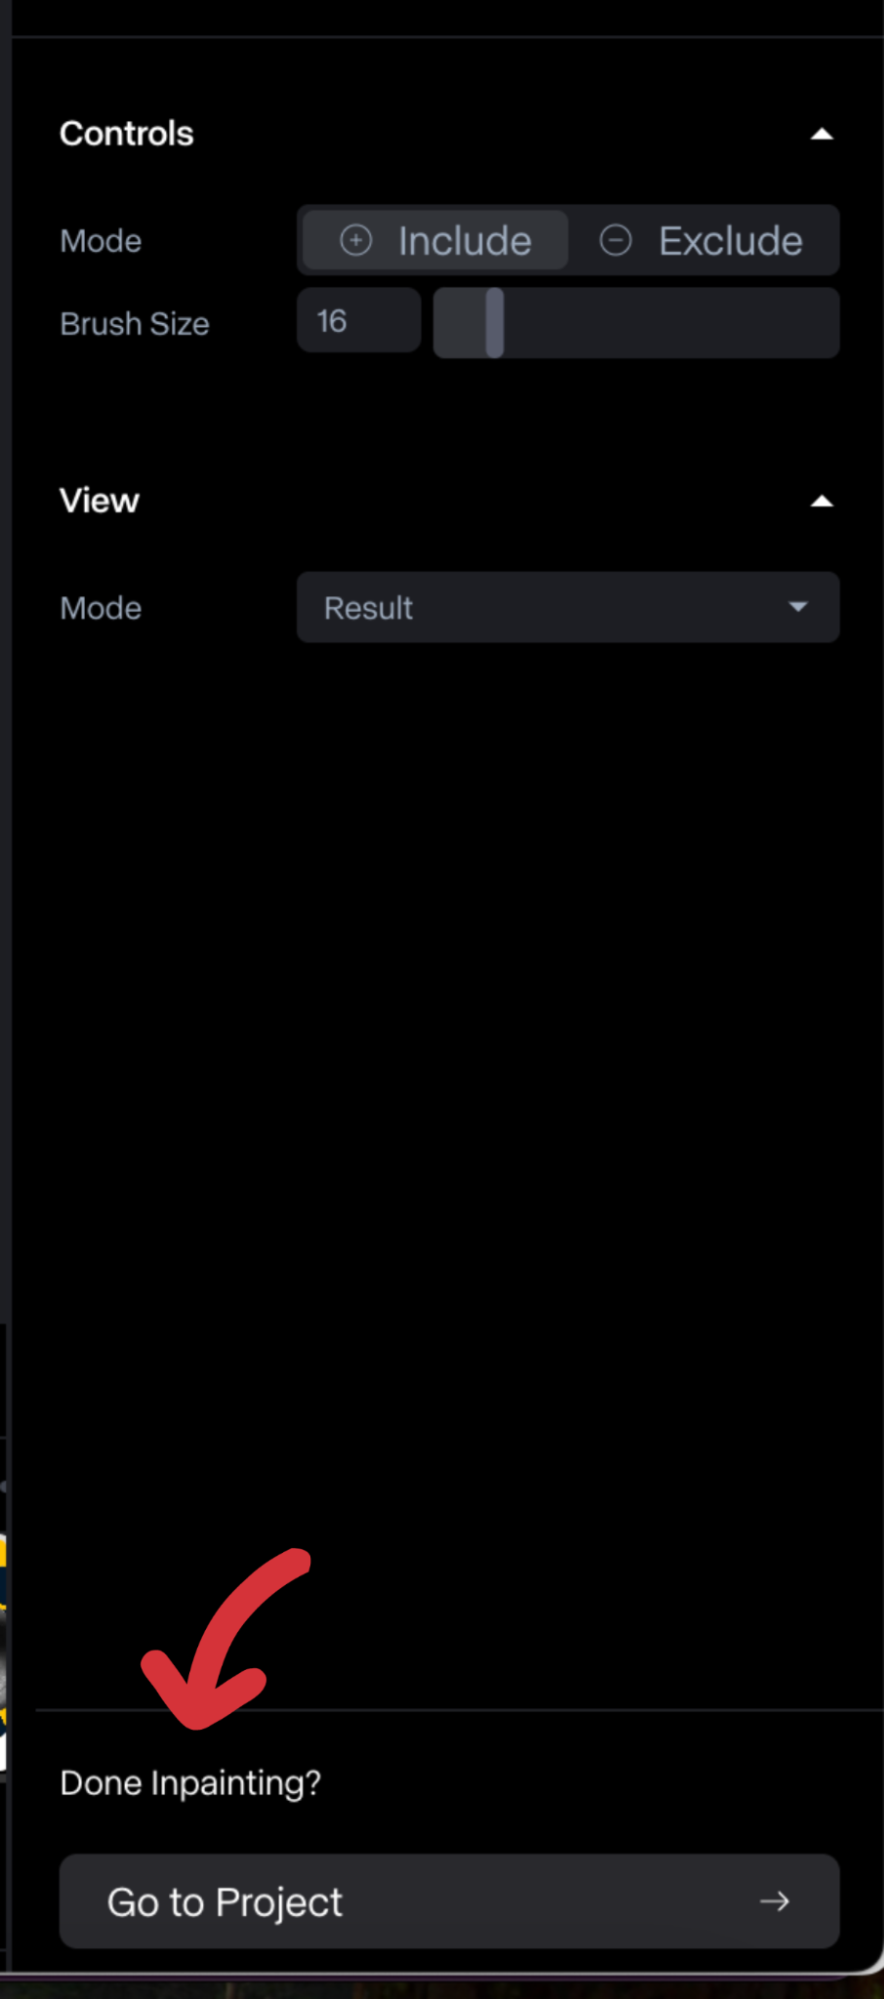
For example, you can use the Position and Size settings to adjust the placement and dimensions of a video clip. There's also Rotation, which gives flexibility to tilt or rotate elements. Other available settings include Align, Blend Mode, Speed, etc.
Step 4: Preview the Edited Video
Once you're done removing objects and editing other details, you can then preview the video. On the right bar, scroll down to the bottom and click on “Export Clip.”
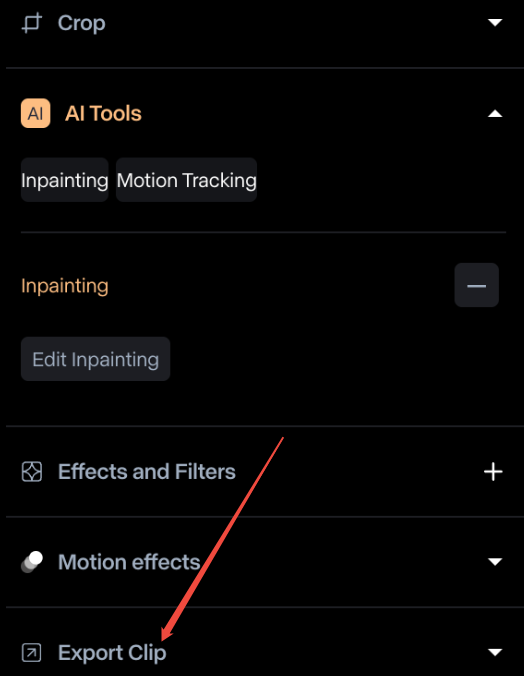
Then, you will see the “Preview” option for you to preview your edited video.
Step 5: Export Video
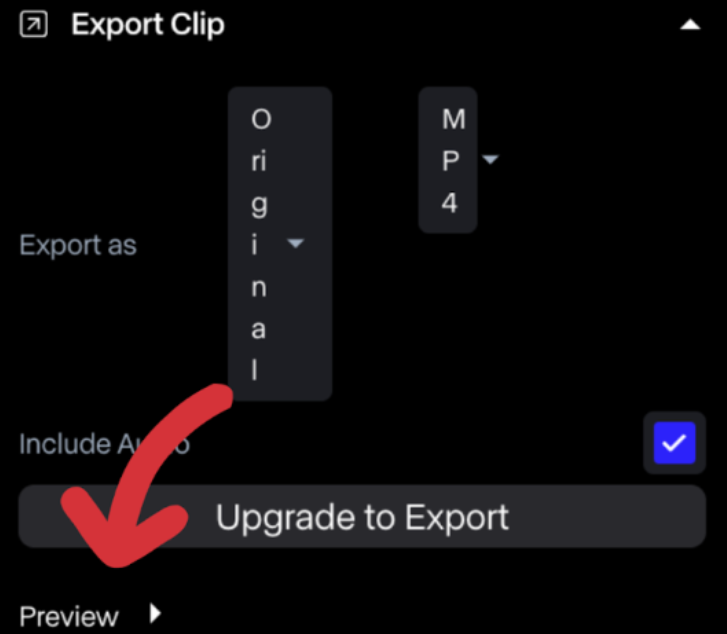
After you're happy with the results, it's time to save your edited video. Click on the "Export Inpaint" button at the top right of the screen. This will bring up the export settings.
Note that if you have a free account, you can only save in 720p. For 1080P or 4K resolution, you will need to upgrade your plan. Also, keep in mind that you can only download the video in MP4 format with a free plan. Only the premium plan allows you to download your files in ProRes or PNG format.

Once you pick the resolution and format, Runway will process the video and save it to the Assets folder. From there, you can download it without hassle.
It's that simple!
When to Remove an Object in Videos?
Here are some common situations where removing an object with Runway can be helpful:
Removing Unwanted People
Sometimes, random people appear in the background of a video. This happens a lot in public places. A stranger might walk by, or someone might accidentally stand in the frame. Even a reflection in a mirror can be distracting.
If these things take the focus away from the main subject, Runway can remove them easily. The video will look cleaner and more professional.
Fixing Accidental Objects
Many times, an object gets left in the frame by mistake. Imagine you just finished filming a great video, but then you notice something ruining the shot—maybe a bag, a microphone, or even a random water bottle sitting in the corner.
Instead of going through the hassle of reshooting everything, you can use Runway to easily erase those unwanted objects in just a few clicks.
Cleaning Up the Background
A messy background can make a video look unprofessional. Maybe there is trash on the ground, a cluttered desk, or furniture that doesn't fit the scene. Removing these distractions makes the video look more polished.
Runway’s inpainting tool can help create a simple and clean background.
Conclusion
Removing unwanted objects from videos has never been easier. With Runway's inpainting tool, you can clean up your footage in no time. This tool definitely saves time and effort. Plus, it works directly in your web browser, so you don't have to download any software, either.
Try it today and see how effortlessly you can remove objects from your videos!