
Freepik AI Image Generator Honest Review: How Useful It Is for Designers
I’ve always been looking for productivity tools to enhance my workflow and unlock creative possibilities.
Recently, I dove into Freepik AI Image Generator, exploring how it could transform text into stunning images in real-time.
In my view, Freepik AI Image Generator can generate impressive artwork by analyzing your simple prompt. Especially, it excels in generating realistic photos, because the generated images look very lifelike.
However, I also encountered some challenges when editing the image by entering the instructions. Also, I found it hard to regenerate the images after changing their style.

In the following sections, I’d like to share how I tested Freepik AI Image Generator and demonstrate how it contributes to users’ design work.
Test the Core Features of Freepik
After signing up for Freepik, I started with a simple prompt - A cat riding a bicycle in a meadow, and chose the “Photo” style.
The output was amazing. It felt like the cat was straight out of a children’s cartoon reading book, as it presented a playful and imaginative scene.
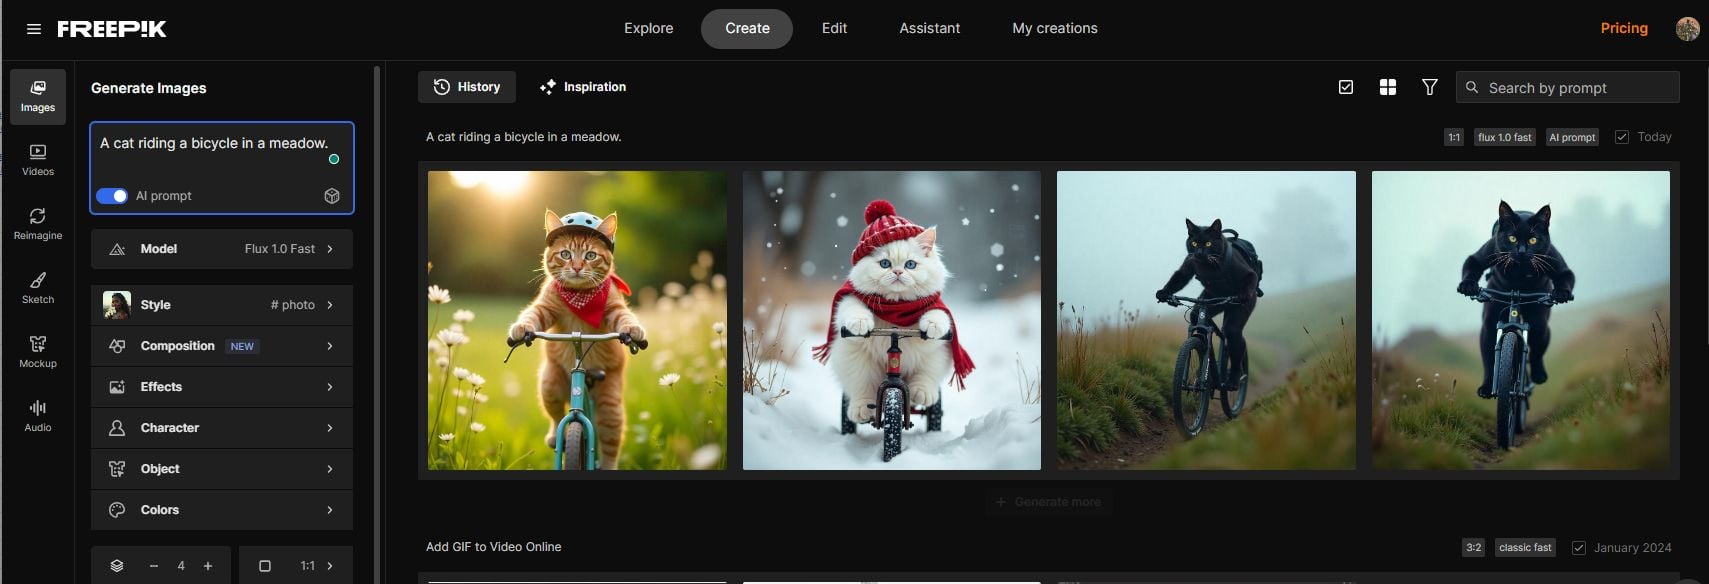
Each generated cat has unique characteristics, different facial expressions, and a different backdrop. This is different from those that generate the same kind of character with a different background.
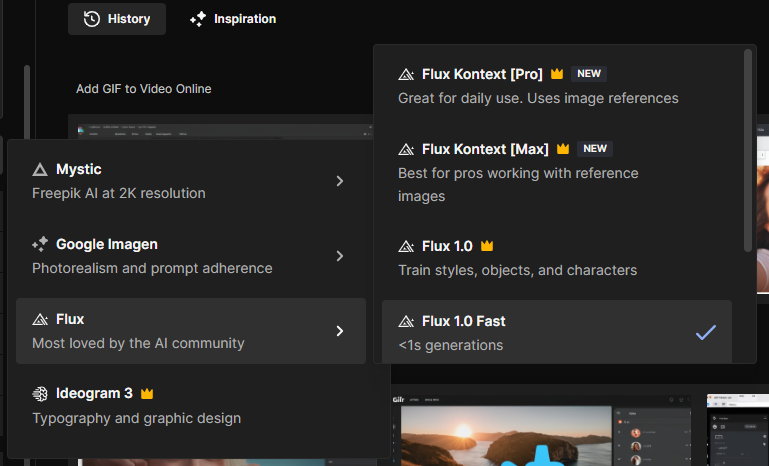
Explore Multiple AI Models
Freepik offers a range of AI models. I tested the most commonly used Flux and Mystic models with the same prompt. By comparing the output, I wanted to figure out what each AI model excels in.
My prompt was: Create a minimalist black-ink sketch of a grand construction project where a skyscraper is shaped like a classic wine bottle. Surround the bottle with scaffolding and a crane, emphasizing the scale and complexity of the build. In the background, subtly depict a cityscape, with iconic elements of Prague, such as the Charles Bridge or Prague Castle, to hint at the location. The overall design should be clean and elegant, using minimal lines to convey the scene while maintaining a sense of sophistication and creativity. — ar 9:16 — v 6.1
Flux model: This is the most commonly used model. You can apply it to various creative projects. Generally, the speed is fast and the output is good, neither too abstract nor too realistic. Among other AI models, it offers the only free trial version.
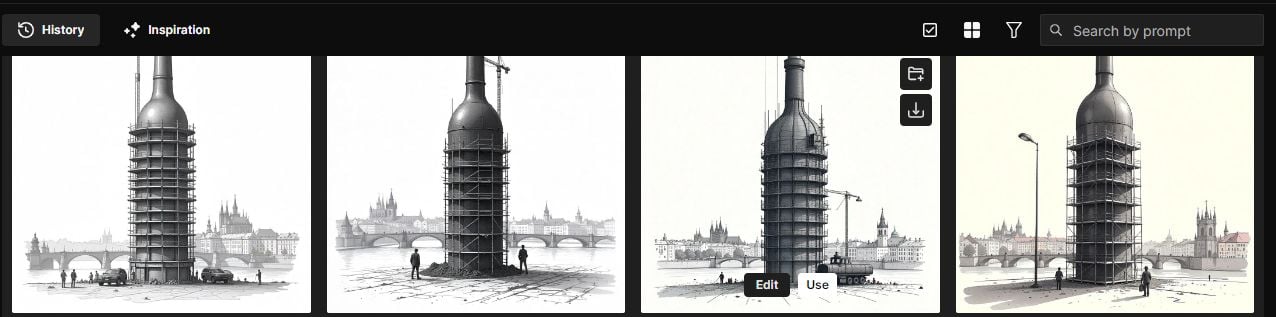
Mystic model: This model performs well in generating characters and items. The generated images are rich in detail. The lines and shadows of the items are detailed. This model is very suitable for creating characters and items.

In a nutshell, Mystic is skilled at creating detailed characters, while Flux is more ideal for general creative projects. I found that choosing the right mode for the task can significantly impact the quality of the output.
Image Editing Tools
Next, I’d like to take a closer look at its image editing features. Then I entered a more detailed prompt:
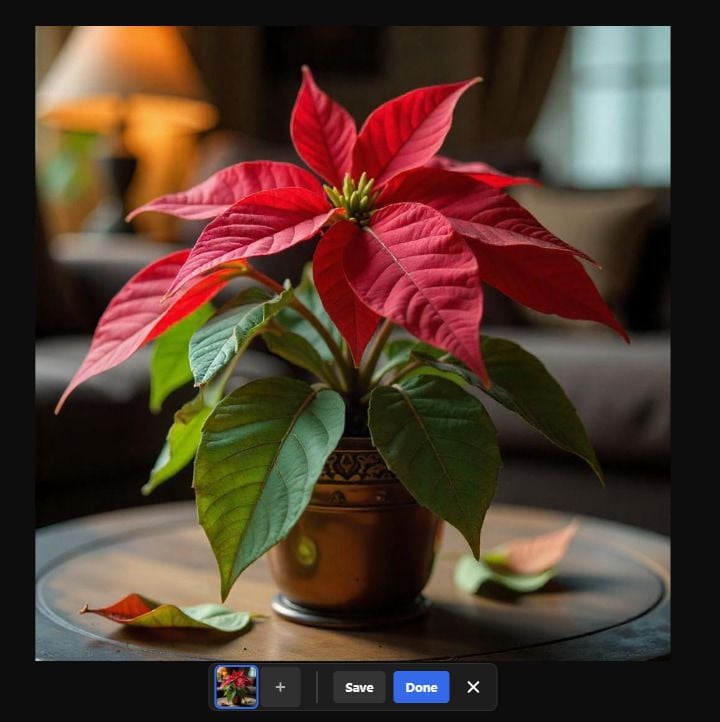
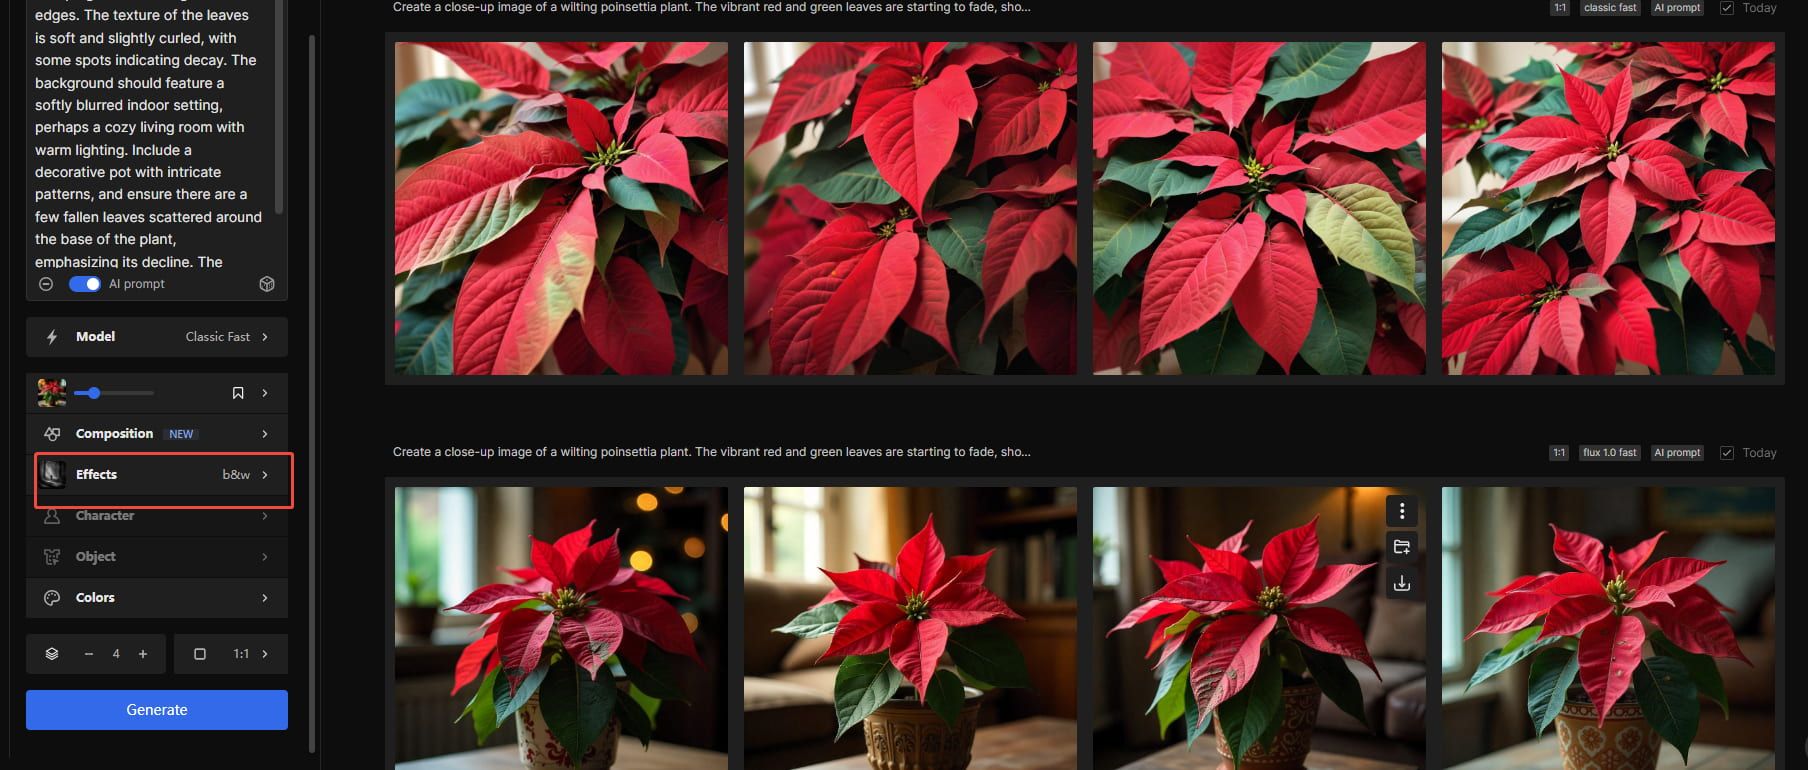
Create a close-up image of a wilting poinsettia plant. The vibrant red and green leaves are starting to fade, showing signs of drooping and browning at the edges. The texture of the leaves is soft and slightly curled, with some spots indicating decay. The background should feature a softly blurred indoor setting, perhaps a cozy living room with warm lighting. Include a decorative pot with intricate patterns, and ensure there are a few fallen leaves scattered around the base of the plant, emphasizing its decline. The overall mood should evoke a sense of nostalgia and fragility.
Again, I was surprised by the generated images. Some of them indicated a wilting atmosphere, while others might capture the vibrant red poinsettia in a warm setting.
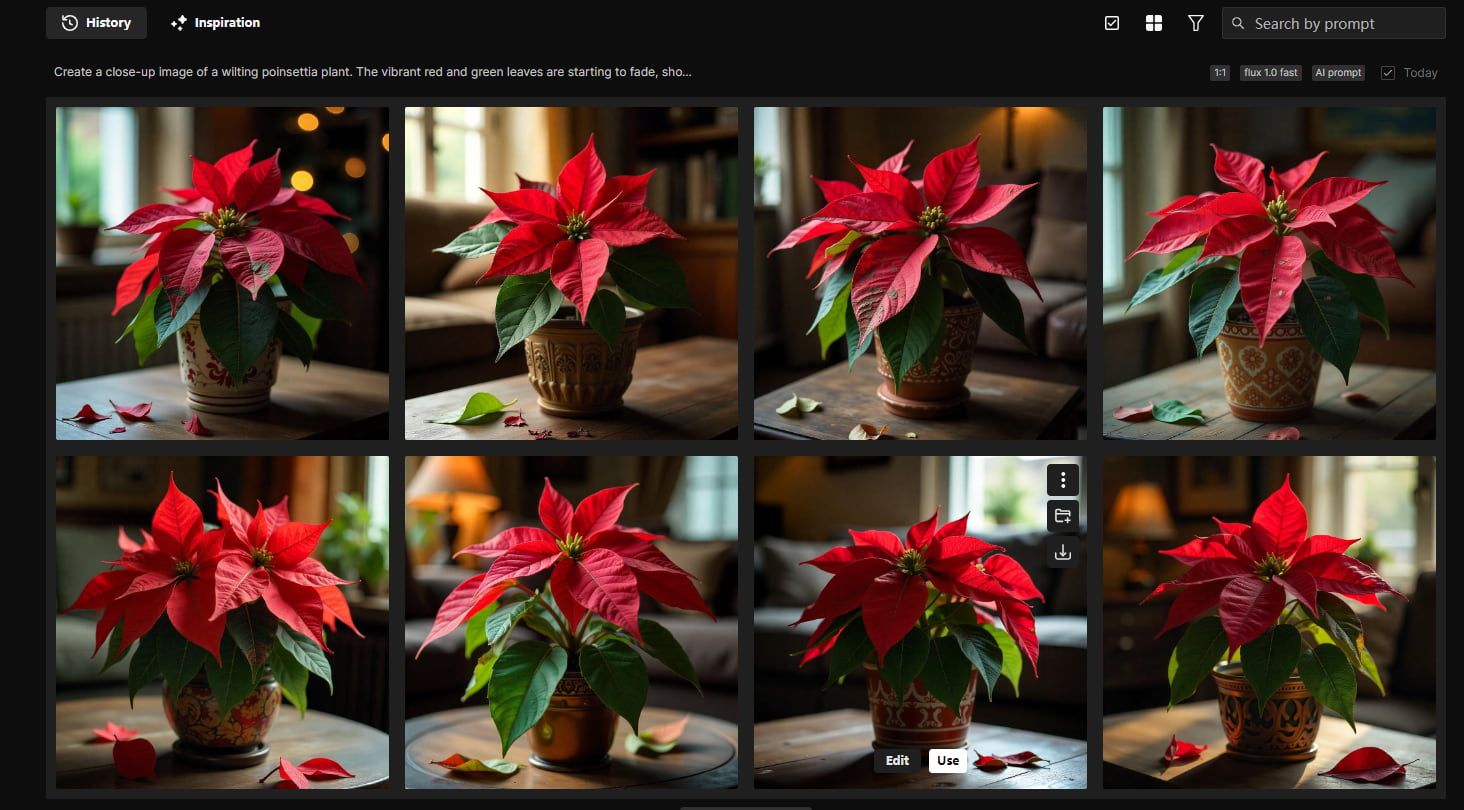
The rich colors of the flower contrast elegantly with the soft tones of the background. And the lighting enhances the overall atmosphere, adding a cozy feel to the scene. This composition evokes a sense of seasonal warmth and beauty.
Although the settings and details were good, the tone of the picture wasn’t in line with my description. Therefore, I clicked on the “Edit” button to adjust the color.
Then I was navigated to a canvas. Different from some traditional image editing interfaces, it was a conversation interface, where I could adjust the images by entering the instructions.
Then, in the dialog box, I entered the prompt: The color of the poinsettia is less bright. Some leaves become yellow and wilt.
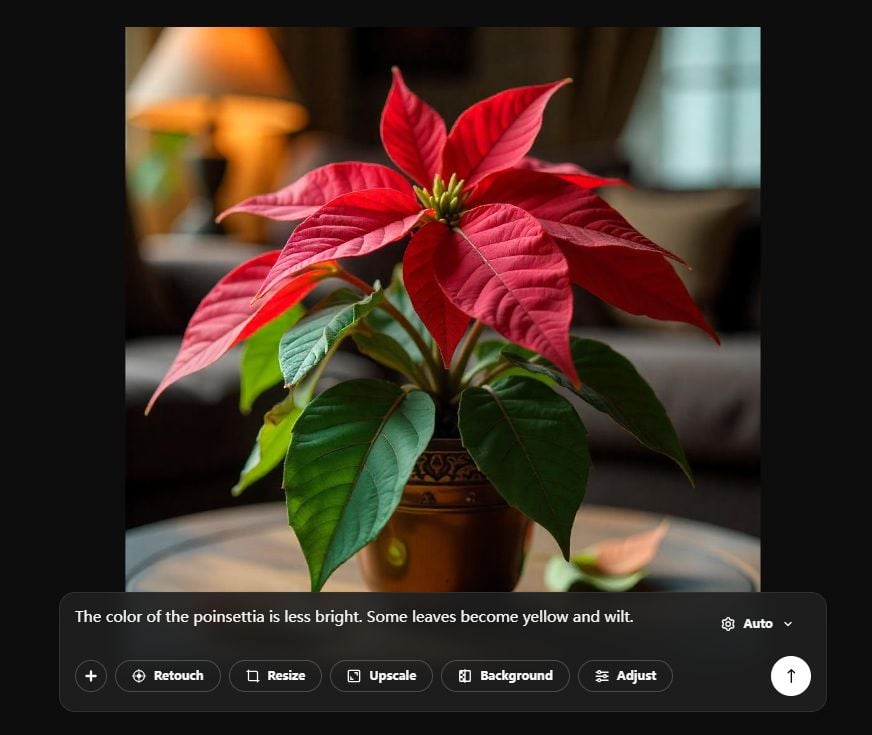
Waiting for a few seconds, I got a rectified version of the image. However, there is no yellowing and wilting of leaves. Almost, I failed to see the differences between the original image and the rectified image.
Besides, I could only see the rectified image on the canvas. If I wanted to compare it with the original one, I would need to go back to the last page. This is very inconvenient!
Then I changed the effect to the “b&w” one, which is a black and white style.
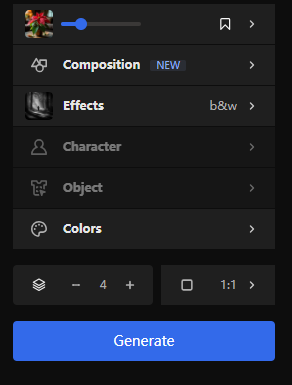
Unfortunately, the style didn’t change too much. It failed to switch to a black and white style.
See How Design Integrates with Products with Mockup Feature
Another outstanding feature is Freepik AI Image Generator’s mockup feature. This creative function allows me to visualize my AI designs in thousands of high-quality templates in seconds.
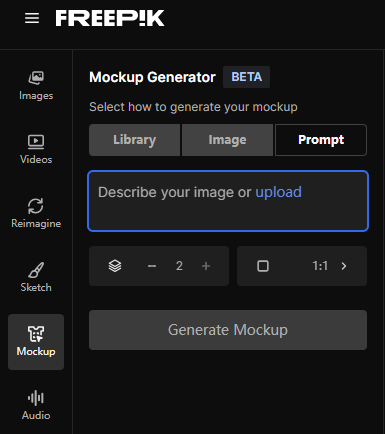
After creating an image with the AI image generator, I chose to redirect to the Mockup generator. Here, I could choose from a wide range of free and Premium mockup templates and customize the size, color of the image, and even add other elements to fit the mockup.
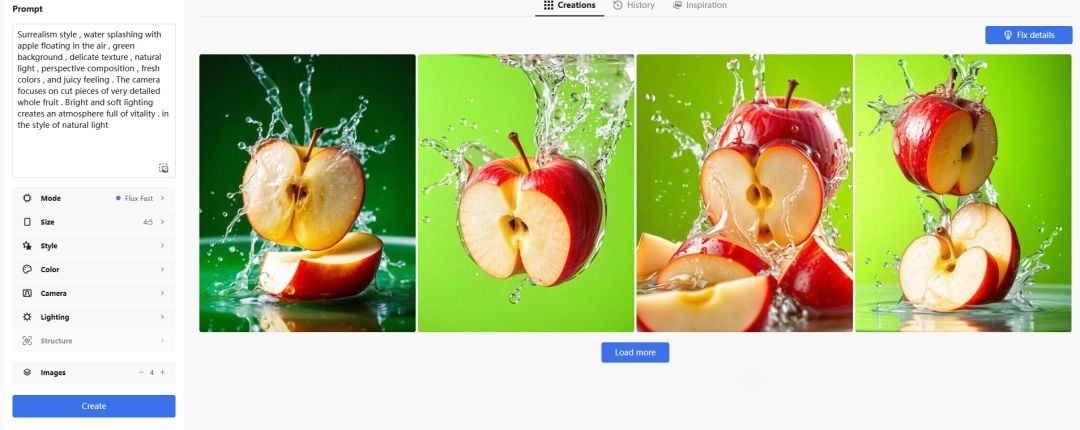
Again, I entered the prompt: Surrealism style, water splashing with fine details, apple floating in the air, green background, delicate texture, natural light, perspective composition, fresh colors, and juicy feeling. The camera focuses on cut pieces of very detailed whole fruit. Bright and soft lighting creates an atmosphere full of vitality, in the style of natural light.
Then I chose a hoodie mockup from the mockup library.
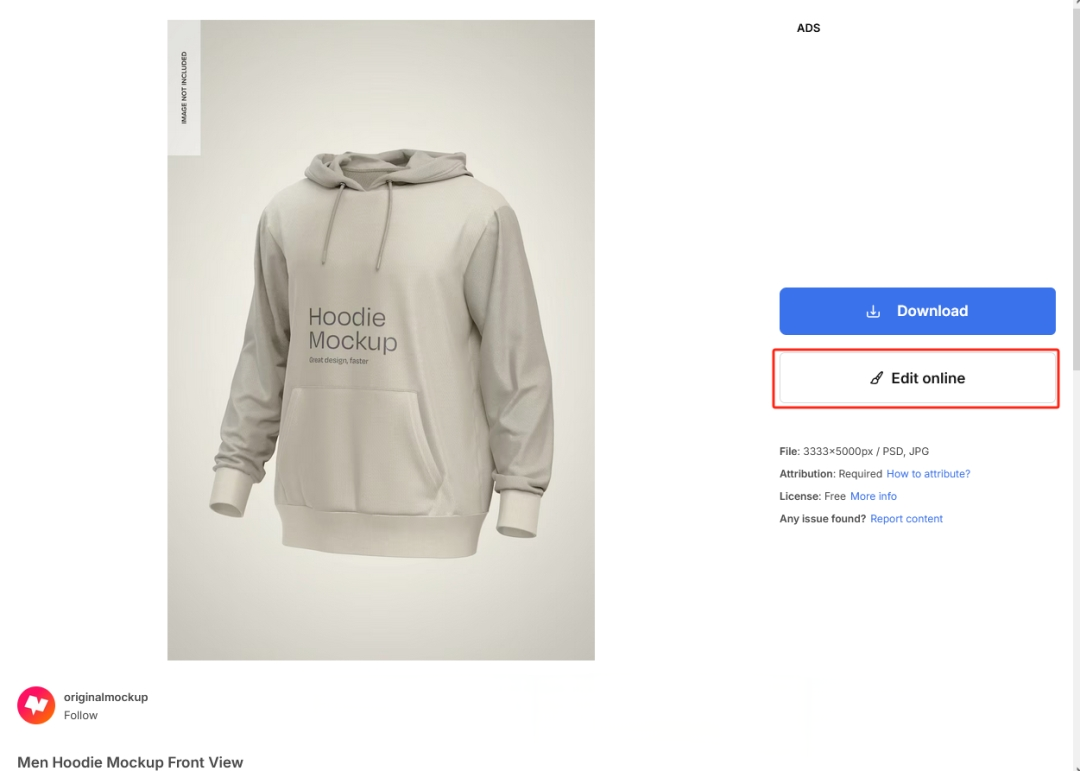
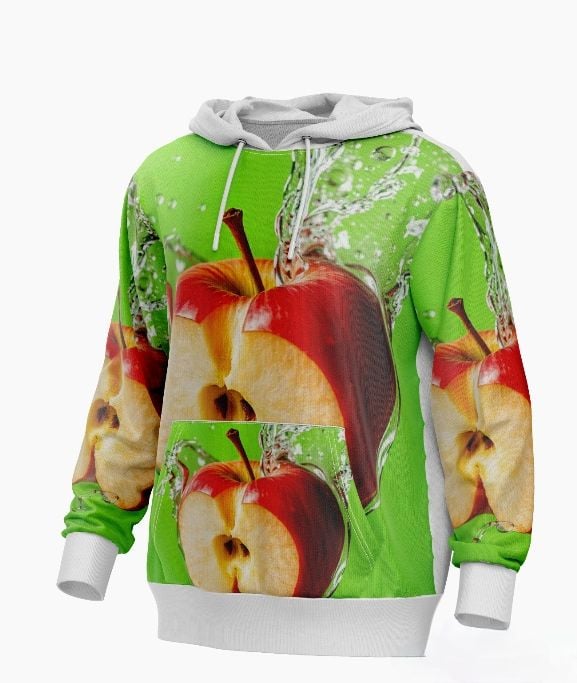
And then I integrated the generated images into the mockup.
By integrating various mockup templates, I could see how the designs would look when applied to actual products. This approach provided a realistic preview, allowing me to assess the overall appearance, fit, details, and potential problems of the design elements.
In summary, it’s ideal to use Freepik AI Image Generator’s Flux Fast model to generate images. Both speed and quality are satisfactory. And it’s fantastic to use the mockup feature to integrate your design into the products.
However, although I can adjust the images by entering the prompts, the built-in AI editing tools are not smart enough to understand my instructions. My instruction was specific, but the output almost didn't make a change. Additionally, I cannot make a comparison between the original one and the corrected one on the same page.
Pollo AI - Better Alternative to Freepik AI Image Generator
If you’re looking for an AI image generator with comprehensive features and tools, I suggest you try Pollo AI. It’s an all-in-one AI image and video generator with all the best models and tools in one place. You can use image models like FLUX, Stable Diffusion, DALL-E, Recraft, GPT-4o, and Imagen on Pollo AI.
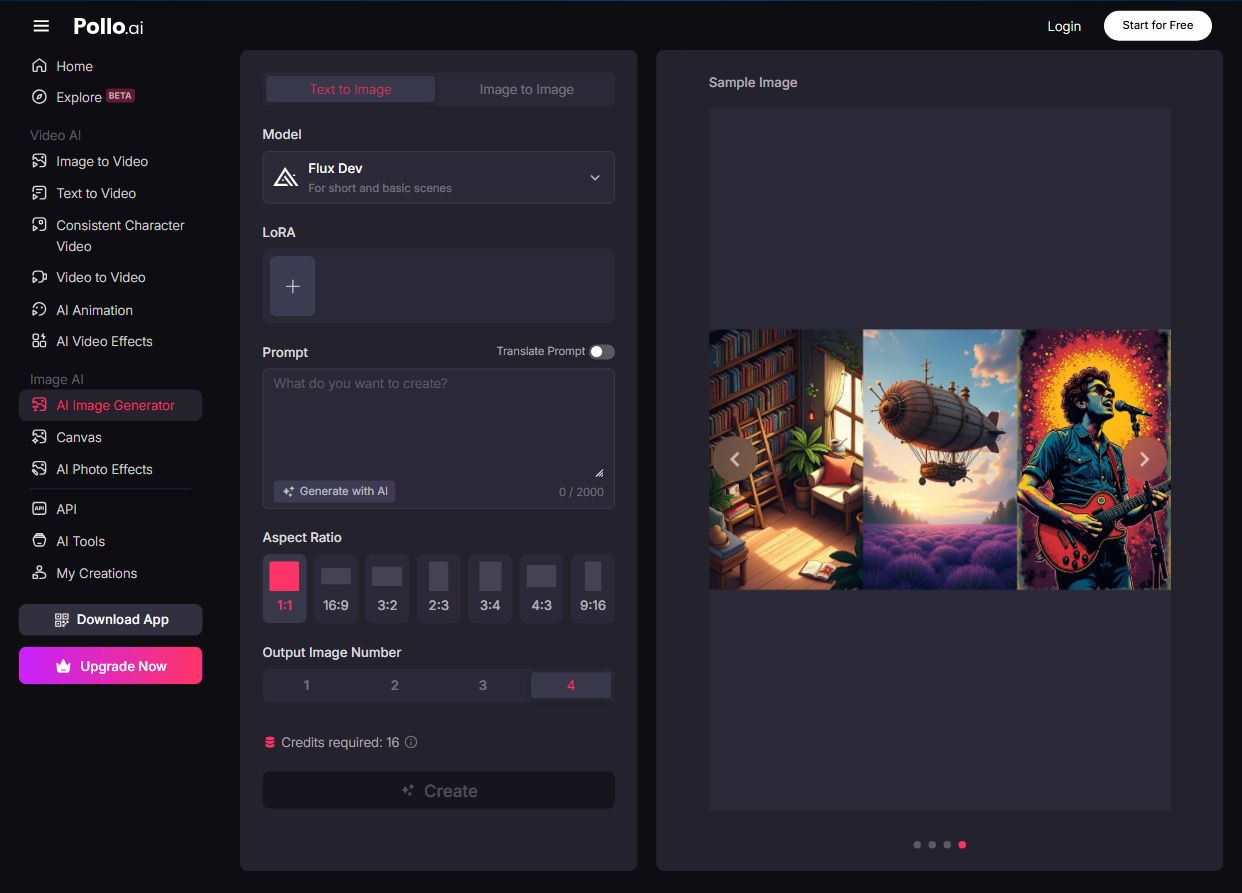
Despite image generation, Pollo AI also offers a wide range of tools for users to better curate their photos. For example, use AI image extender to extend your photos beyond their original borders with suitable pixels; and try AI background changer to transform your photo with a desired background.
AI image effects offered by Pollo AI is another standout. Try 3D comic portrait generator to reimagine yourself as a personalized 3D cartoon character. You can also experiment with fun and fabulous hair colors from your home with hair color changer.
Conclusion
It’s ideal for designers to generate high-quality images with Freepik. With various AI models, it can create either realistic photos or abstract concept images.
Afterwards, you can integrate the generated images into various mockup templates to see how your design will look in real products.
And if you’re looking for a better alternative to Freepik, Pollo AI is my most recommended choice. Try it for free now!