
How to Use Kling AI: A Personal Guide to Creating Videos for Free [Images Included]
Ever since OpenAI’s Sora hit the scene, AI video generators have been popping up everywhere, and here I'm going to talk about the one that caught my eye—Kling AI.
Kling AI has cool features like Text-to-Video, Image-to-Video, Motion Brush, and Camera Movement. I was stoked to try it out and see if it could bring my ideas to life.
In this guide, I’ll walk you through what Kling AI is, how I got started with it, and share some tips and tricks I picked up along the way. Let’s get into it!
What Is Kling AI?
Kling AI is an AI-powered video generation tool developed by the Chinese company Kuaishou.
I found it super easy to turn my text prompts or images into creative videos with just a few clicks. It’s like having a mini film studio at my fingertips!
Here’s what I loved about Kling AI’s main features:
- Kling AI Text to Video: Turns my written ideas into videos.
- Kling AI Image to Video: Animates a still image into a 5- or 10-second clip.
- Extend with Prompts: This lets me stretch my videos up to 3 minutes by adding more prompts.
- Kling AI Motion Brush: A new feature in the 1.5 model that lets me control specific movements in my videos—pretty neat!
- Kling AI Camera Movement: Offers 6 basic camera moves (like zoom or pan) and 4 master shots to make my videos feel cinematic.
- Start and End Frames: I can upload two images to set the start and end of my video for smooth transitions.
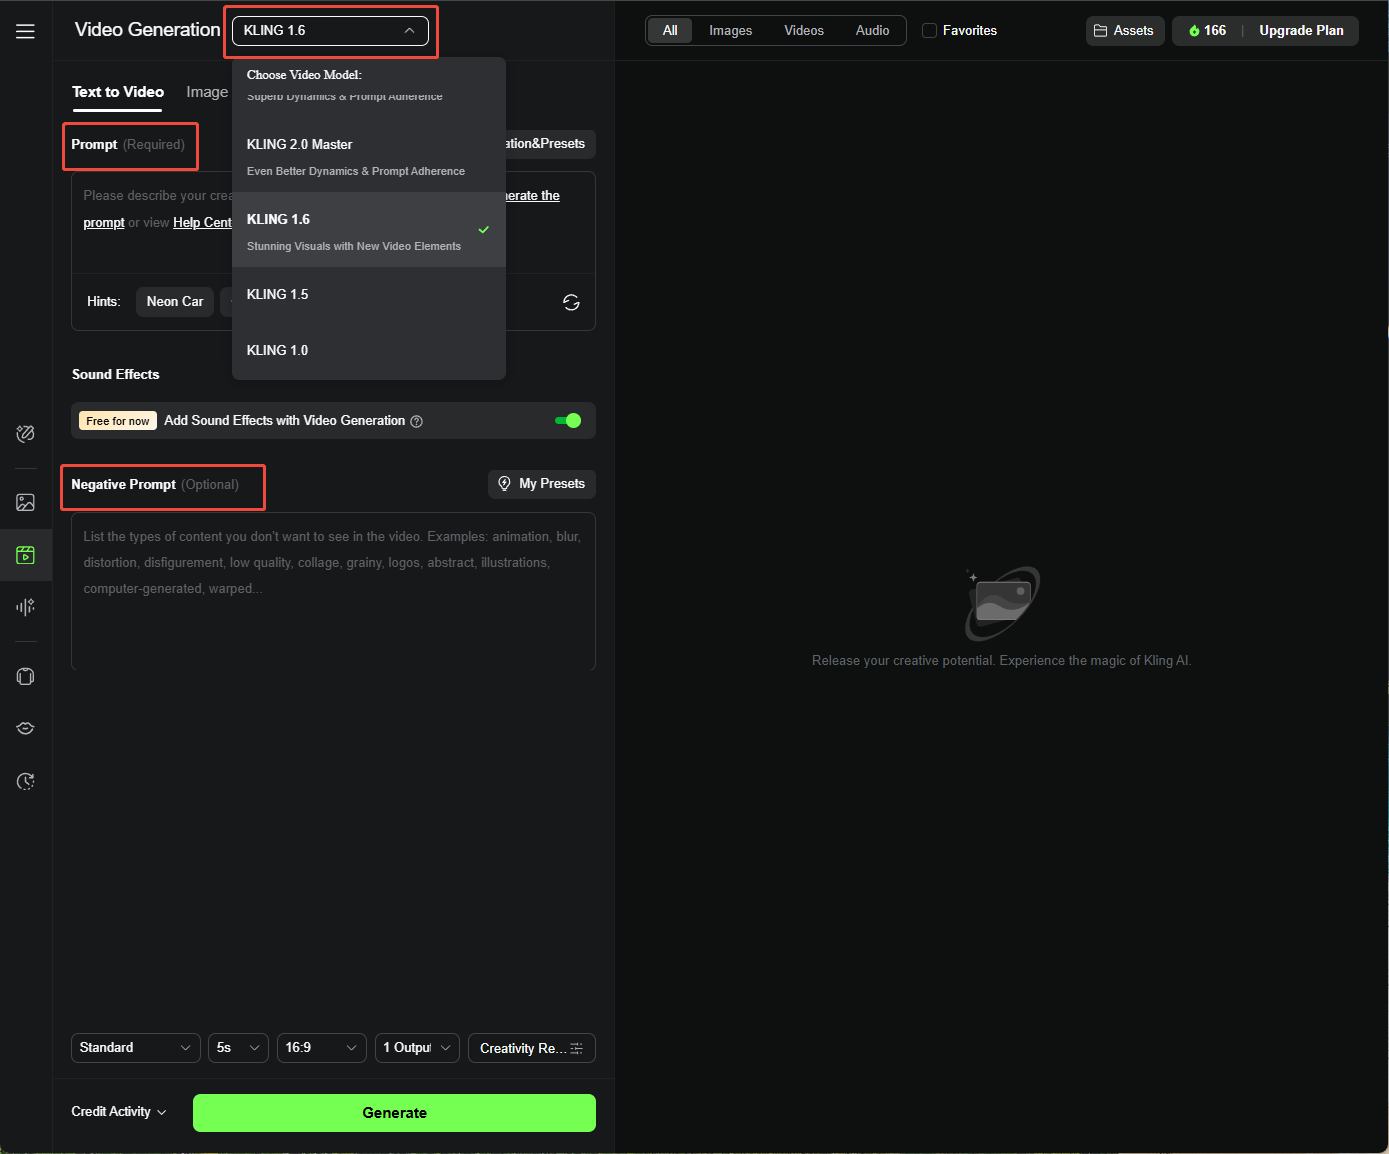
Kling AI keeps getting better, and I had the option to choose between models like 1.0, 1.5, 1.6, 2.0, and 2.1. Each has its strengths, so I played around to see which worked best for my projects.
How to Get Access to Kling AI? Is Kling AI Free to Use?
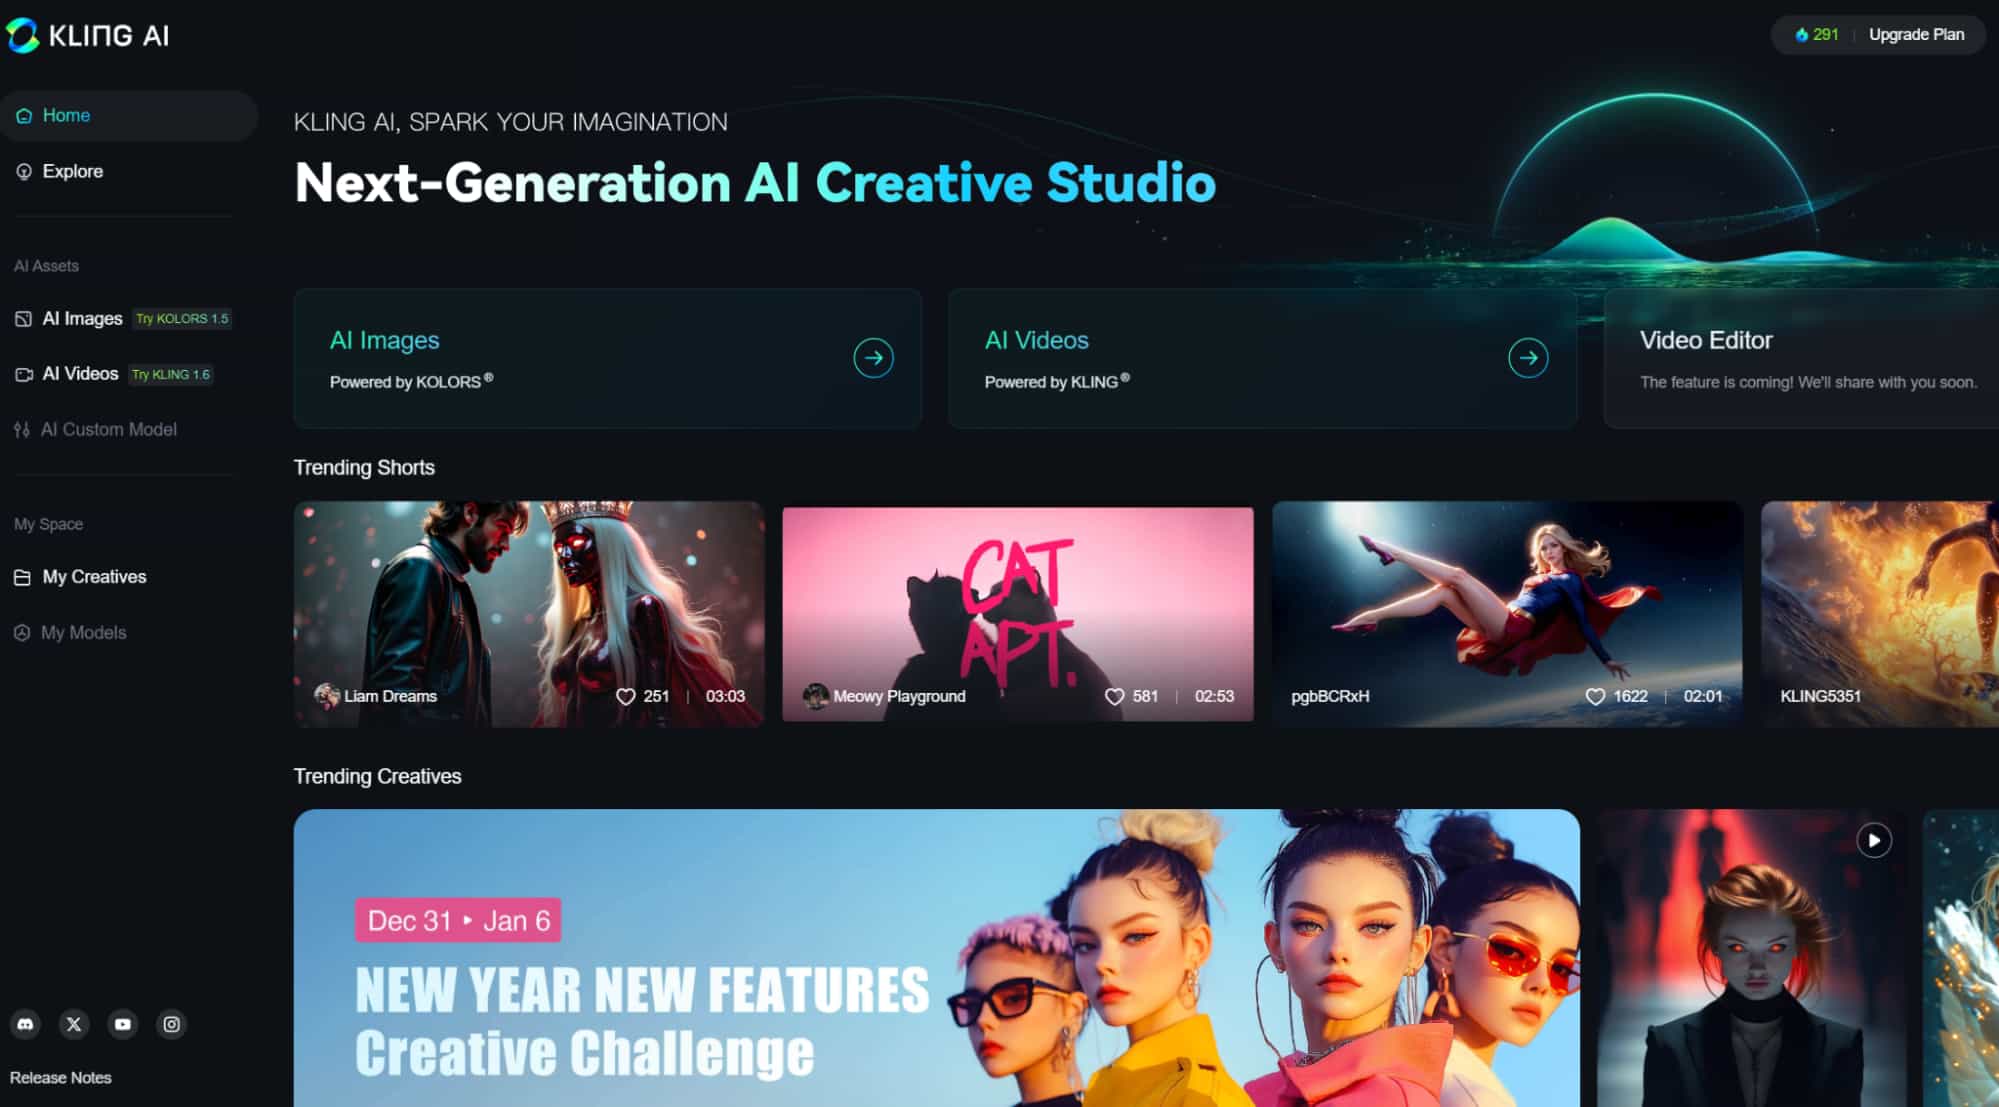
How to Access Kling AI
I was thrilled to find out that Kling AI is open to everyone, not just folks in China. Signing up was a breeze, and I got free credits to start experimenting.
Just simply head to klingai.com and sign in. New accounts can get 166 credits for free.
Tip: I discovered Kling AI is also part of Pollo AI, which is like a one-stop shop for AI video tools, including Runway and Hailuo.
If you’re like me and love switching between models, Pollo AI is worth checking out. I tried Kling AI here for free, and it was super convenient!
Is Kling AI Free or Paid?
I started with the free version, which gives you 166 credits—enough to mess around with.
However, I noticed the generation speed was a bit slow, and some features were locked for free users. Kling's paid plans include annual and monthly plans:
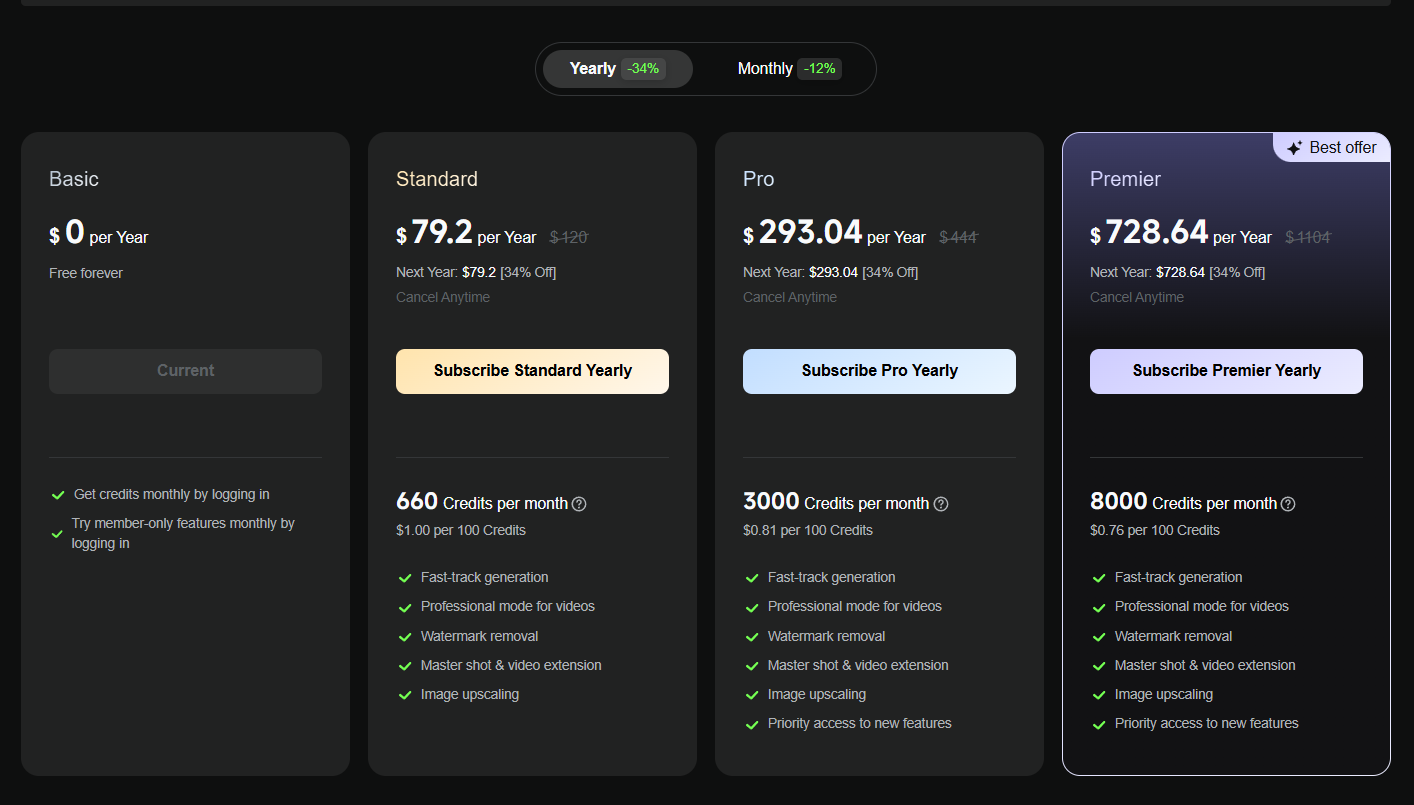
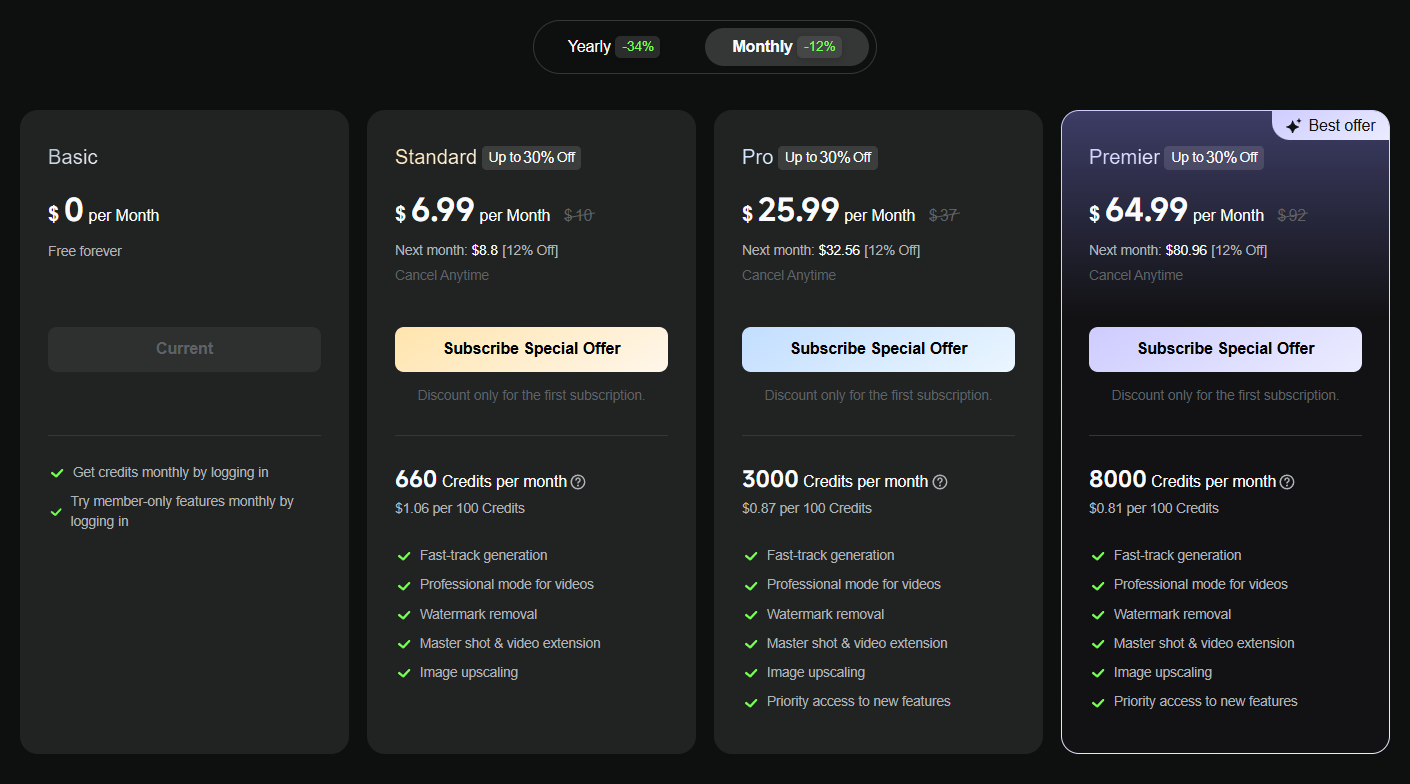
In addition, I found that Kling AI also has a separate credit purchase plan, which is also a very good choice for those who do not use it frequently.

How to Use Kling AI Text to Video Generator
Text-to-Video is one of Kling AI’s core features, and I had a blast turning my ideas into videos. Here’s how I did it:
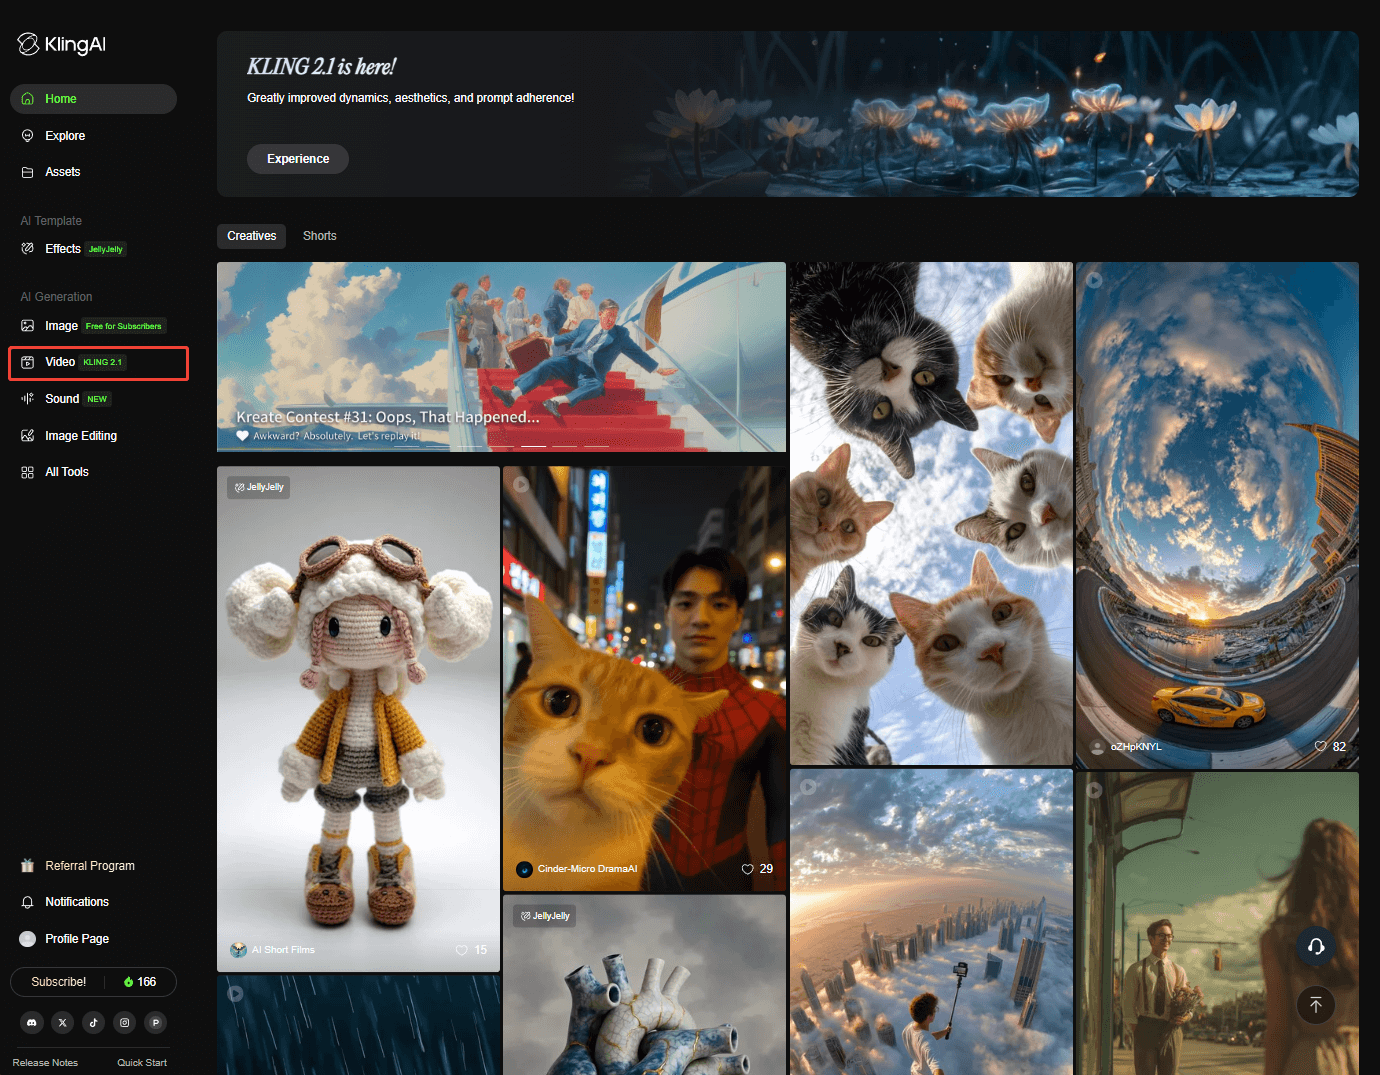
Step 1. Click “Video” from the dashboard.
Step 2. Select a model and set the prompt. I can also add a negative prompt if I want to.
My Tips for Setting Prompt Words:
Prompt = Subject (Subject Description) + Subject Movement + Scene (Scene Description) + (Camera Languages + Lighting + Atmosphere)
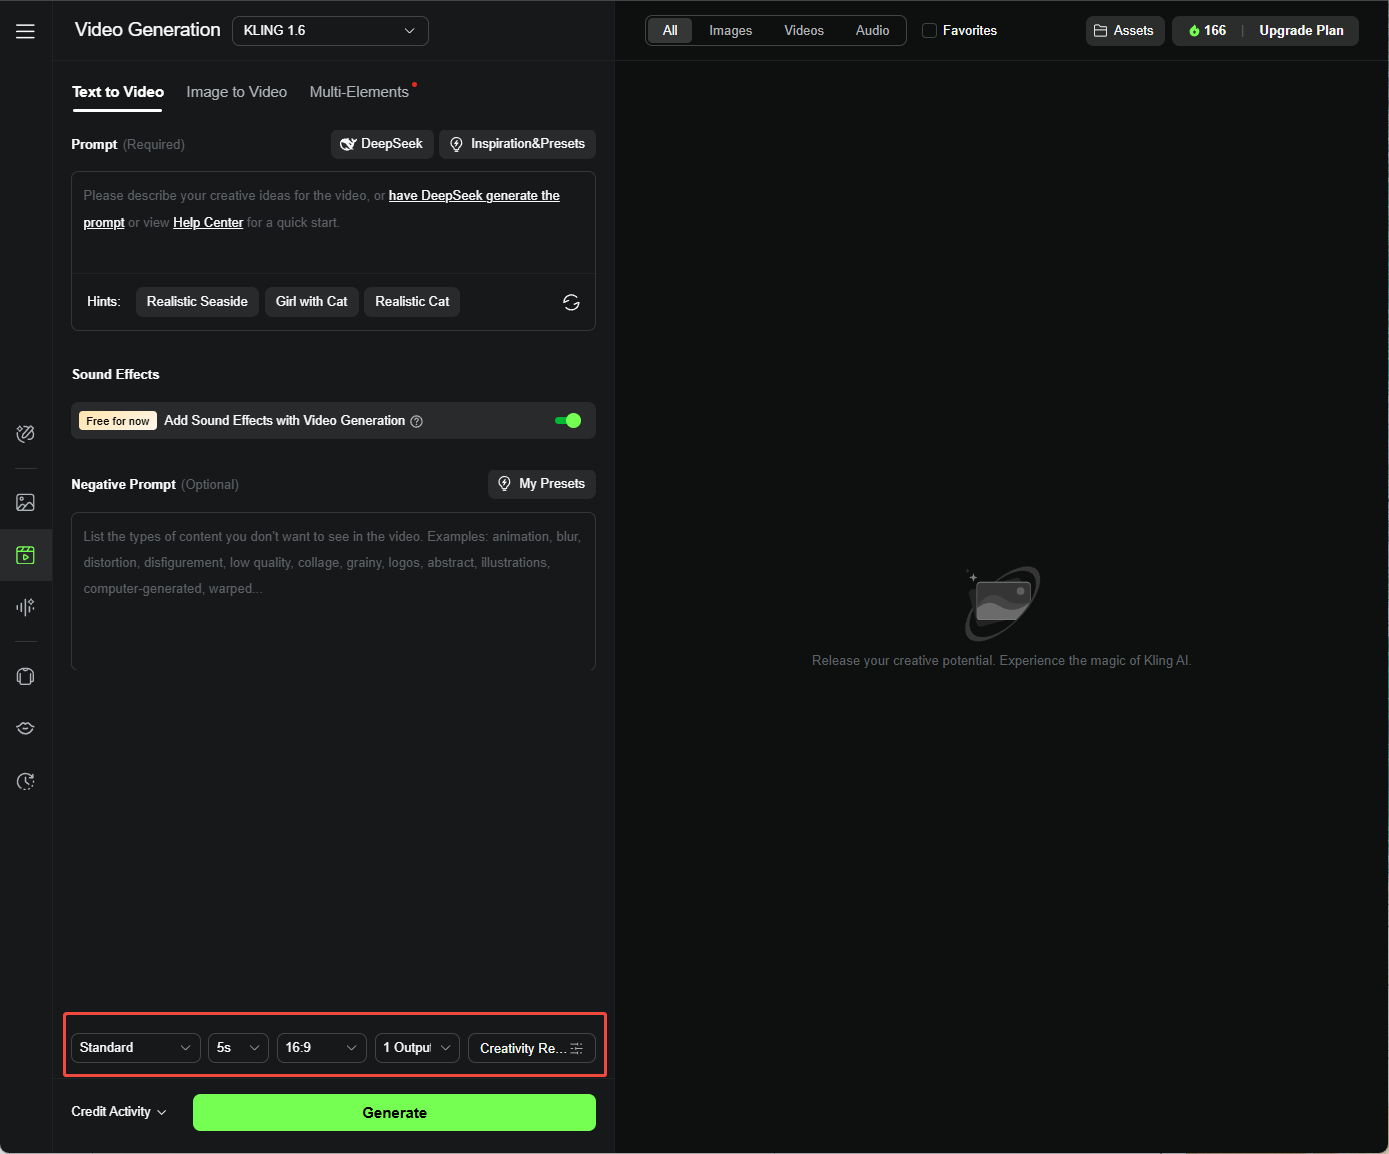
Step 3. Choose between Standard Mode and Professional Mode. I can also tweak settings like Duration (5s or 10s), Aspect Ratio (16:9, 9:16, or 1:1), and Generating Count (up to 4 videos at once).
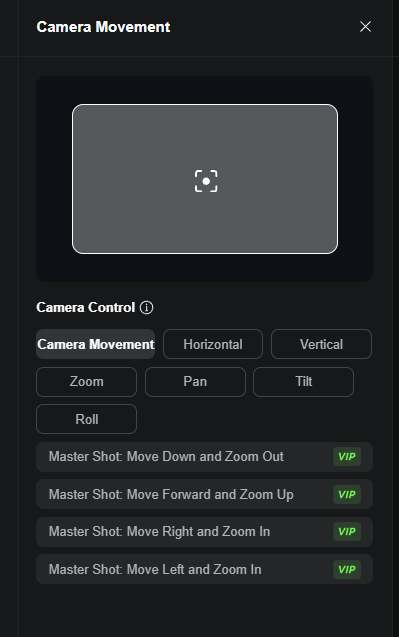
Step 4. Select a method to control your camera from the Camera Movement if using the Kling 1.0 model.
Tips:
- Camera Movement is a function that allows you to add camera-like motions to your videos, simulating the effect of a moving camera.
- The Camera Movement feature in Text to Video is only available in the Kling AI 1.0 model.
Read More: What Is Kling AI Camera Movement and How to Use It
Step 5. Hit “Generate” and wait for my video to process.
I can also continue to make it more complete with advanced features such as Lip Sync and Extend with Prompts.
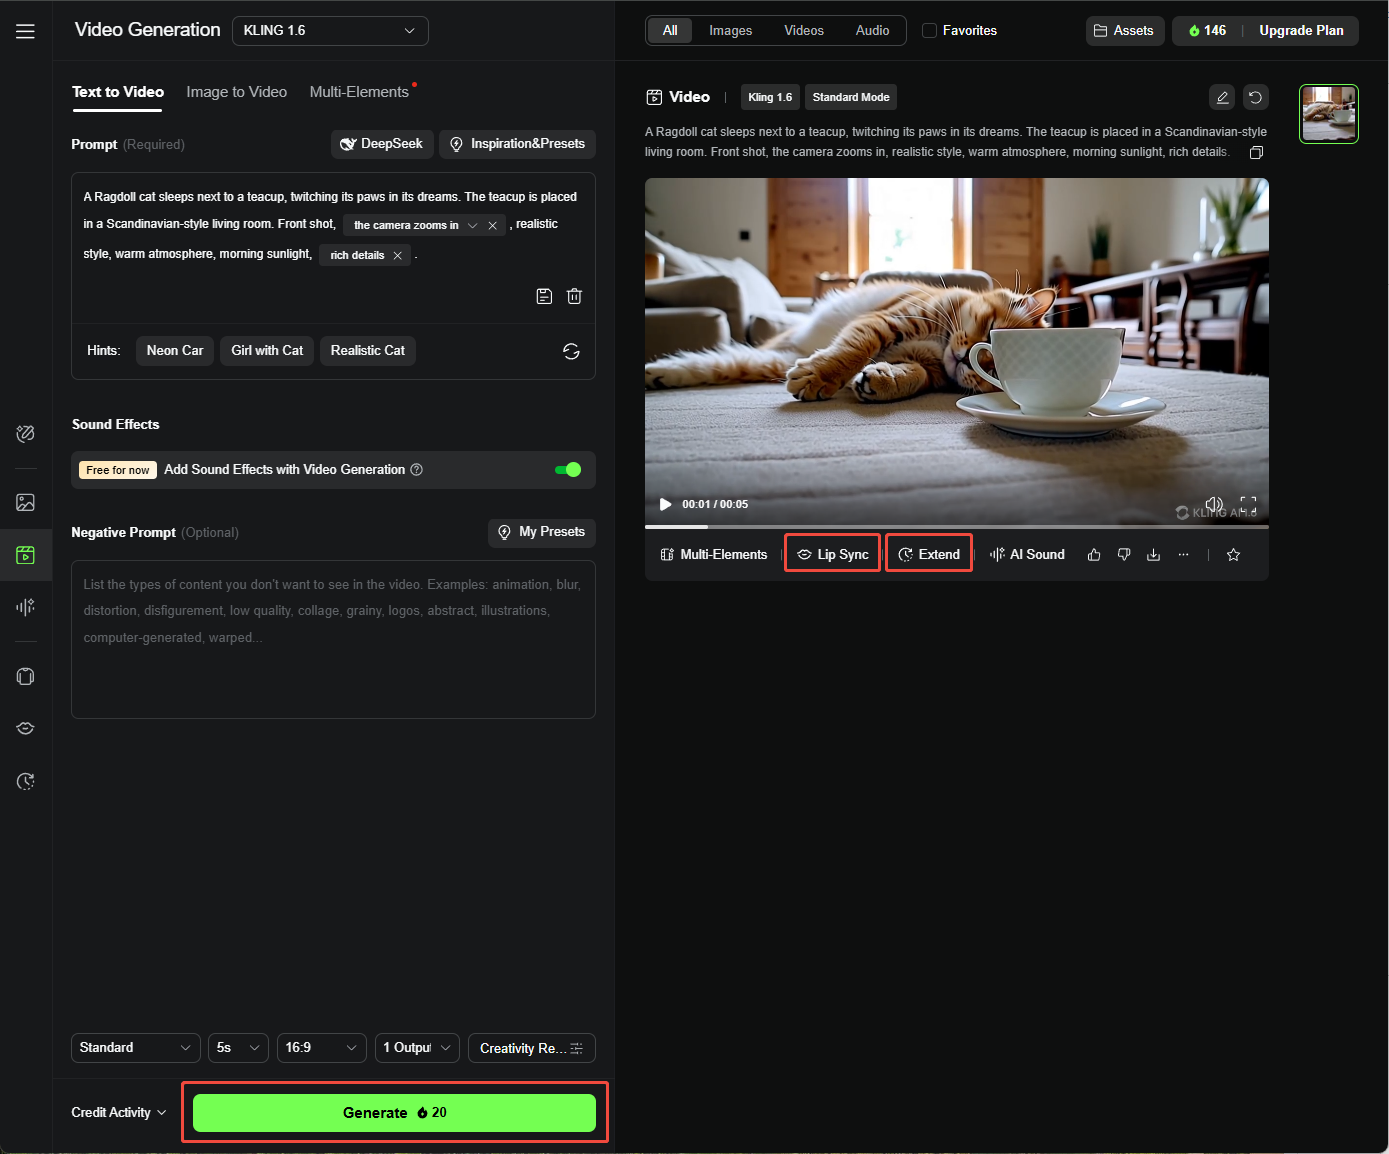
- Kling AI Lip Sync: A feature that synchronizes the character's mouth movements with the audio. Learn more about how to use Kling AI's lip sync feature.
- Kling AI Extend with Prompts: An important part of video generation. It lets you extend your video to up to 3 minutes in length.
How to Use Kling AI Image to Video Generator
Kling AI could also turn images into a moving video. Here’s how I made it work:
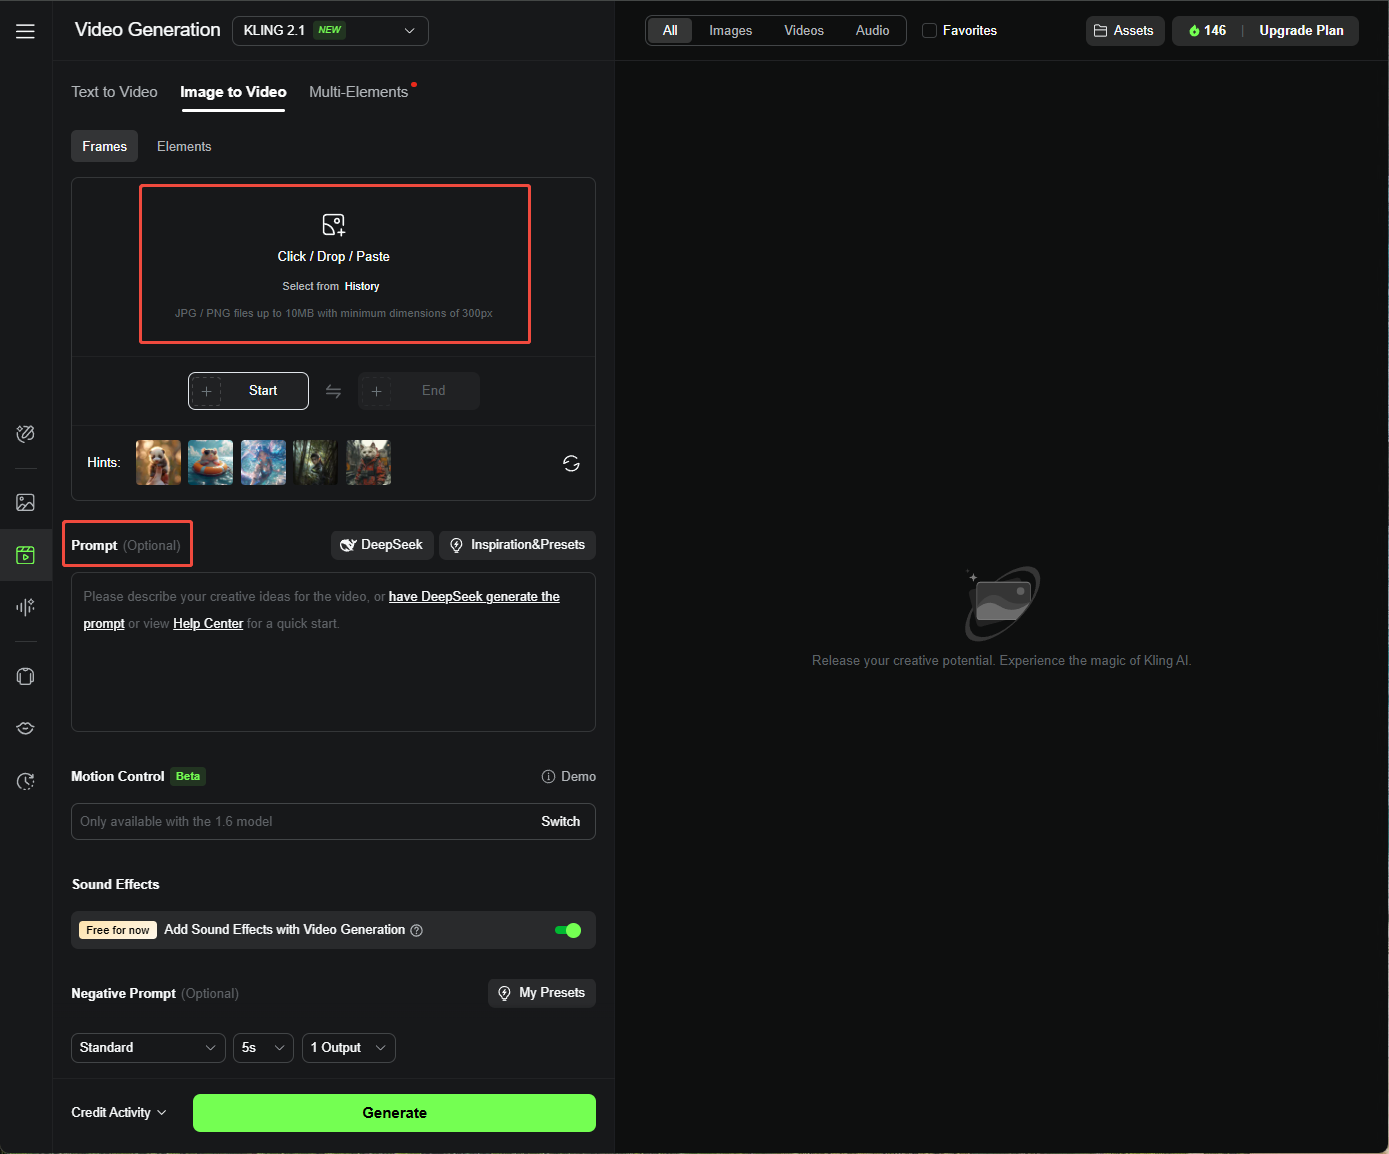
Step 1. Go to the “Image to Video” tab and choose a model.
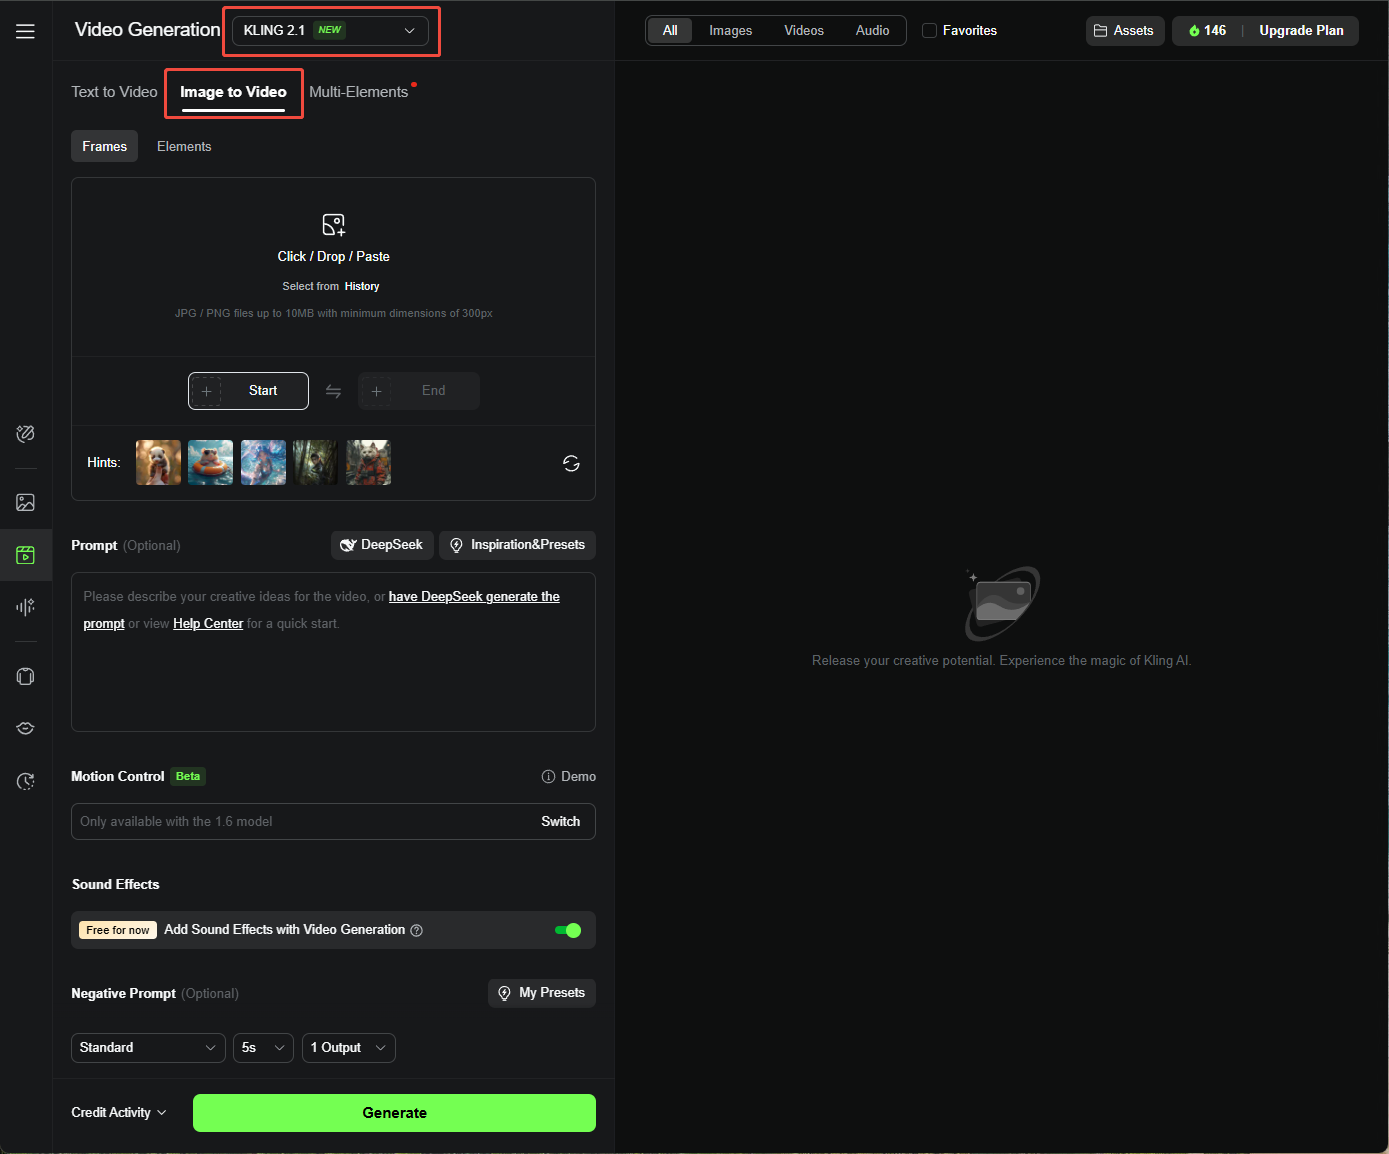
Step 2. Upload a high-quality image (at least 300 pixels, max 10 MB), and set the prompt as needed.
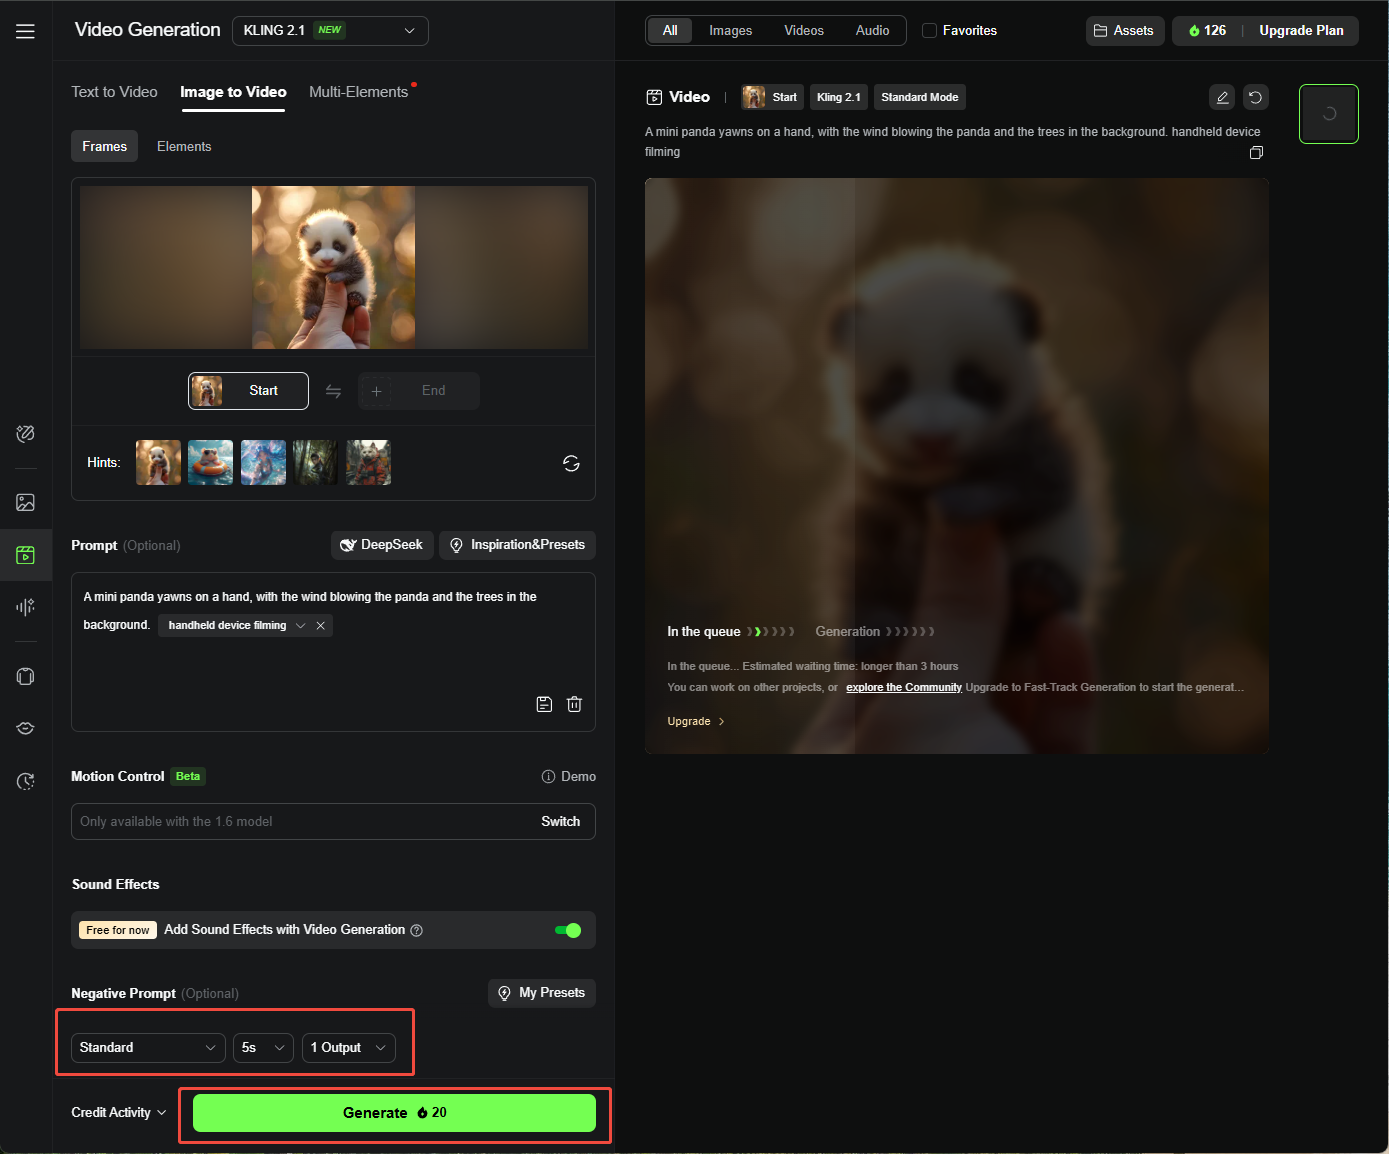
Step 3. Adjust video settings like duration and aspect ratio, then click “Generate.”
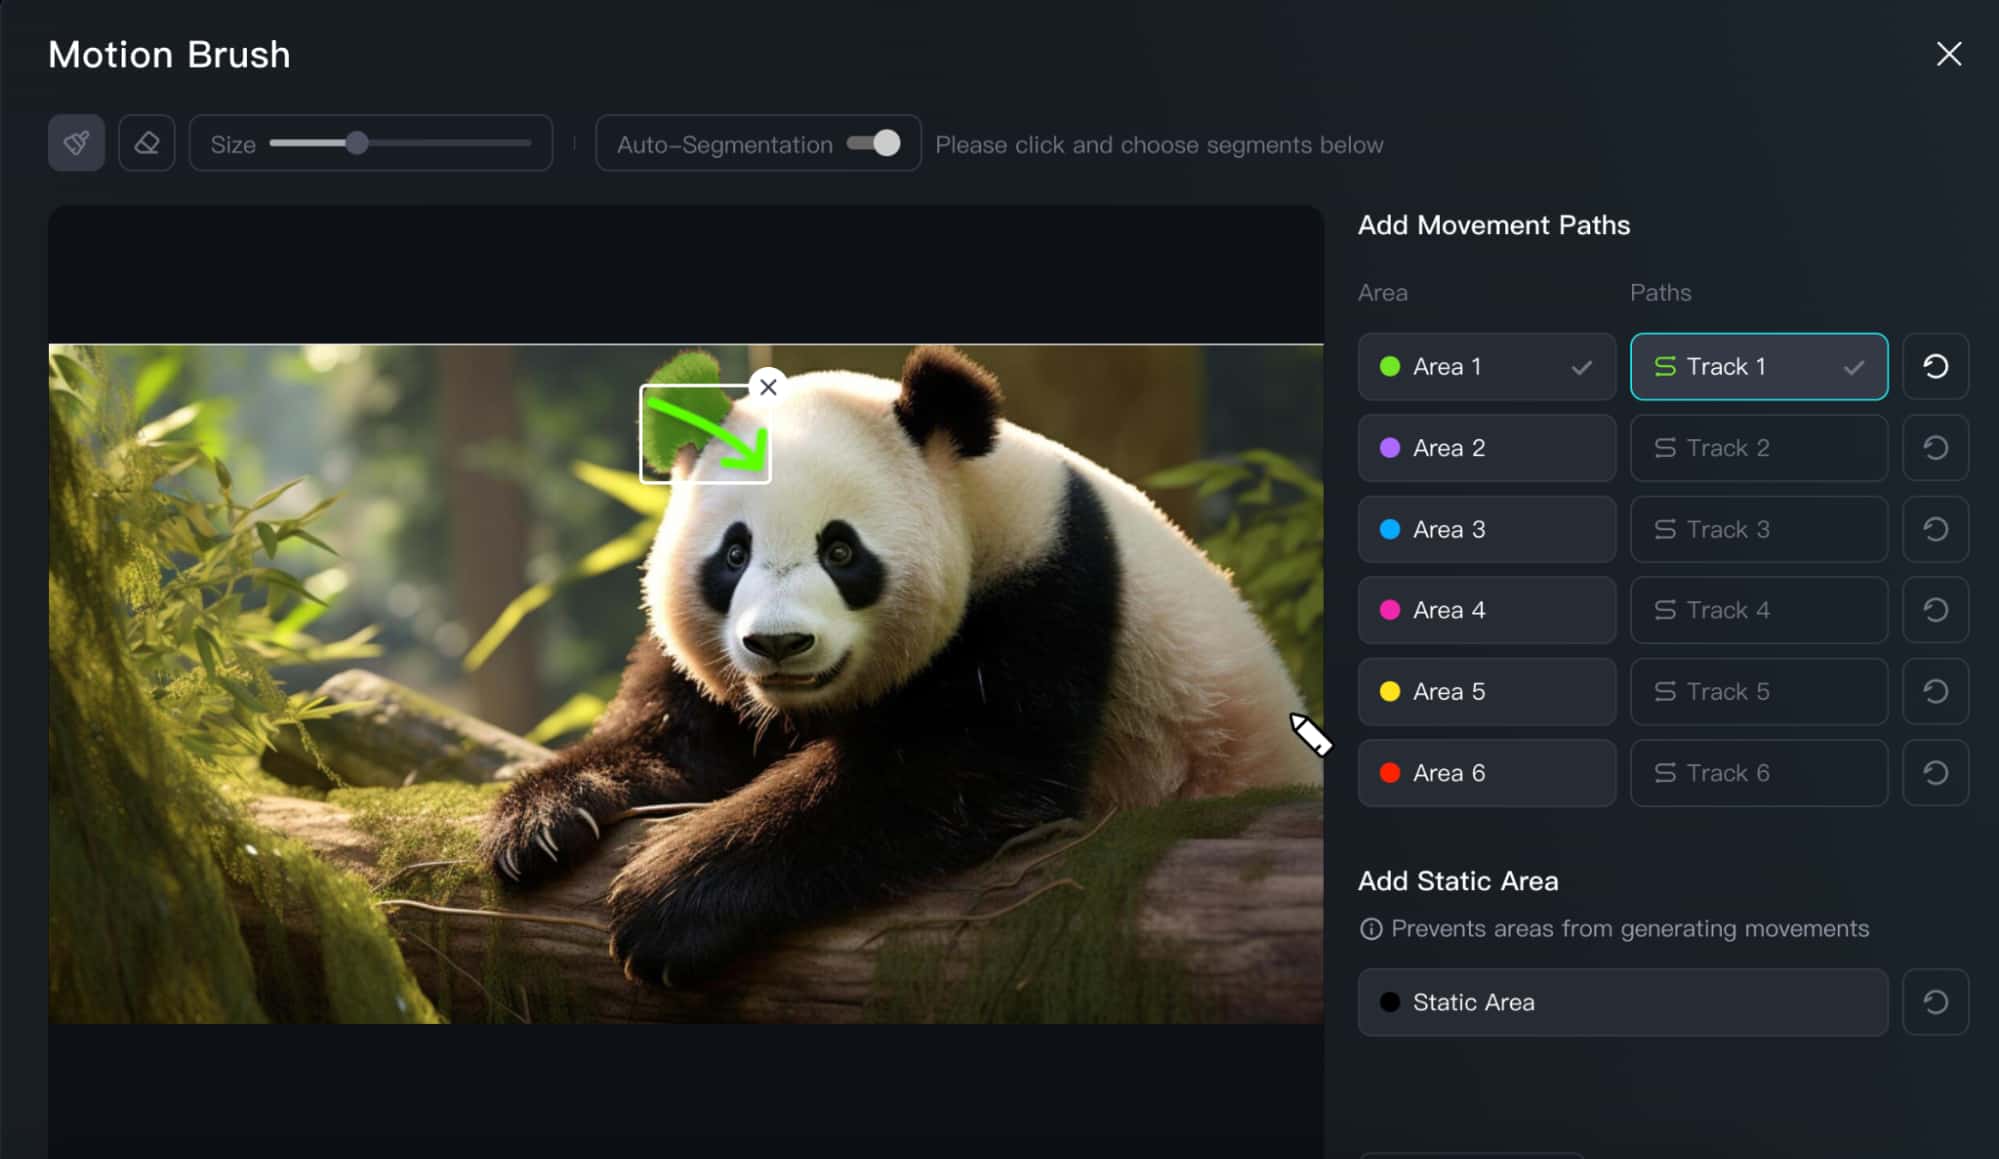
Step 4. I also used Motion Brush because I want to add motions to selected areas. Here’s how it works:
- Click Draw Motions under Motion Brush.
- Enable Auto-Segmentation. (Optional)
- Select an area, click the Track button, and draw a path.
- To prevent an area from generating movements, click Static Area under Add Static Area and select the area you want. (Optional)
- Click the Confirm button to continue.
My Best Tips and Practices for Using Kling AI
Here’s what I learned to get the most out of Kling AI:
Be Specific with Your Prompts
I got way better results when I described exactly what I wanted, down to the smallest details.
Follow Kling AI’s Prompt Formula
- For Text-to-Video, I used: Subject (Subject Description) + Subject Movement + Scene (Scene Description) + (Camera Language + Lighting + Atmosphere).
- For Image-to-Video, I focused on Subject + Movement and background + Movement.
- Extend with Prompts: Subject + Movement
Use Image to Video for Better Control
I found that starting with an image gave me more predictable results, so I’d generate an image first (using Kling’s Text to Image) and then animate it.
Avoid Using Numbers in Prompt
Kling AI doesn’t handle numbers well, so I skipped things like “10 pandas” and used “a group of pandas” instead.
Play with Advanced Features
Motion Brush, Camera Movement, and Lip Sync added so much personality to my videos.
Test with Different Models
I tried 1.0, 1.5, 1.6, and 2.1 to see which gave me the best output for my project.
My Favorite Prompts for the Kling AI Video Generator
Prompts are everything with Kling AI, and I had fun experimenting. Here are some I loved:
- A giant panda wearing black-framed glasses is reading a book in a café, with the book placed on the table. On the table, there is also a cup of coffee emitting steam, and next to it is the café's window.
- Mona Lisa put on sunglasses with her hand, and a ray of light appears in the background.
- Fresh smoothie bowl with fruits on the table, bright natural light, camera circles showing toppings.
- White ceramic coffee mug on glossy marble countertop with morning window light. The camera slowly rotates 360 degrees around the mug, pausing briefly at the handle.
Troubleshooting Tips for Common Kling AI Issues
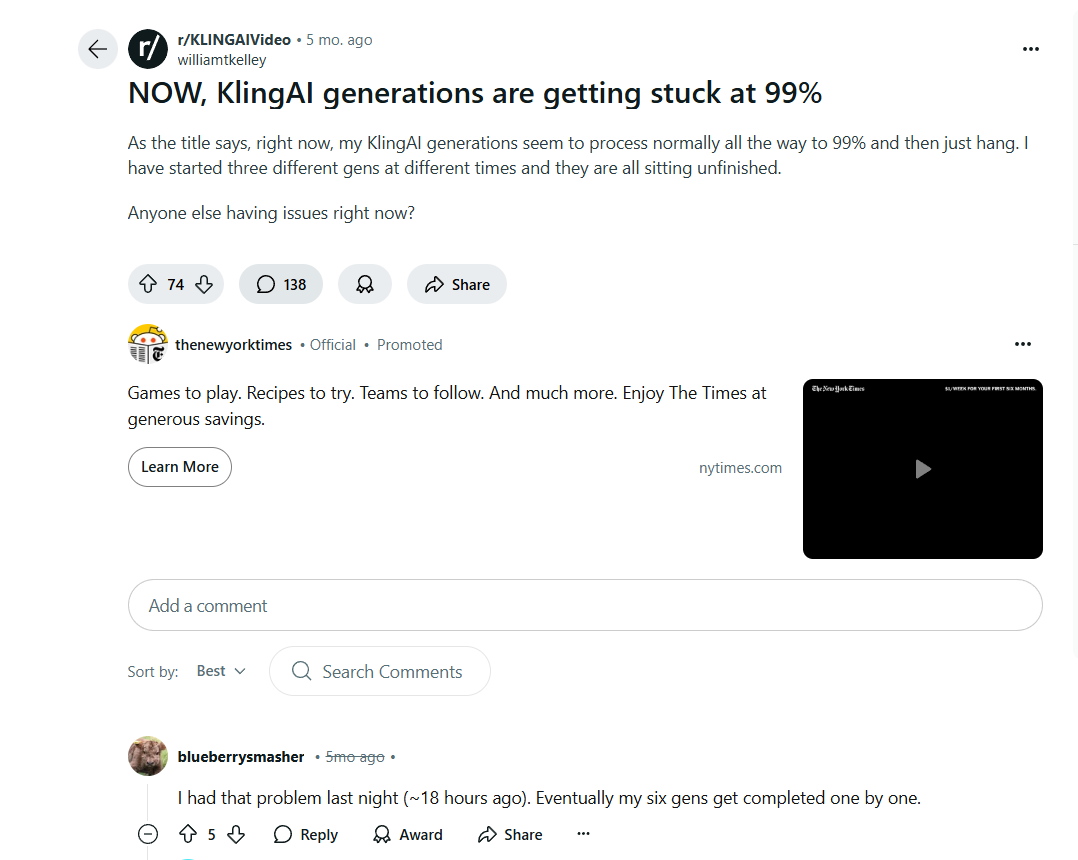
I hit a few bumps along the way, like videos getting stuck at 99% or unusable results.
Here’s what helped me:
Tip 1. Checked my internet connection to make sure it was stable.
Tip 2. Looked up Kling AI’s server status to see if there were any outages.
Tip 3. Kept my prompts clear and simple to avoid confusion.
Tip 4. Adjusted settings and tried again if the output wasn’t right.
Tip 5. Stuck to short, simple videos instead of complex ones to save credits.
Tip 6. Switched browsers if things weren’t loading right.
Tip 7. Close unnecessary applications and processes to ensure there is enough RAM and CPU to generate the video.
Tip 8. Reached out to Kling AI support when I was stuck.
Bonus: The Best Kling AI Alternative - Pollo AI
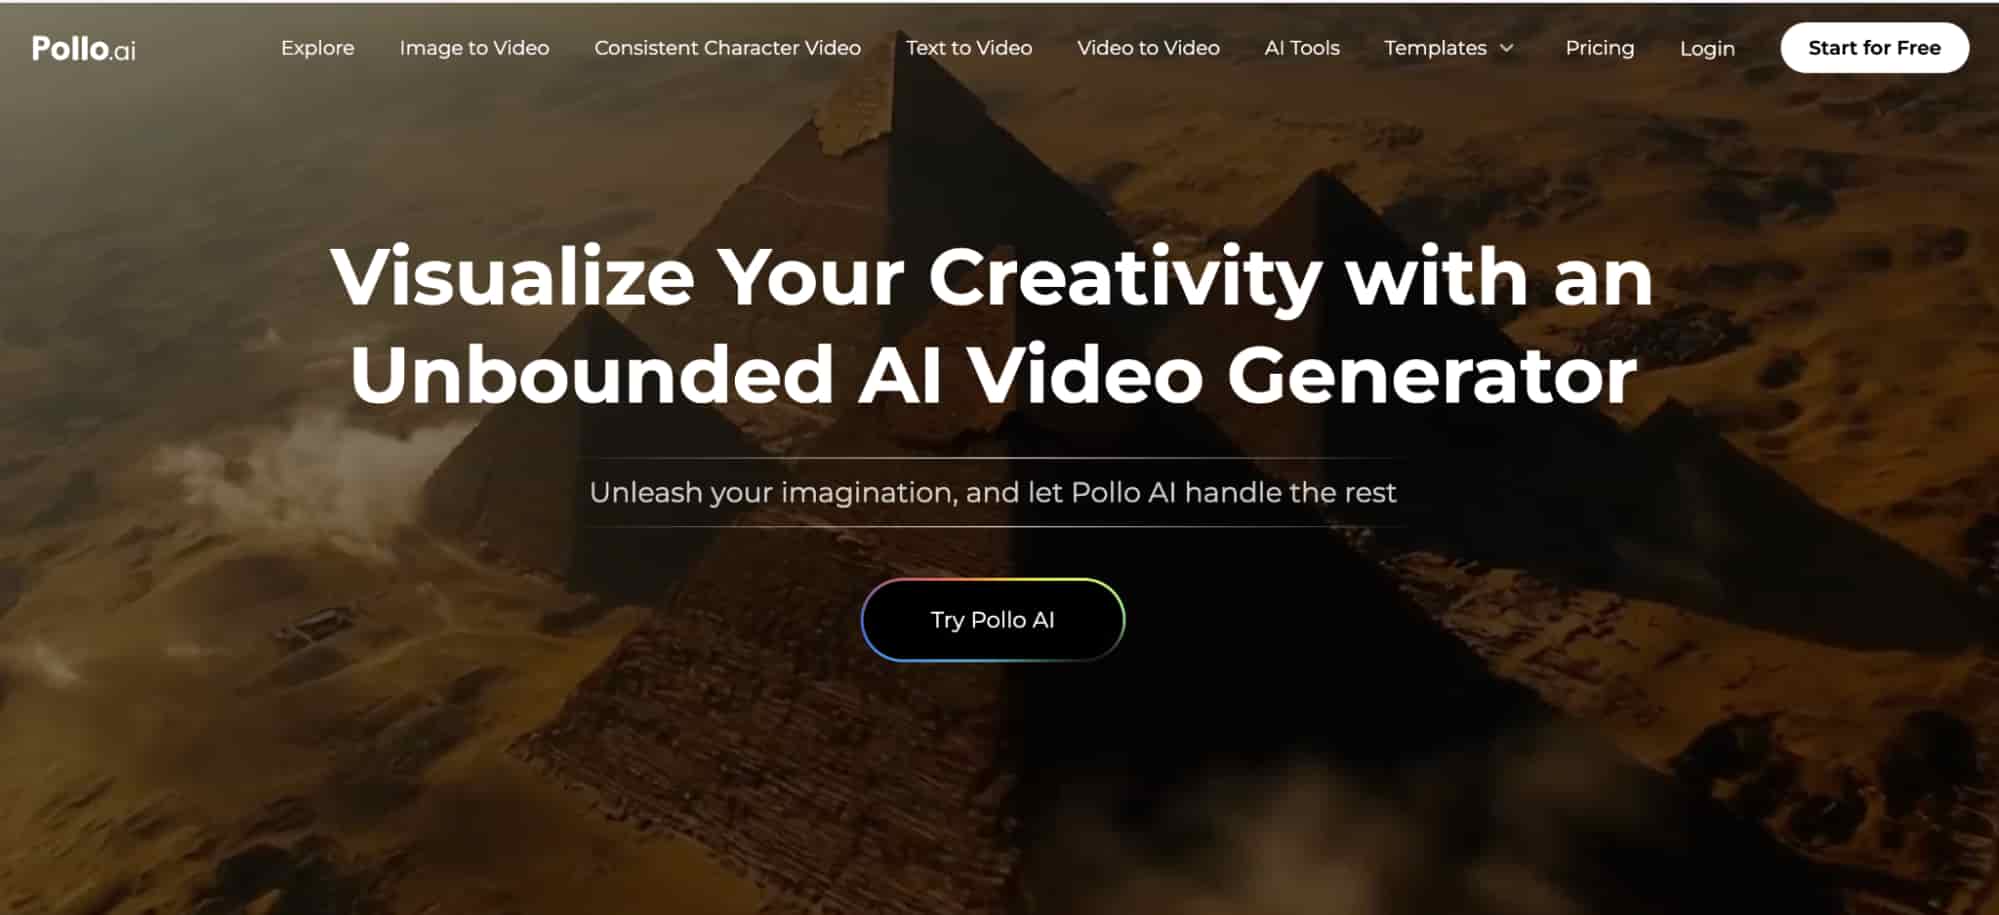
Kling AI is great, but I heard from other users on forums that it can be slow, and sometimes the quality doesn’t meet expectations.
So, I gave Pollo AI a try, and I was impressed! It’s an ultimate all-in-one video generator with models like Kling AI, Veo 3, Pixverse V3 and V3.5, Runway, Hailuo AI, and Luma AI.
Not only the video models, but also powerful image models such as Google Nano Banana, Flux, Recraft, Ideogram, etc., I can easily access and use.
Pollo also has video effects and AI tools that make my projects pop. I watched a tutorial on Pollo AI for creating kissing and hug videos, and it was so easy to use.
Check this video teaching how to create AI kissing and hug videos, two of the video effects available in Pollo AI:
Conclusion
Now that I’ve shared my experience, I hope you’re as excited as I am to jump into Kling AI’s text-to-video and image-to-video generators.
With these steps, tips, and a bit of creativity, I was able to turn my ideas into reality. To create your own videos and bring your vision to life!
FAQs
Is Kling AI Free to Use?
Yes, you can use it for free, but the free version has limited features and free credits.
What to Do if Kling AI Video Generation Is Stuck at 99%?
Here’s what worked for me:
- Checked my internet connection
- Waited a bit longer for high-quality videos
- Added start and end frames to simplify processing
- Checked Kling AI’s server status
- Reduced video complexity
- Contacted Kling AI support if nothing else worked
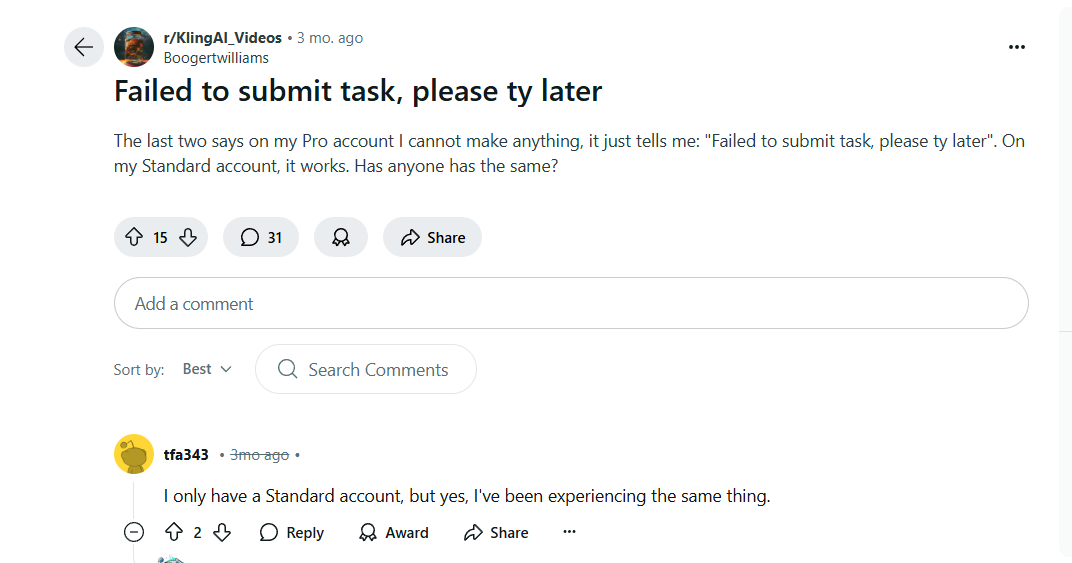
Why Did Kling AI Say “Failed to Submit Task, Please Try Later”?
I ran into this a couple of times because of server issues, bad internet, or file size limits.
I checked the server status, cleared my browser cache, and made sure my connection was solid. If it persisted, I reached out to Kling AI support.
How to Use Kling AI Motion Brush?
I loved using Motion Brush in Kling AI 1.5’s Professional Mode:
To use it,
1. Click AI Videos > Image to Video.
2. Click Draw Motions under Motion Brush.
2. Select an area and draw a trajectory curve for it.
3. Click the "Confirm" button to continue.
4. Click the Eraser icon to delete the drawn track and the selected area.
How to Remove Kling AI Watermark?
Free accounts add watermarks, which I found a bit annoying. Upgrading to Premium was the easiest way to remove them. Otherwise, I cropped my videos or used a watermark remover tool.