Kling AI What It Is: My Personal Guide to Kling AI
Creating videos can be a time-consuming process. It takes a lot of technical skill and creativity.
Luckily, there’s a solution: AI-powered video generators like Kling AI. They make it easy to create all kinds of visual content with just a few clicks.
In this detailed guide, I’ll take you through everything you need to know about Kling.
We’ll explore what the platform does, its key features, how it works, and more.
By the end, you’ll see what makes Kling AI so special. Let’s dive in!
What Is Kling AI: My Introduction
Kling AI, created by Kuaishou Technology in Beijing, totally blew my mind as an AI video generator.
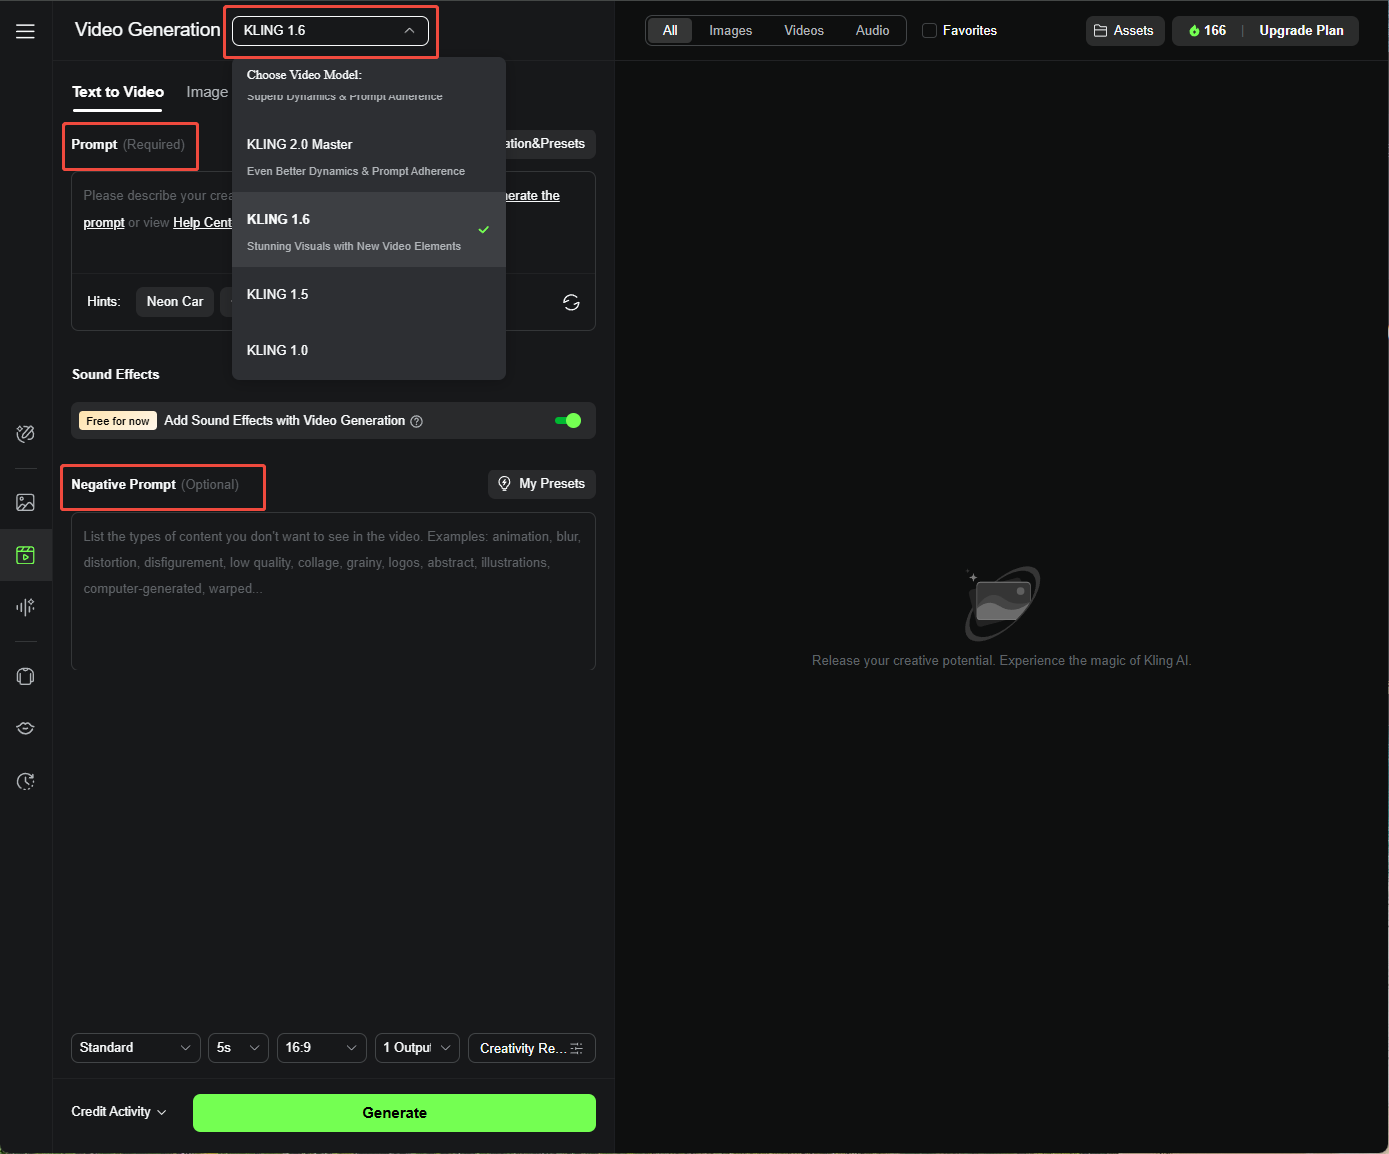
With just a few text prompts or images, I could whip up videos in no time. It has multiple models like Kling 1.0, 1.5, 1.6, 2.0, and 2.1—and each one brings something unique to the table. I had a blast experimenting with them to see what worked best for my projects.
What I loved most about Kling AI? It quickly generates crisp 1080p videos at 30 FPS, up to 10 seconds long. The 3D Spatial-Temporal Attention system made everything look super realistic with smooth, natural motion.
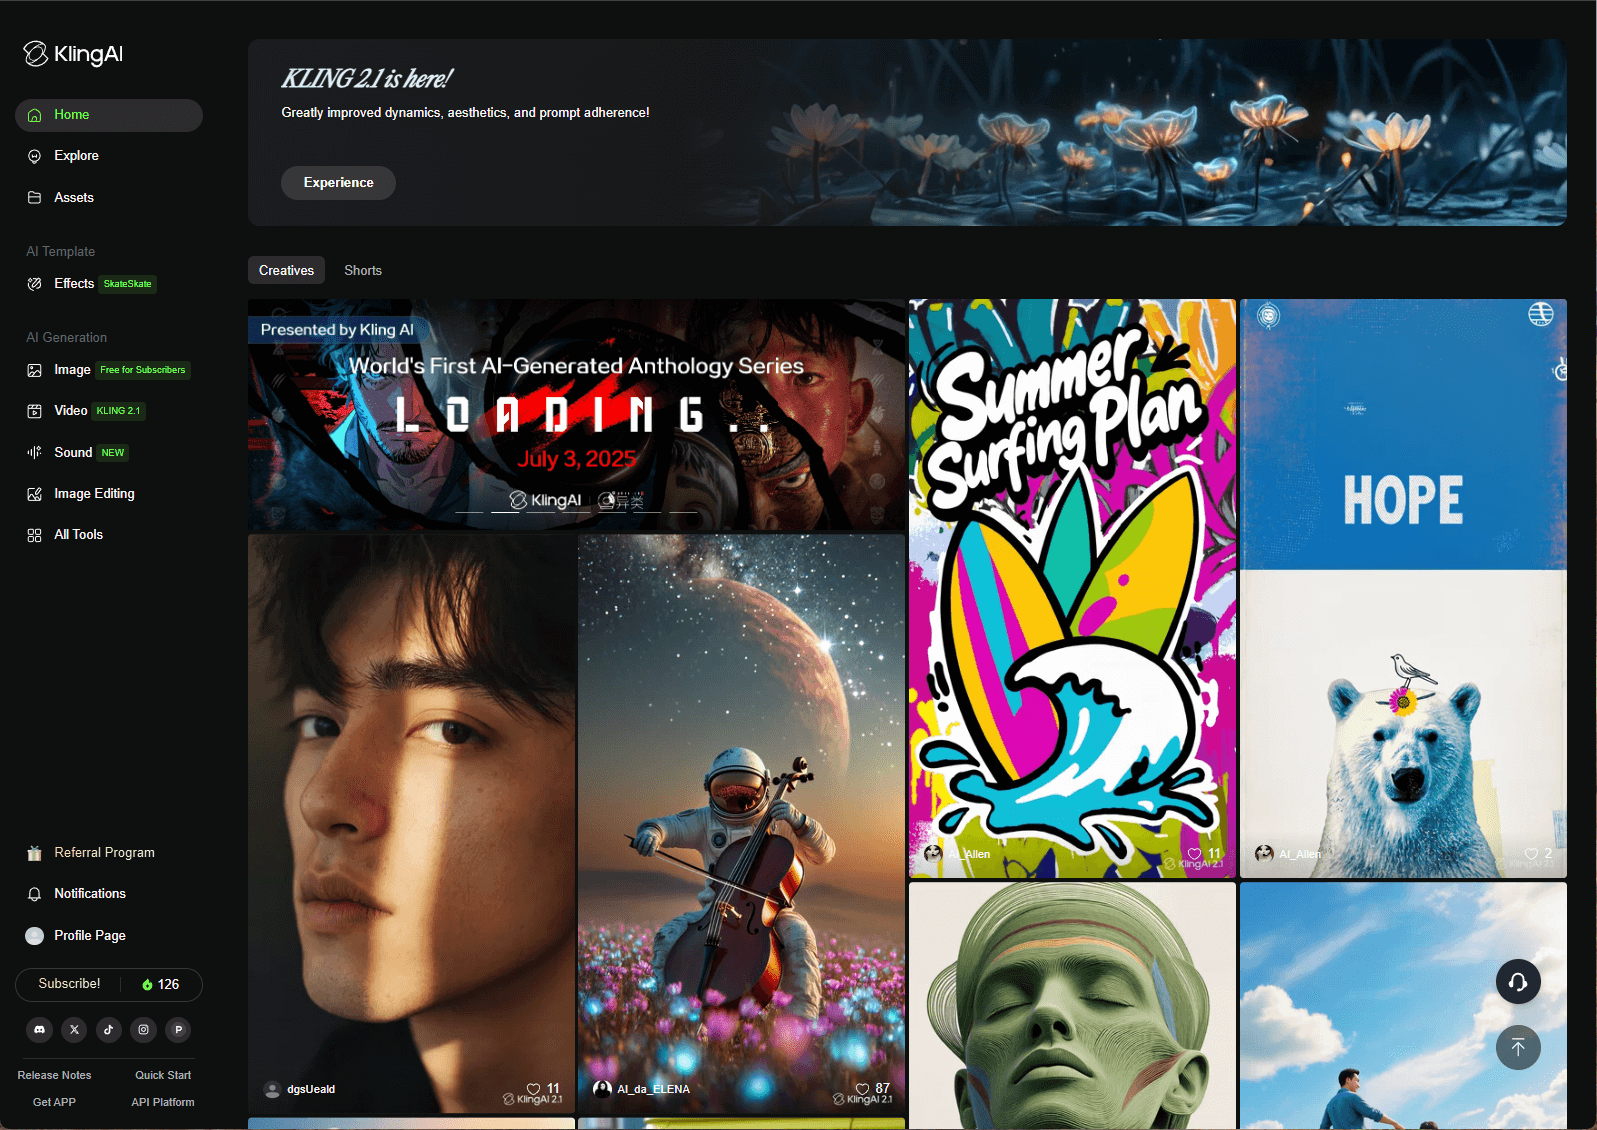
The “Explore” gallery was a great source of inspiration — seeing what others created really sparked my creativity. Whether I needed photorealistic animations, cinematic shorts, or sci-fi visuals for marketing, Kling AI felt like the perfect creative tool.
What Key Features Does Kling AI Offer?
Kling AI is packed with features that made video creation super fun and straightforward for me. Here’s my take on what it brings to the table:
Text-to-Video Generation
I was amazed at how I could type out a scene and watch Kling AI turn it into a video. I’d describe my subject, camera angles, and objects, tweak settings like aspect ratio or duration, and boom—my ideas came to life.
Image-to-Video Generation
This was a game-changer for me. I uploaded a JPG or PNG (up to 10MB) and watched Kling AI animate it into a 5- or 10-second video. It added motion and transitions that felt so natural, like my static images were suddenly alive.
Extend Video
I loved that I could stretch my videos by 4-5 seconds, up to 3 minutes total. This let me create longer clips for things like music videos or tutorials, which was perfect for my side projects.
Motion Brush
Available on Kling 1.0 and 1.5, Motion Brush let me pick specific parts of an image and control their movement. Instead of generic animations, I could customize exactly how things moved, which made my videos feel unique.
Camera Movement
On Kling 1.0 and 1.5, I got to play with 6 camera movements (like tilt, pan, zoom) and 4 master shots. It was like directing my own movie, giving my videos a polished, professional vibe.
Start/End Frames
Uploading two images as start and end frames was a lifesaver. It helped me control the video’s flow and get exactly the transition I wanted.
Lip Sync
This feature was so cool—I could sync audio with character lip movements, making my videos feel super realistic. It was perfect for adding dialogue to my creations.
Face Model
Exclusive to premium users, this let me upload video clips to train a custom AI model. I didn’t try it (since I was on the free plan), but I can see how it’d be awesome for consistent character-driven stories.
Virtual Try-On
I had fun playing with this one! I uploaded images of clothes or models and saw how outfits looked in motion. It was like trying on clothes virtually—great for my online shopping experiments.
Elements
This feature let me combine up to four images (think animals, people, or objects) into one video. I described their actions in my prompt, and Kling AI wove them into a seamless clip.
How To Use Kling AI Text-to-Video Generation?
I couldn’t wait to start creating, so here’s how I dove into Kling AI’s text-to-video feature.
I signed in Kling AI website with 166 free credits to play with. The free plan was limited, but it gave me enough to test things out.
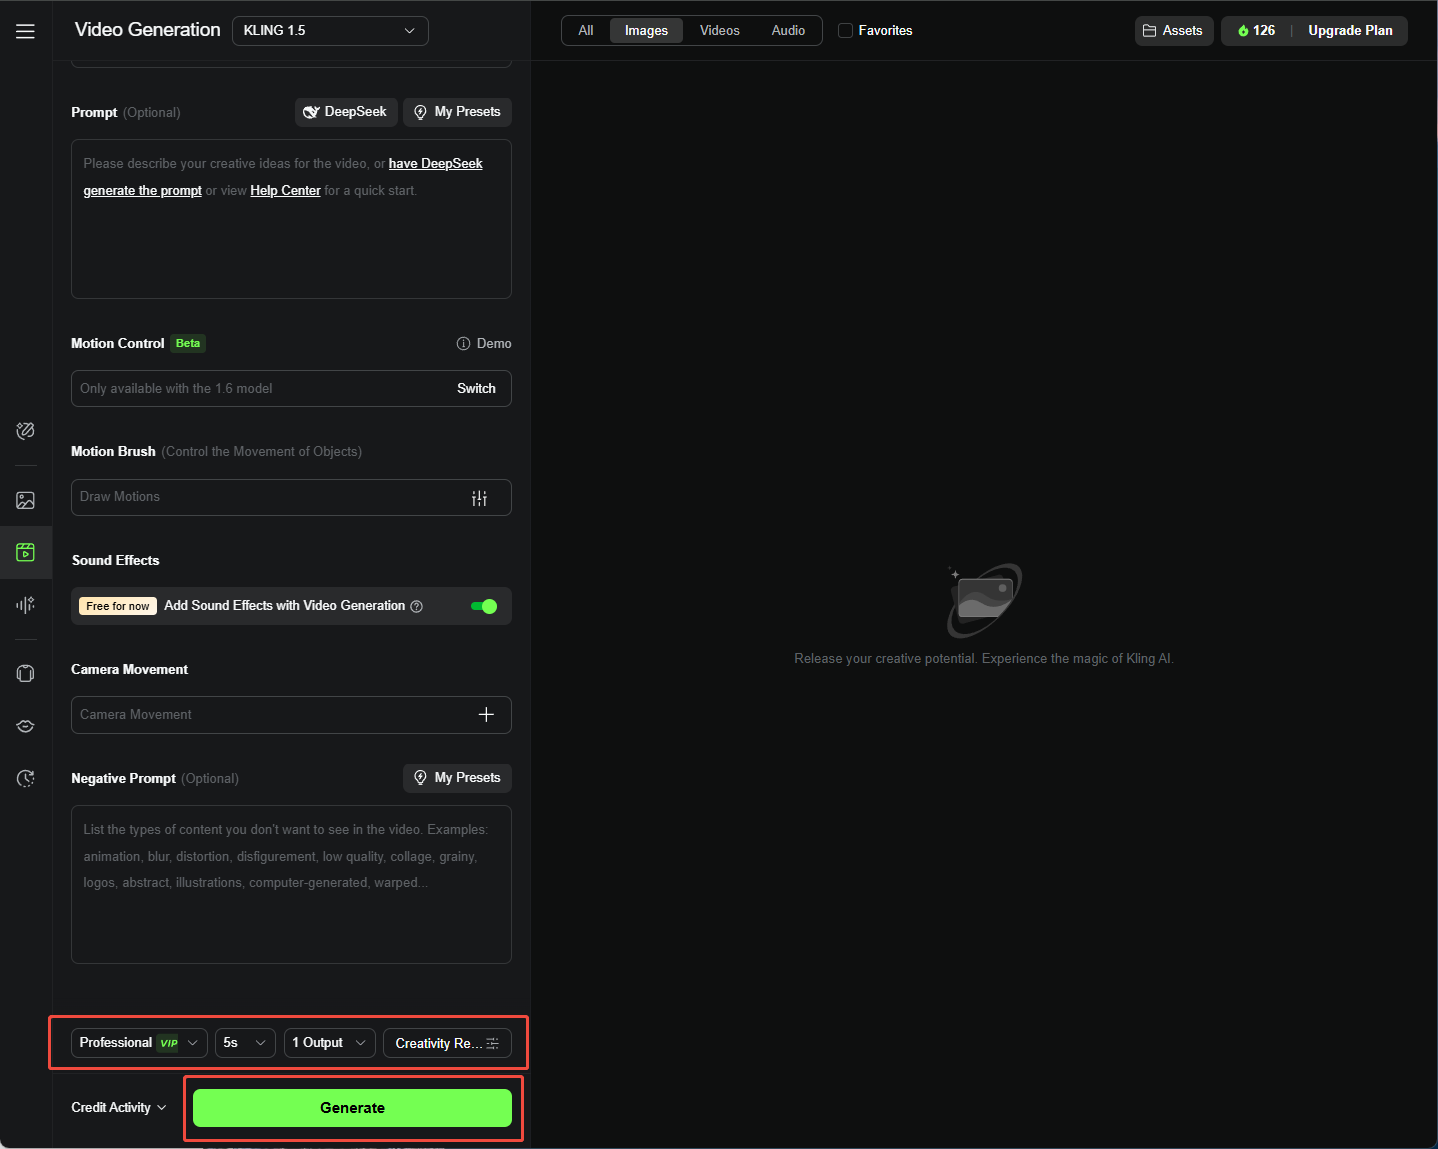
Step 1: Choose a Model and Input Text Prompt
I had to describe my video clearly, like: “A lion running across a golden savanna at sunset, wide-angle shot, warm lighting.”
I followed this formula: [Subject + Subject Movement + Scene + (Camera View/Lighting/Atmosphere)]. The more details I added, the better my videos turned out.
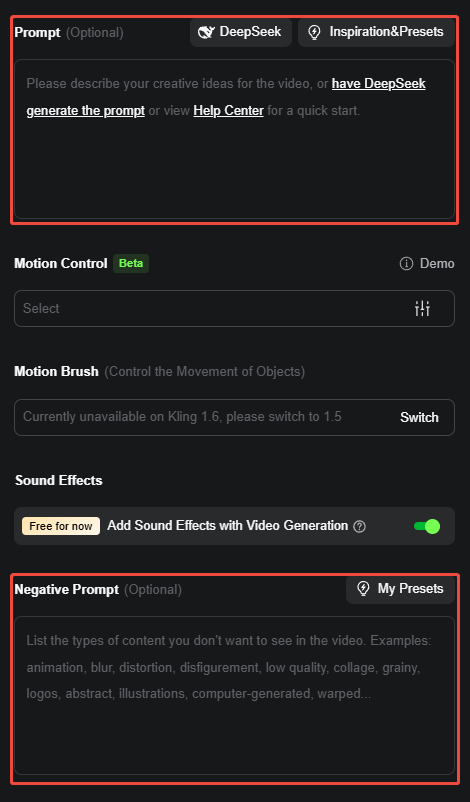
Also, I can choose to input a negative prompt. I used this to avoid stuff I didn’t want, like “no dark shadows” or “no blurry edges.” It helped keep my videos clean.
Step 2: Customize Video Settings
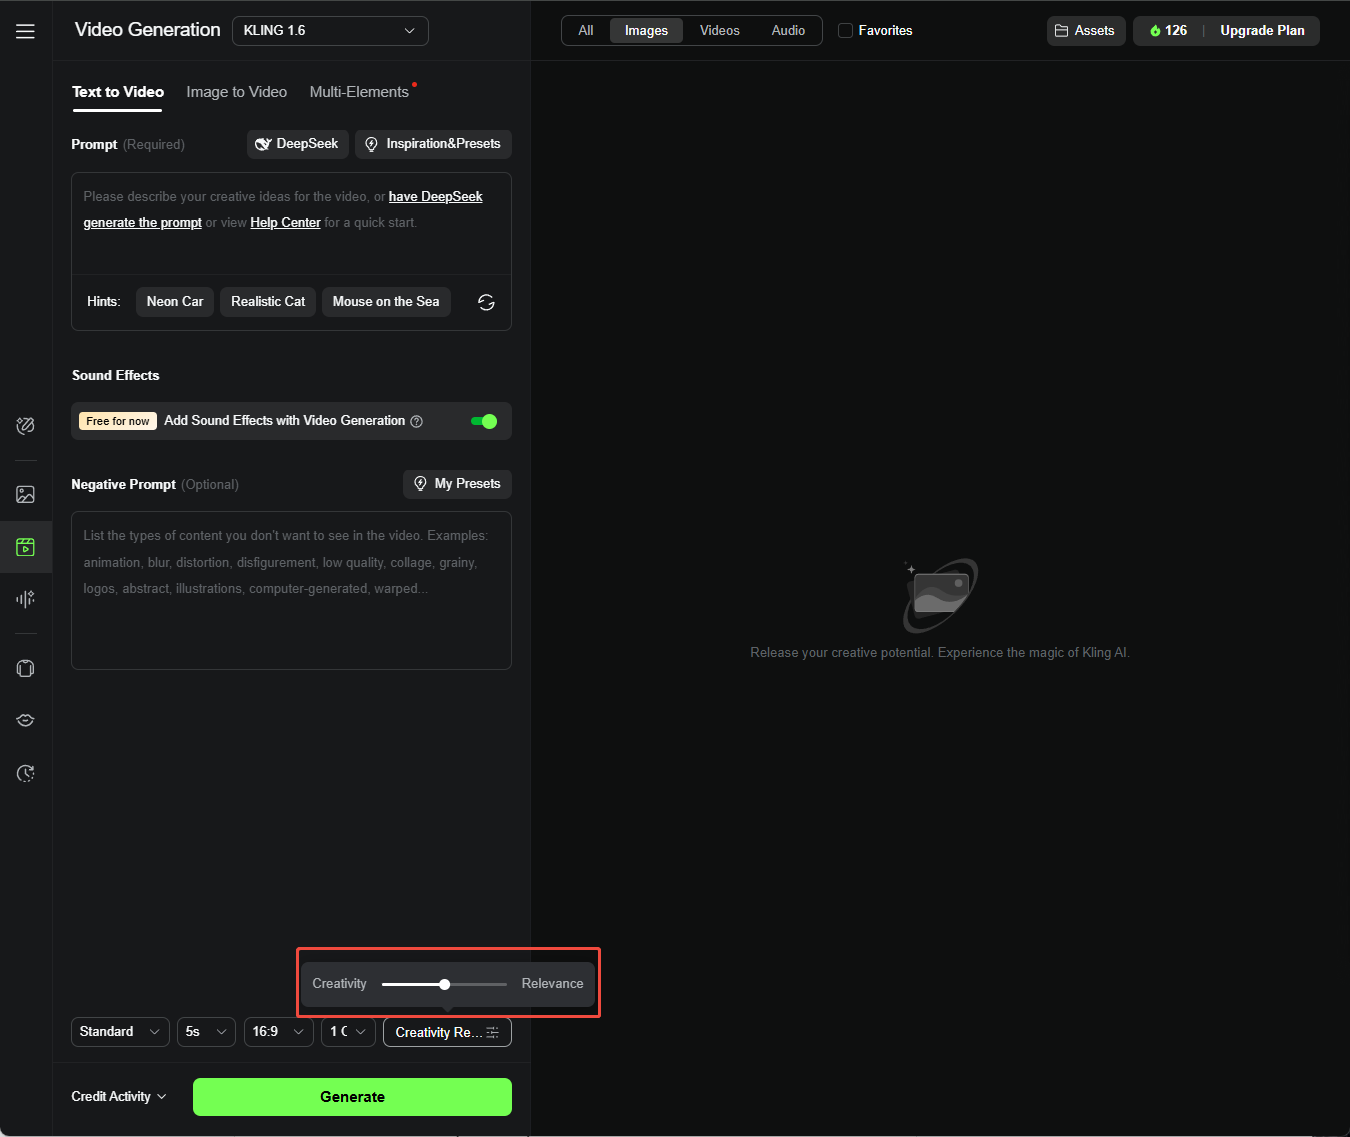
I played with the Creativity-Relevance slider—leaning toward Relevance for accurate results or Creativity for wilder outputs.
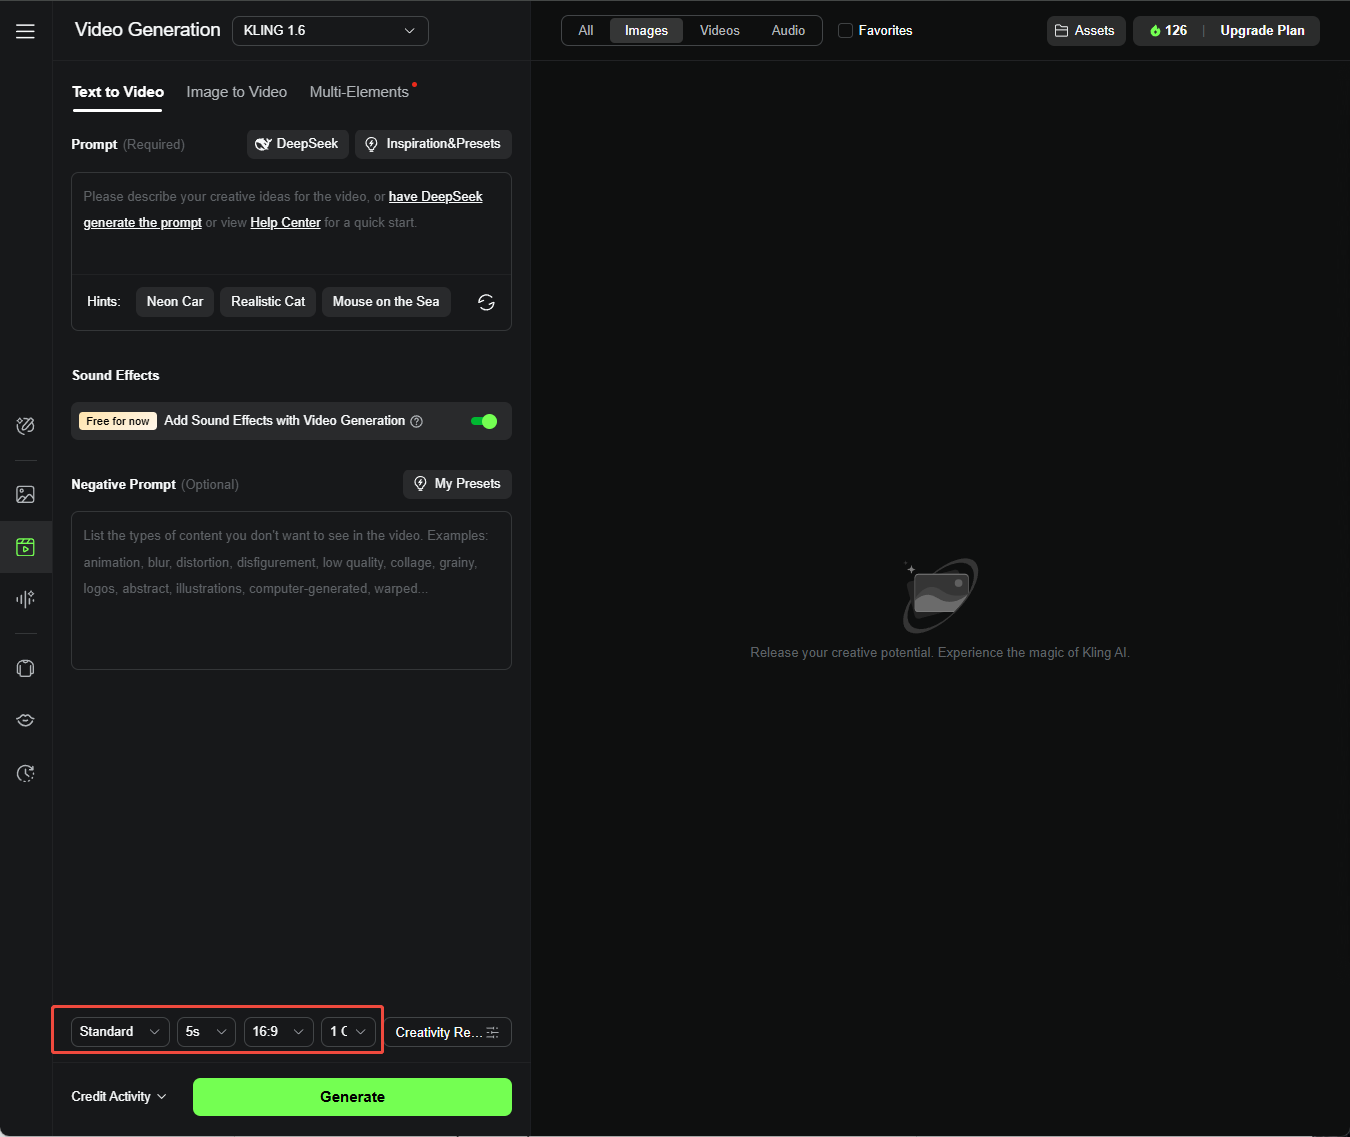
I also picked between Standard Mode (fast and cheap) or Professional Mode (higher quality, great for my polished projects). I tweaked Duration (5s or 10s), Aspect Ratio (16:9, 9:16, or 1:1), and Generating Count (up to 4).
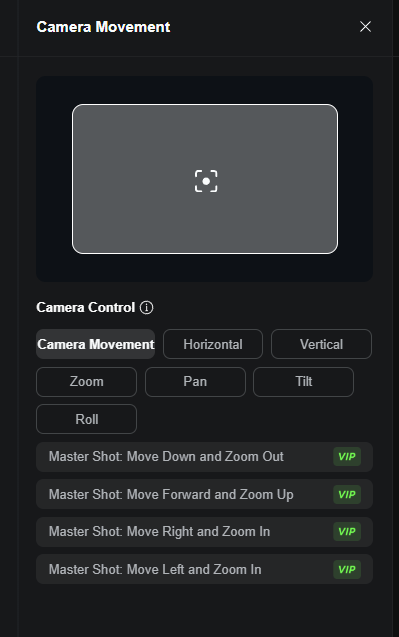
I also found that camera movement is available on the Kling 1.0 model, which lets me control the direction of the camera across various scenes. I can adjust aspects like Tilt, Zoom, Pan, Roll, and more.
Step 3: Generate Video
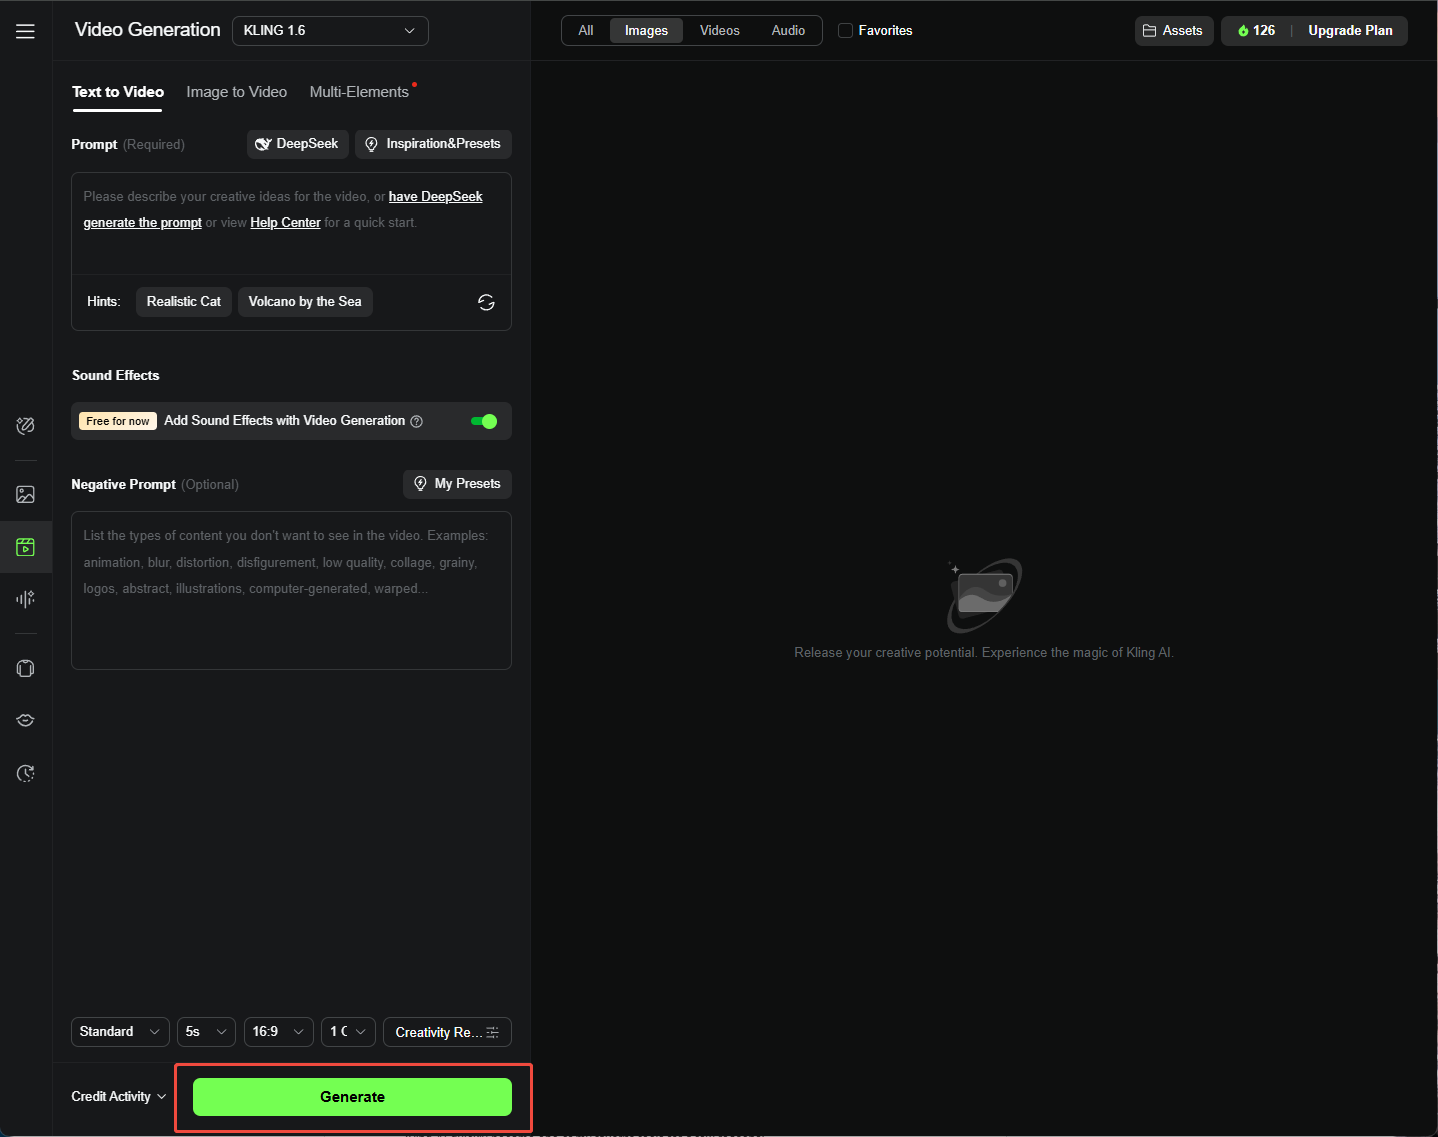
I hit “Generate,” waited a few minutes, and checked out my video. If it looked good, I downloaded it. If not, I tweaked my prompt and tried again.
How To Use Kling AI Image-to-Video Generation?
The image-to-video feature was just as fun, with a few unique twists. Here’s how I made it work after I chose the image-to-video option:
Step 1: Upload Your Image
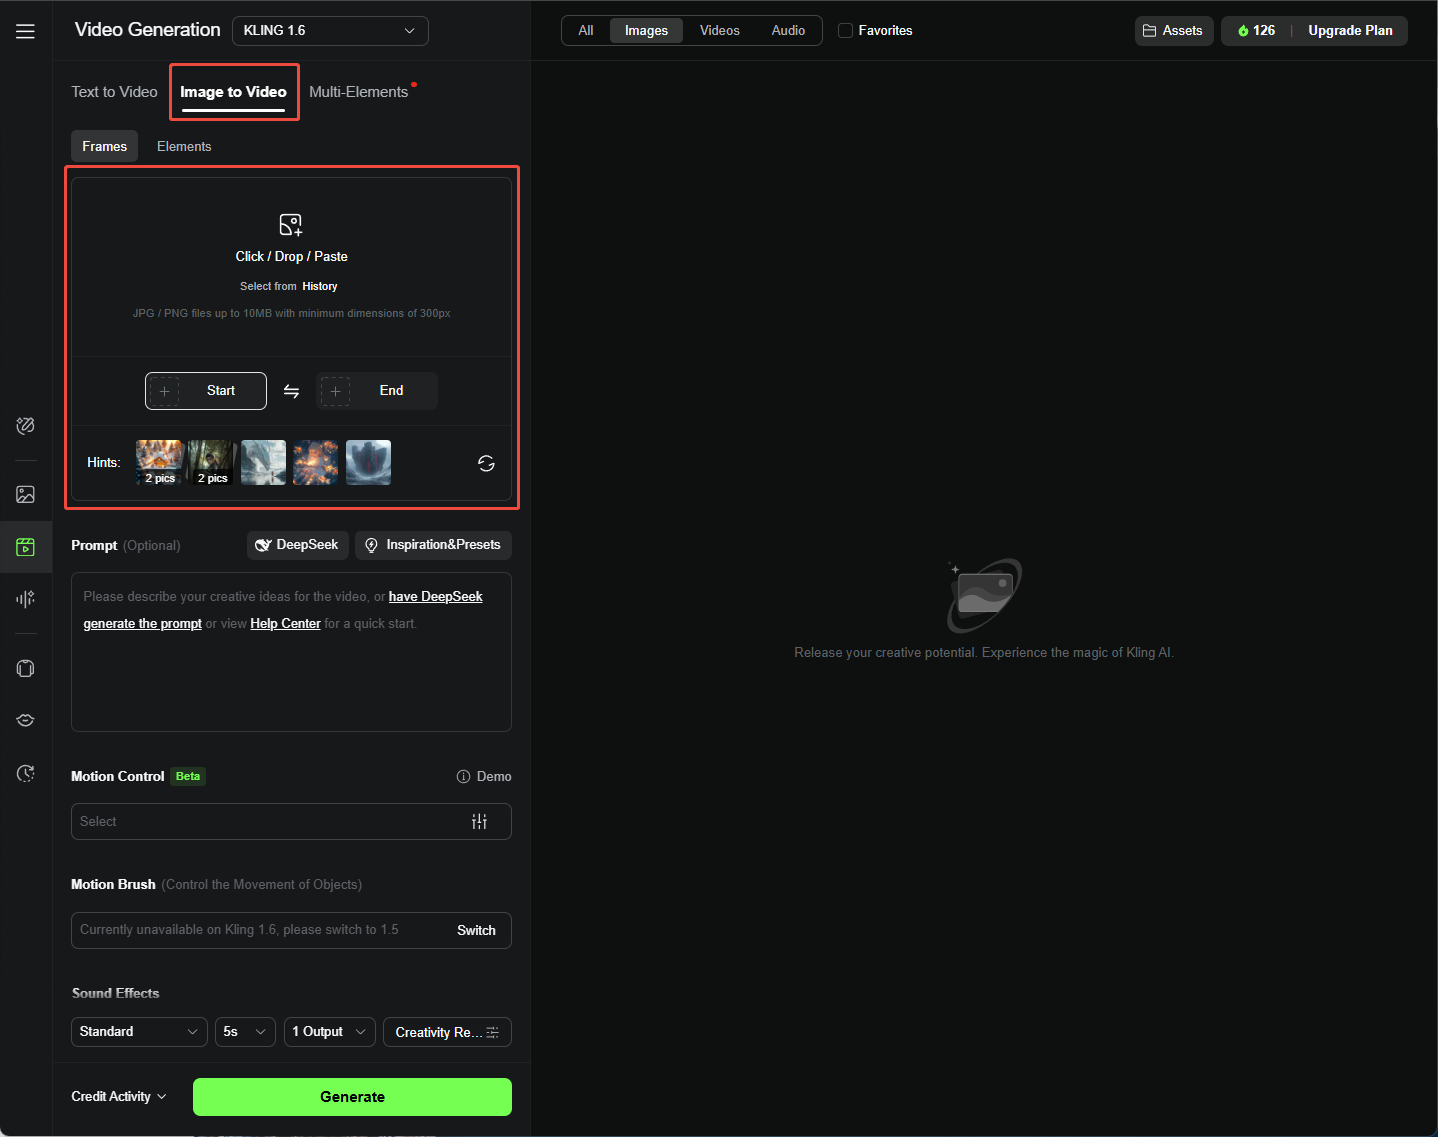
I uploaded a JPG or PNG (min 300px, max 10MB) as my start frame. I also tried uploading a second image as an end frame for smoother transitions.
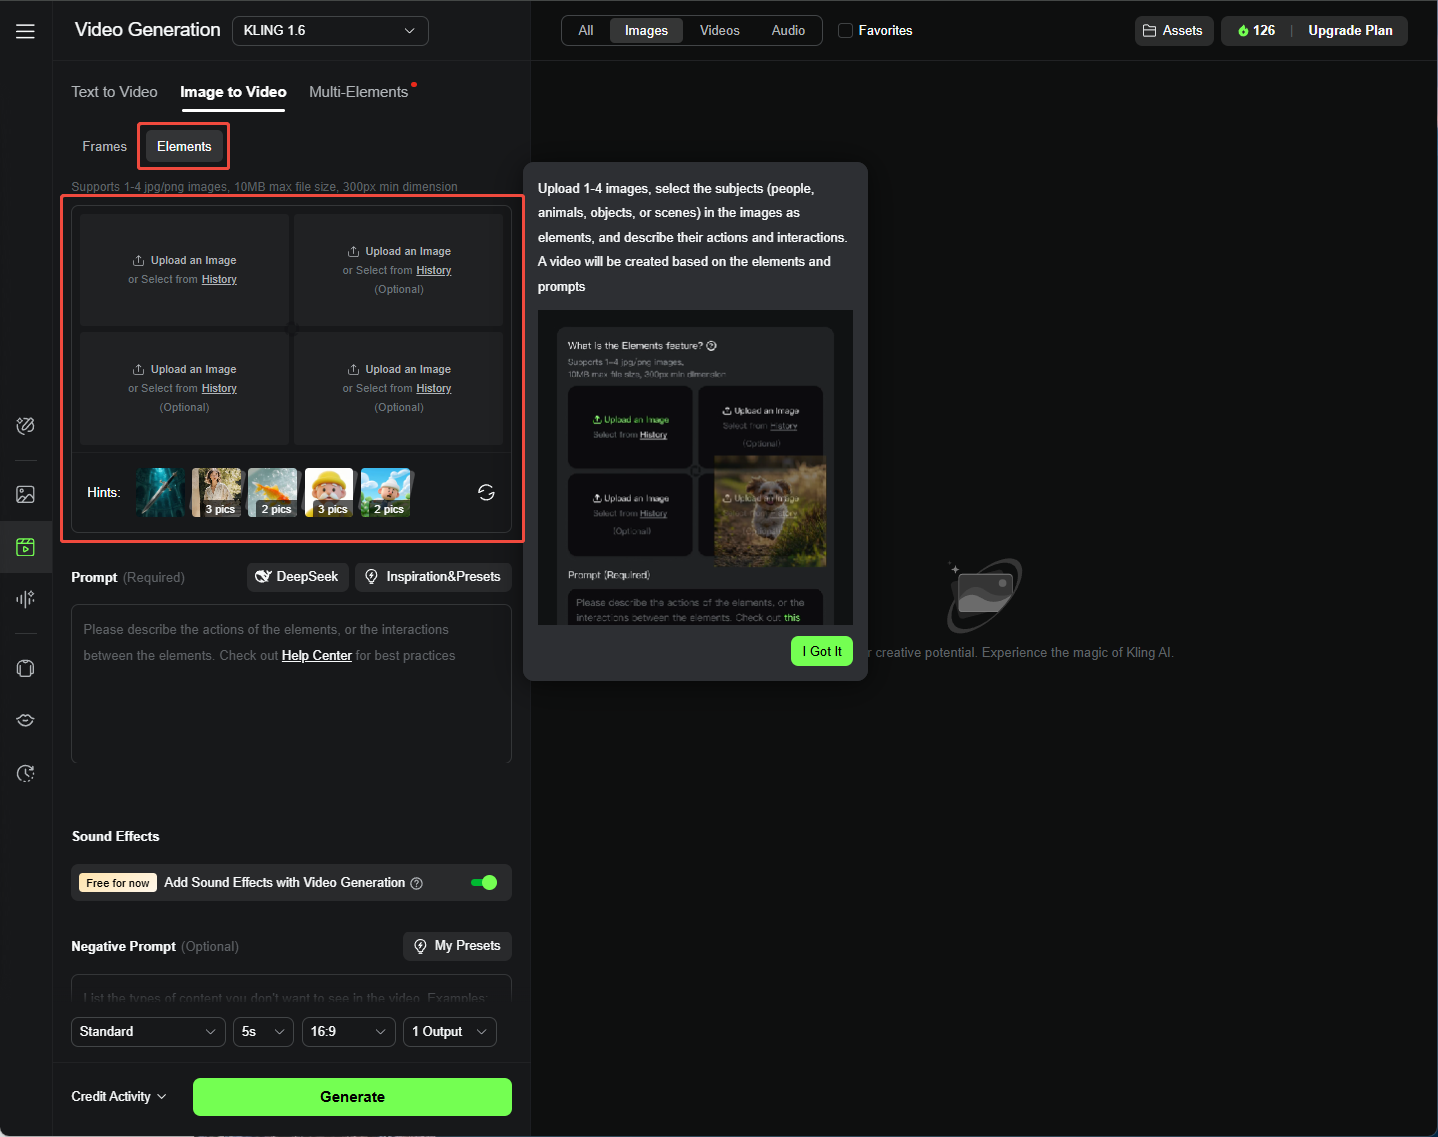
The “Elements” tab (currently available with the Kling 1.6) lets me combine up to four images (like people or objects) for more complex scenes.
Step 2: Input Detailed Prompt
Adding a prompt was optional, but it helped a ton.
Same, I used: [Subject + Movement, Background + Movement], like “A dog chasing a ball in a park, grass swaying in the breeze.” Clear prompts made my videos pop.
Step 3: Use Motion Brush (Kling AI 1.5 Model + Frames + Professional Mode Only)
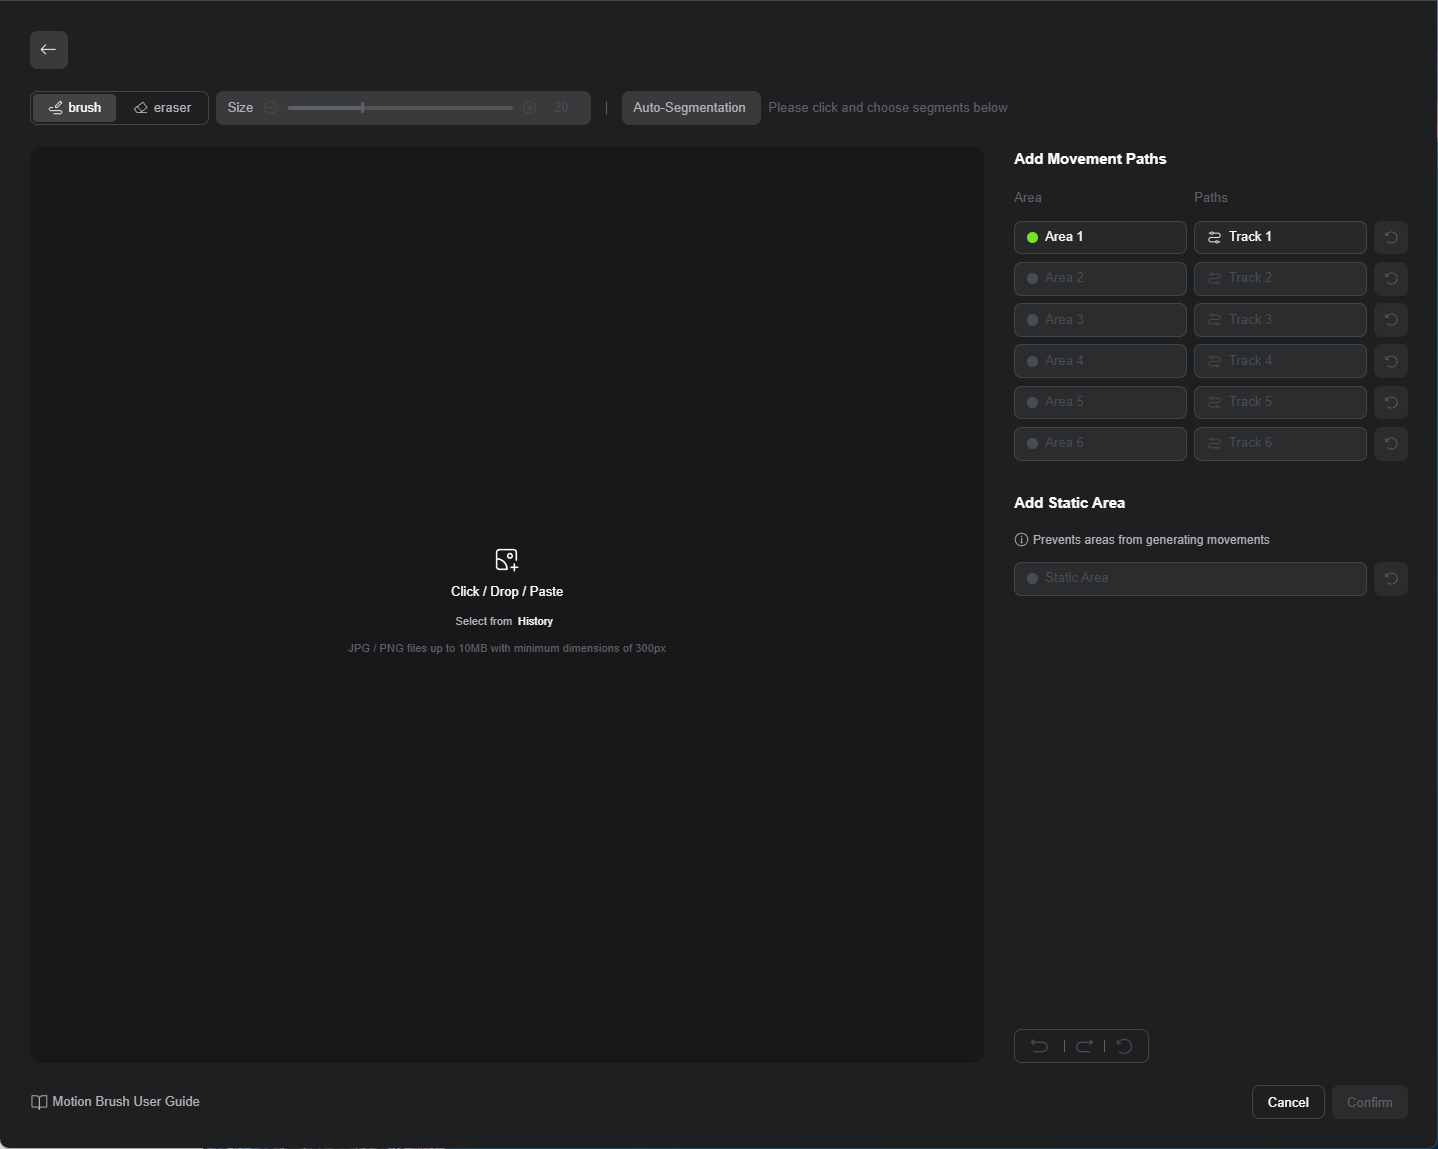
Motion Brush was my favorite! I clicked “Draw Motions,” selected an area (like a waving hand), hit “Track,” and drew its path. It gave me so much control over how things moved.
Step 4: Adjust Video Settings
Just like text-to-video, I tweaked Creativity-Relevance, Aspect Ratio, and Duration, then hit “Generate” to see my video come to life.
Why Should You Use Kling AI To Generate Videos?
Kling AI quickly became one of my favorite tools for a few reasons:
- High-Quality Video Output: The 1080p resolution made my videos look sharp and professional, perfect for my marketing and blog projects.
- Realistic Character Motions: The AI’s motion tech made my characters move so naturally, it was hard to believe they were AI-generated.
- Advanced 3D Reconstruction: I was blown away by how lifelike the 3D characters were—great for animations that needed to feel real.
- Flexible Prompt Translation: The Creativity-Relevance slider lets me control how closely the AI follows my prompts, which was perfect for balancing creativity and precision..
Are There Any Kling AI Alternatives?
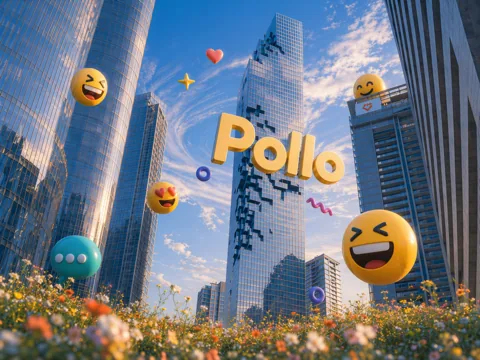
I loved Kling AI, but I hit some snags—sometimes the videos took forever to generate, or the quality wasn’t quite what I hoped. That’s when I checked out Pollo AI.

Pollo AI is an advanced all-in-one AI video generator integrated with multiple AI models such as Kling AI, Runway, Hunyuan, PixVerse, Hailuo AI, Luma AI, and others.
I could use text to video, image to video, consistent character video, AI animation generator, plus 40+ video templates and AI video tools for creative effects.
I watched five tutorial videos on Pollo AI for text-to-video and image-to-video, and it made creating polished videos so easy.
Conclusion
Kling AI has been a blast for turning my ideas into videos, whether I’m using text or images. Its features and flexibility make it a top pick for me, even with a few quirks.
But if you hit any roadblocks like I did, Pollo AI is an awesome alternative that’s helped me create high-quality videos without the hassle. I’m excited to keep playing with both and see what else I can create!