How To Create 3D Animations with Kling AI
Kling AI lets you create AI 3D animation videos from text prompts or images. The following are some of its output examples:
| Sample 3D animations created by Kling AI | |
However, many people are unclear about how to create a high-quality 3D animations. So in this detailed guide, we will explore how you can use Kling AI to produce 3D animations. So, let’s get started!
How To Create 3D Animations via Kling AI Text-to-Video?
The first option that you can use to produce a 3D animation is to use Kling AI's text-to-video generation. To get started, you will need to sign up for an account. You can open the Kling AI website and select the “Sign in for free credits” button to register.
Step 1: Access ‘Video Generation’ Page

Once you’ve registered, you can sign in and this will take you to the Kling AI user dashboard. From there, you can look to the left-hand menu and scroll down to AI Assets > AI Videos. This will take you to the text-to-video interface to start the creation process.
Step 2: Choose an AI Model
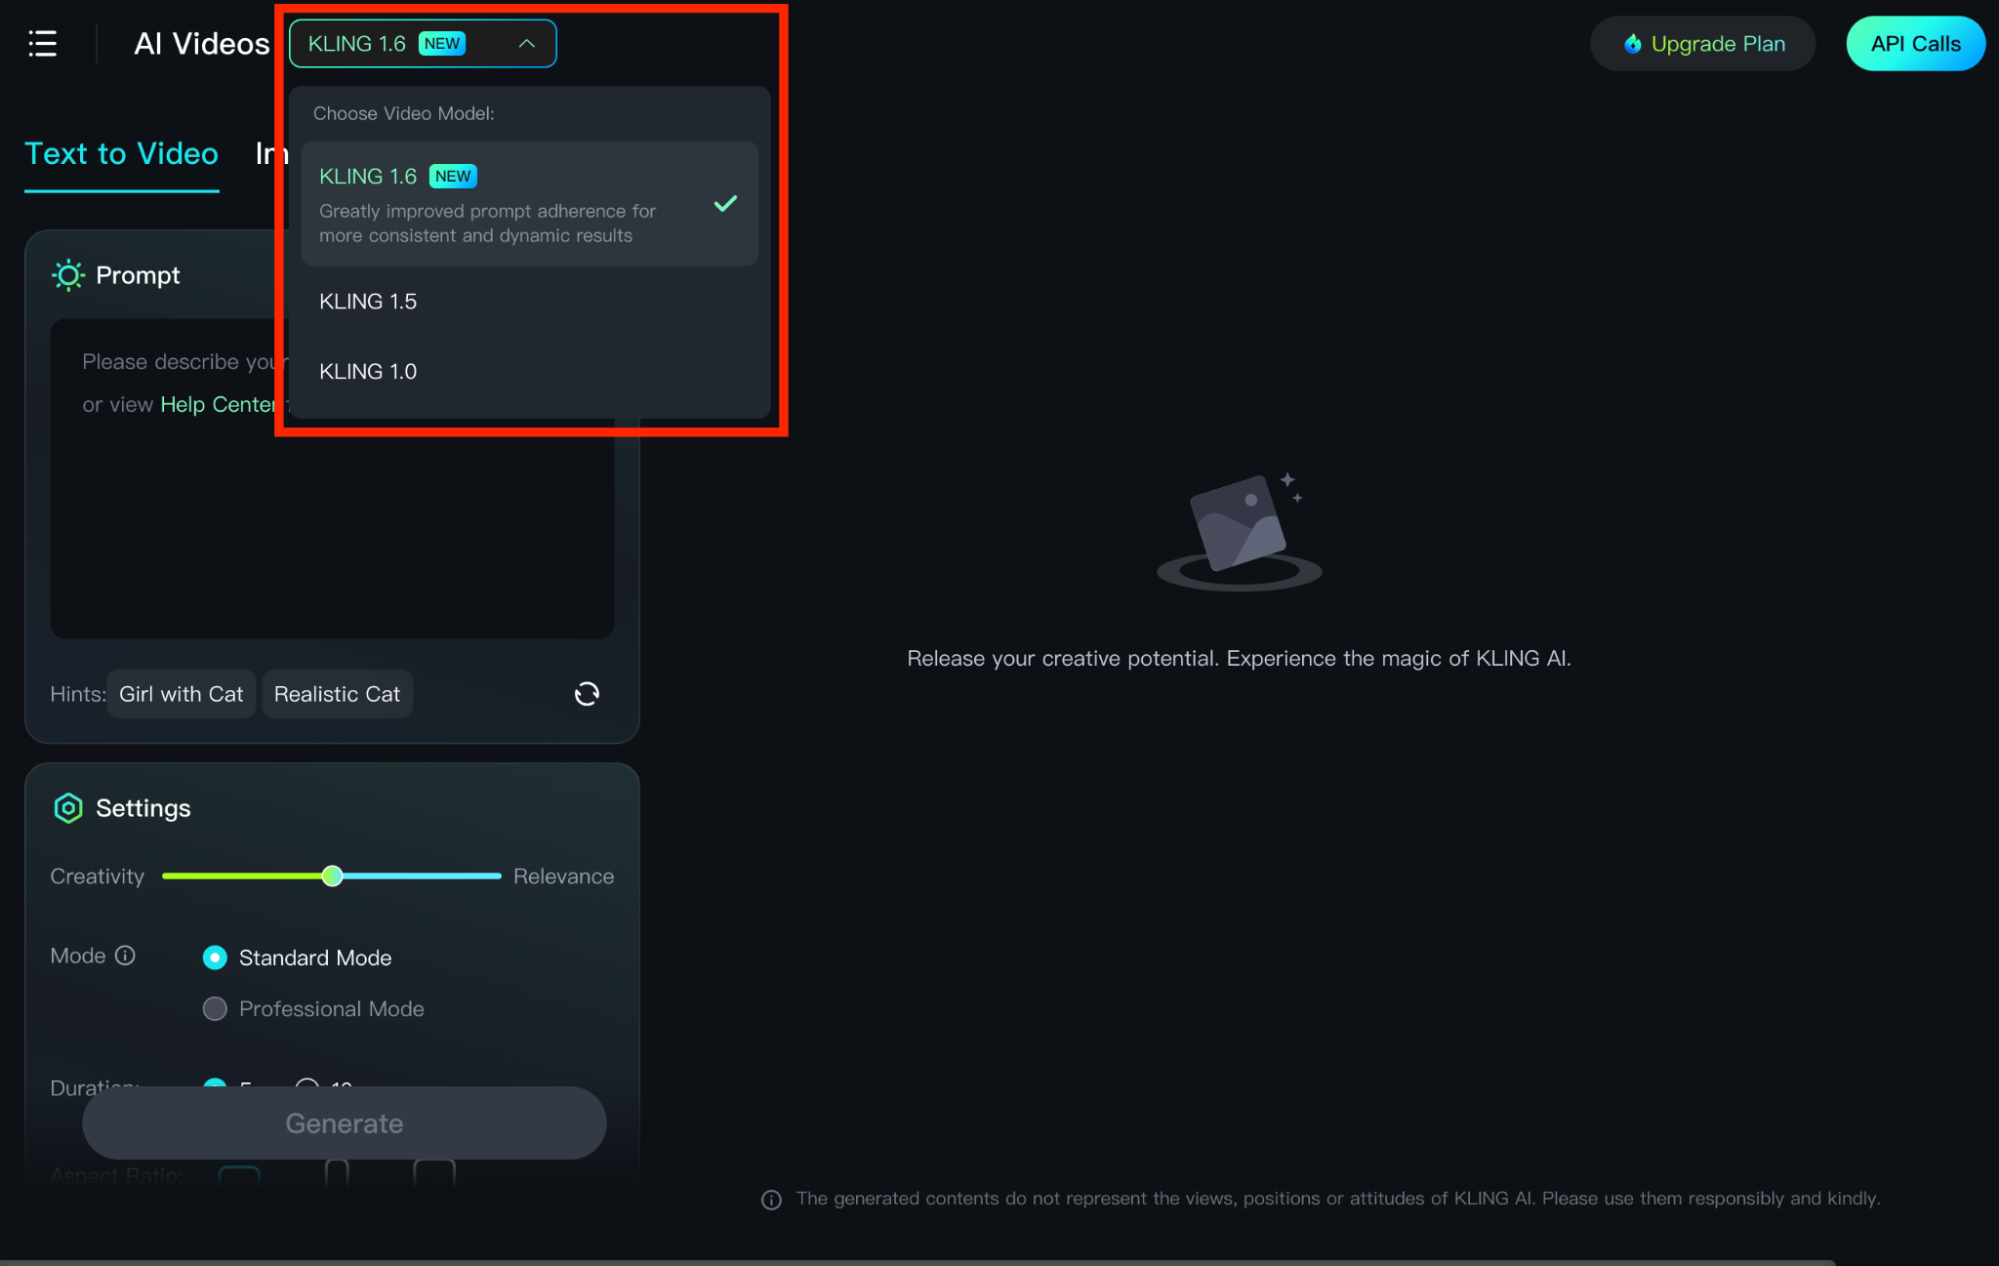
Kling AI has three AI models, Kling 1.0, 1.5, and 1.6. You can choose the one that best suits your needs. If you want greater prompt adherence and more consistent video quality, then 1.6 is ideal. For extensive customization options, you can choose 1.5.
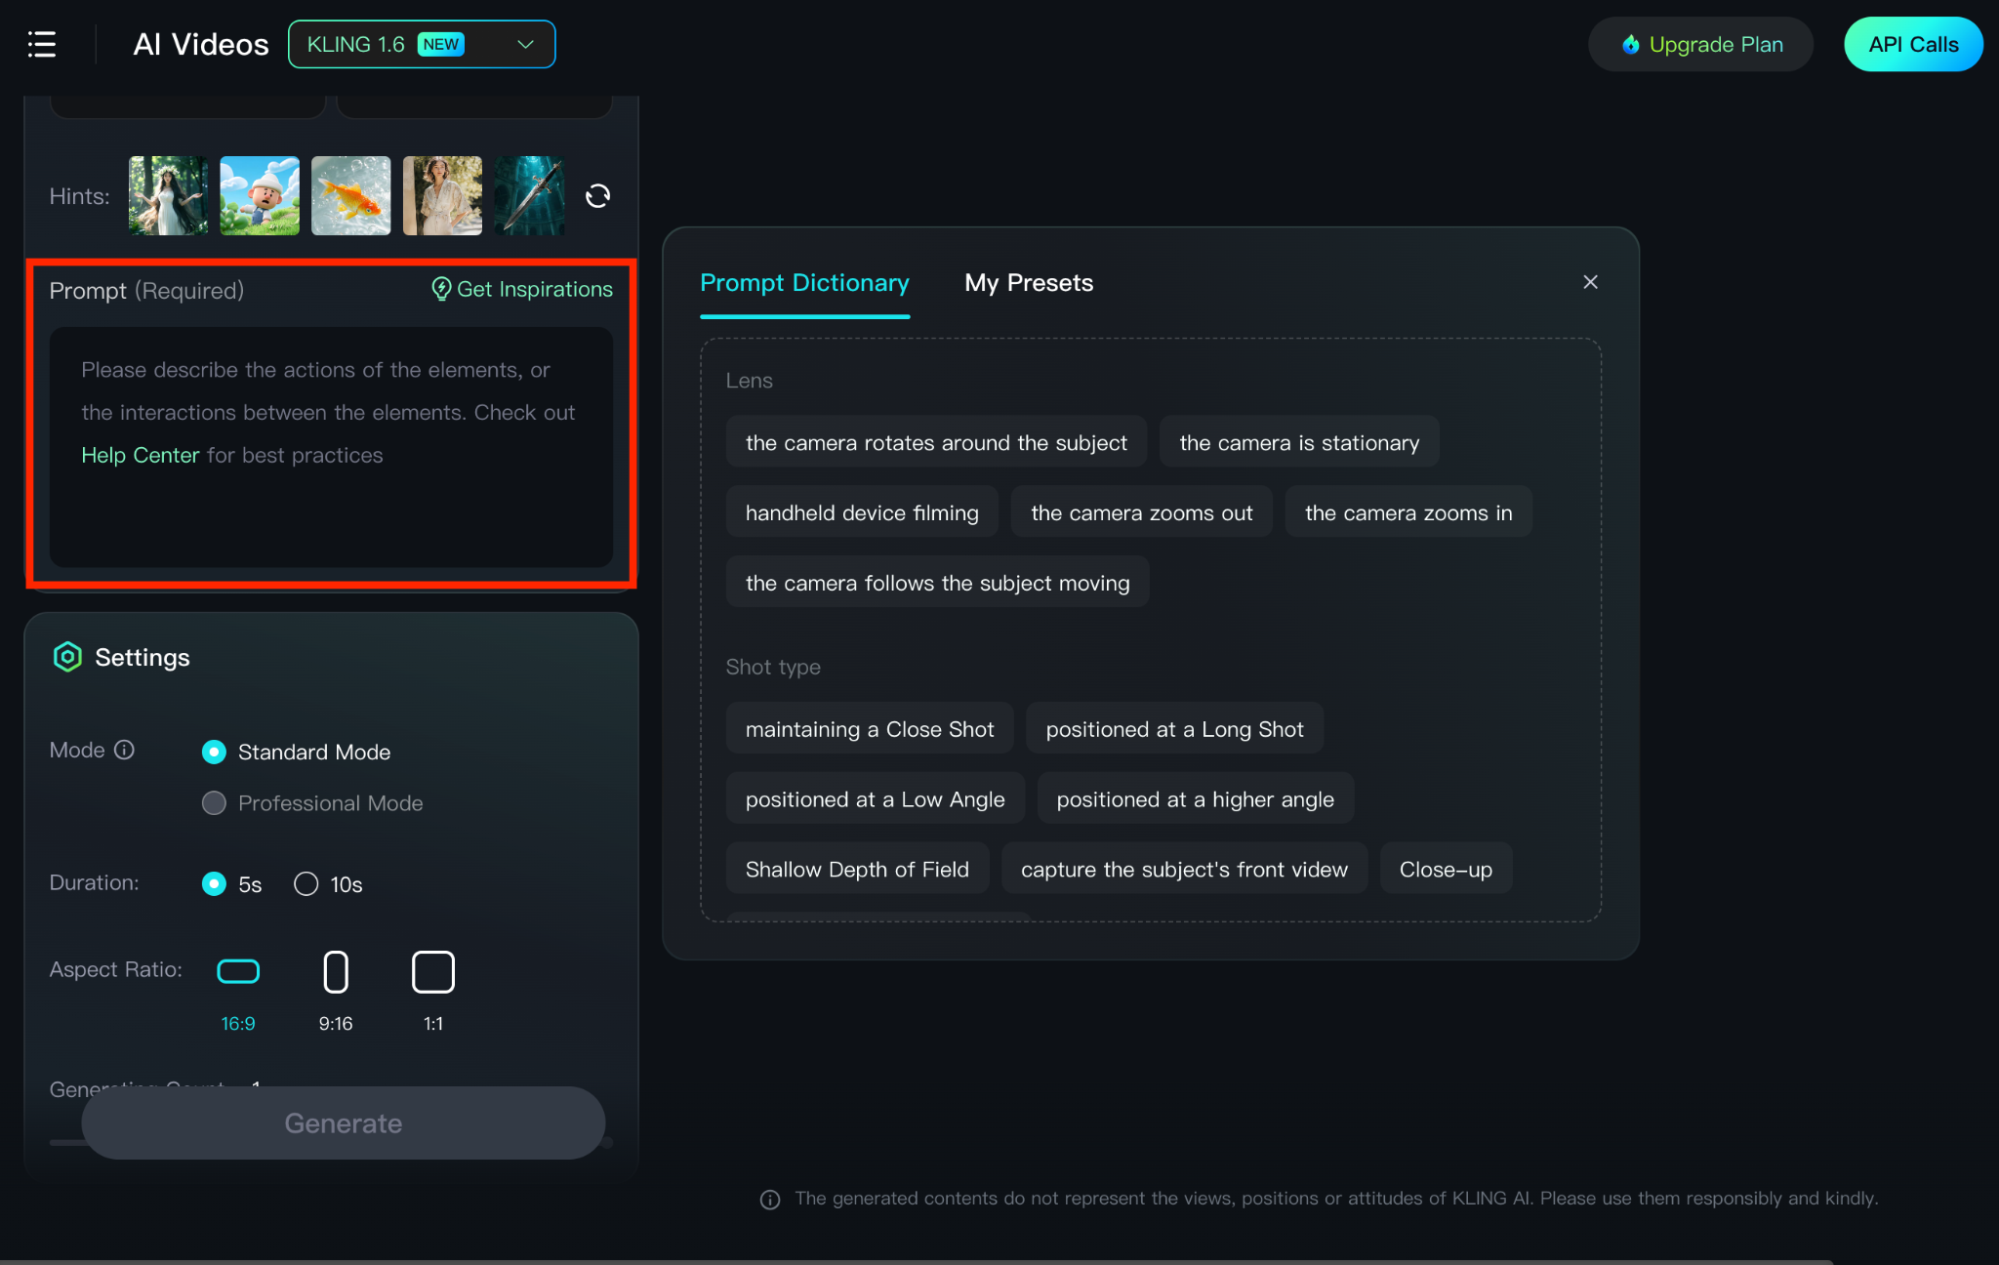
Step 3: Input Descriptive Prompt

To create a 3D video, you will need to provide Kling AI with a clear and specific prompt to ensure the model understands what it is you want to create. In this case, you will need to include the keyword ‘3D animation’ in your input.
For instance, an effective prompt to use would be; "Pixar 3D animation of a cat sleeping peacefully under a coconut tree on a hot summer’s day at the beach. Wide angle camera view with time-lapse.” The final result will be a vibrant visual sequence that meets your requirements.
This was a basic example of a simple prompt but if you generally want to achieve the best results, then you should aim to follow this formula; [Subject Description + Subject Movement + Scene Description + Camera Languages + Lighting + Atmosphere].
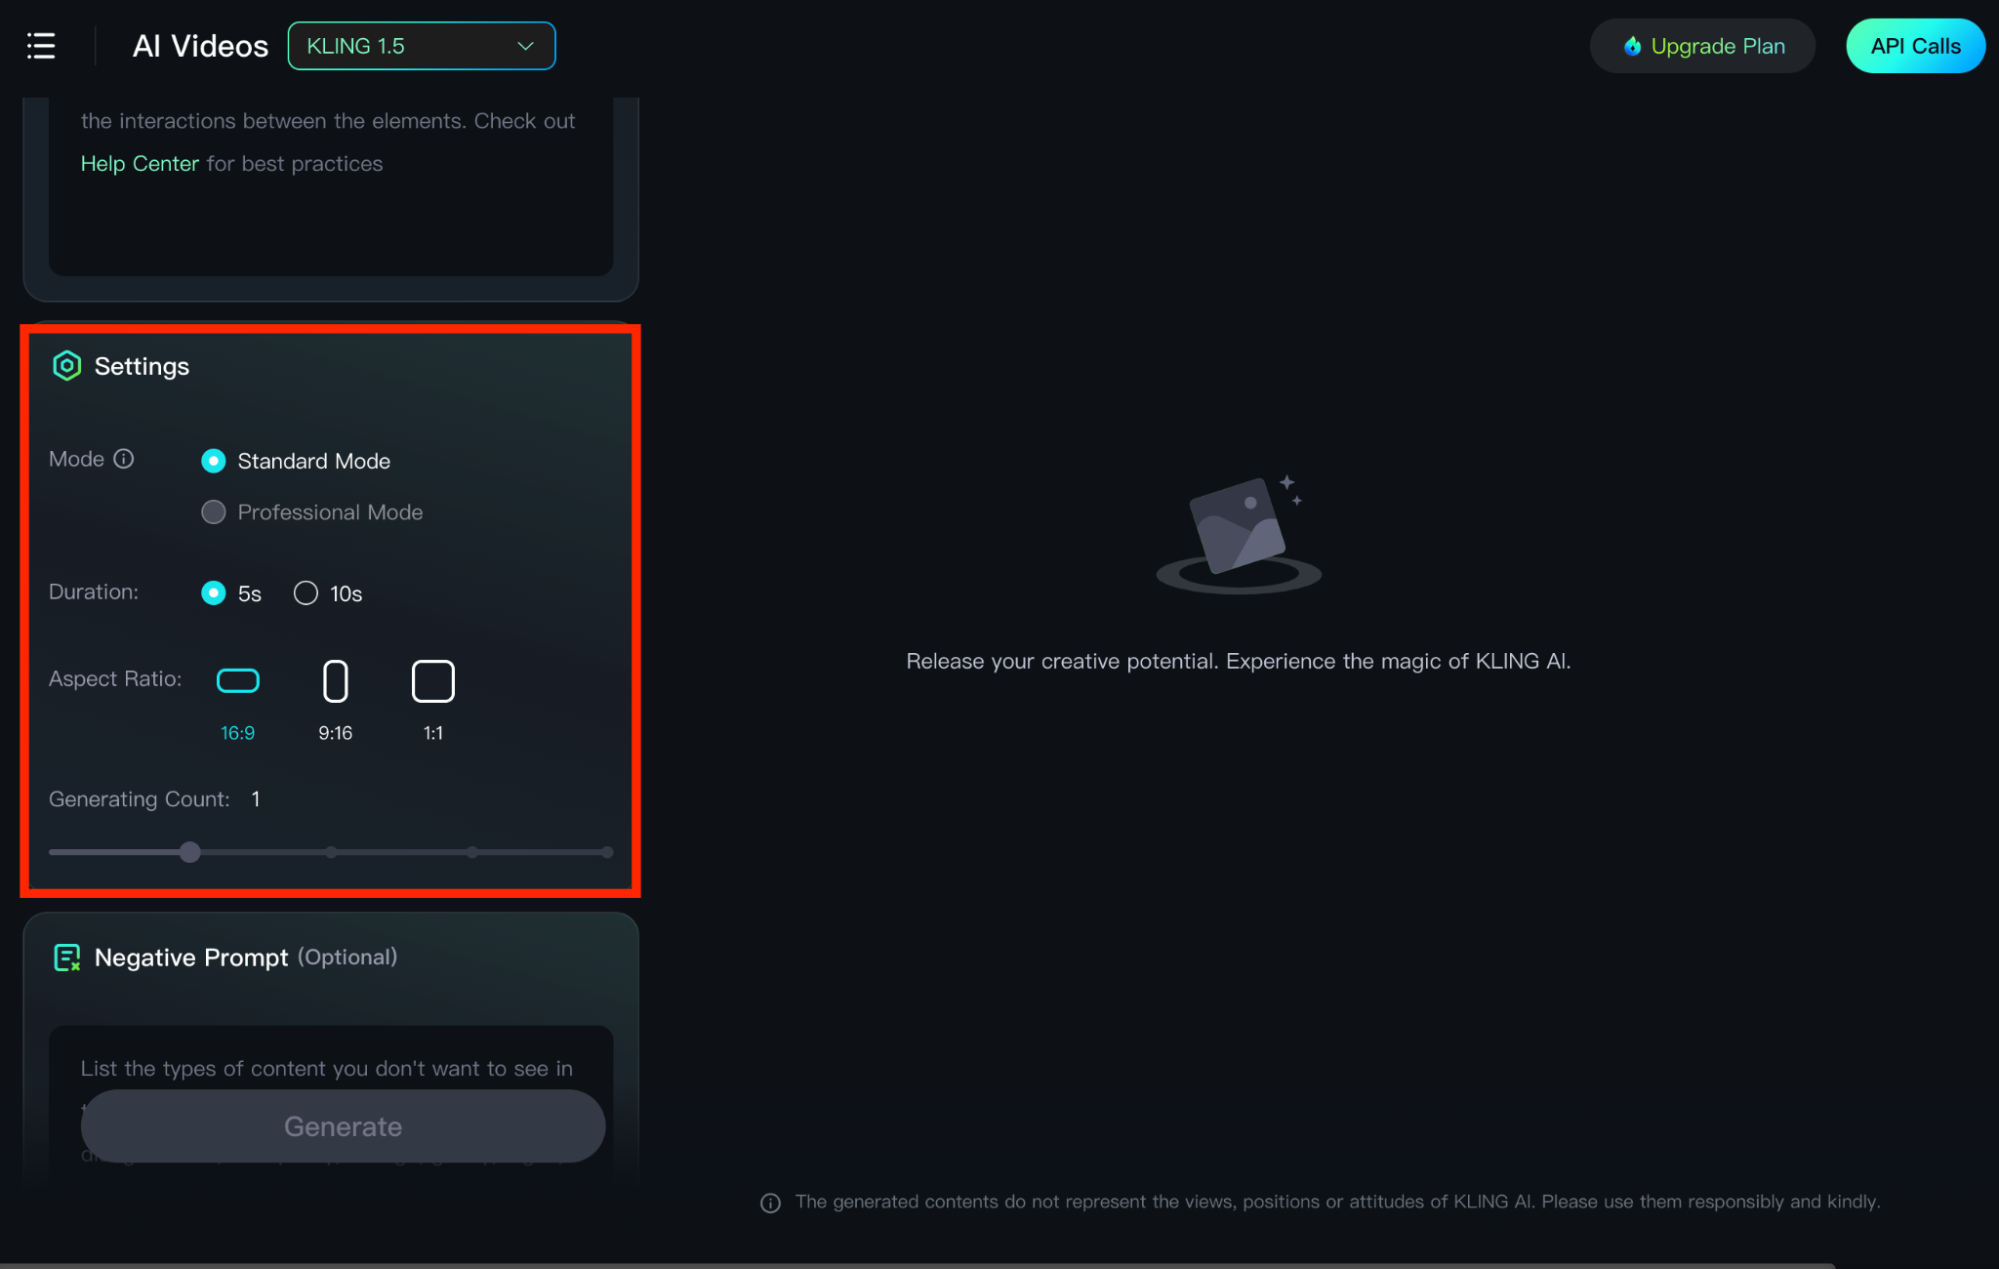
Step 4: Adjust Video Settings

The text-to-video generation model comes with several video editing tools that you can use to better customize the final output. These settings include:
- CFG Slider: This tool lets you adjust the level of accuracy that Kling AI abides by your prompt. You can slide it to ‘Relevance’ for more precision or ‘Creativity’ to give the tool more imaginative freedom.
- Modes: Kling AI comes with two AI modes - Standard and Professional. ‘Standard’ offers faster generation at a low cost, while ‘Professional’ produces better quality visuals with greater detail.
- Duration: You can use this to choose the length of the final video. Kling AI allows you to choose between 5 seconds and 10 seconds.
- Aspect Ratio: Kling AI allows you to customize your video in three different aspect ratios that include 16:9, 9:16, and 1:1. This enables you to produce videos in various layouts to better accommodate different platforms.
- Camera Movement (Available on Kling 1.0): This allows you to control the direction of the camera across scenes. You can adjust the pan, zoom, tilt, roll, and more, which gives you a lot of flexibility in the final output.
- Negative Prompts: This feature enables you to highlight the aspects you don’t want to see included in the video output. It is optional but if there are any common elements you want to avoid, then this can be useful.
Step 5: Generate Video
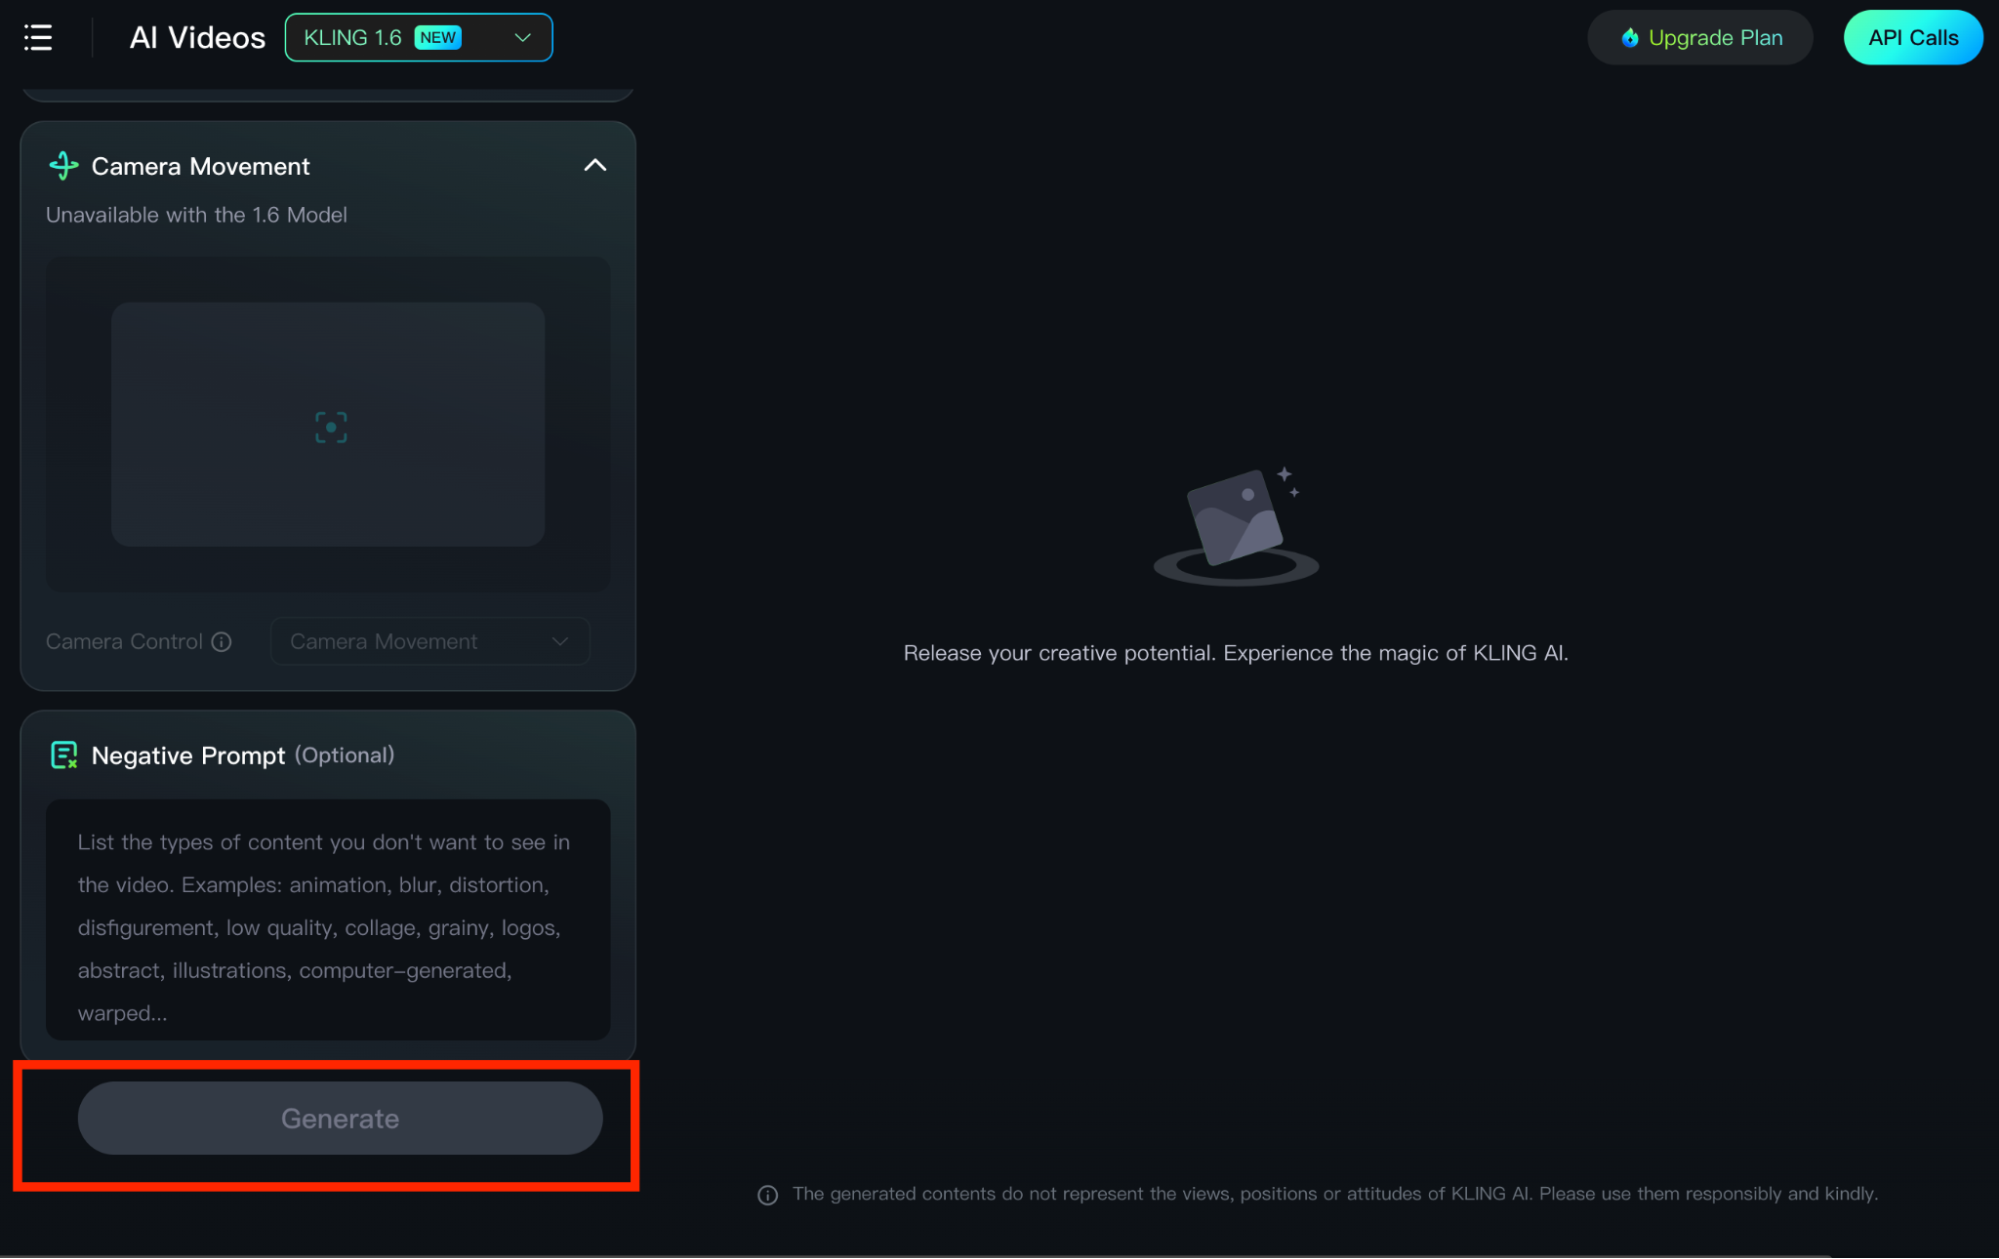
Once you’re done making your adjustments, you can click on the ‘Generate’ button. Kling AI will typically produce your video in minutes but it can sometimes take longer. When it’s ready, you can download the 3D animation if it meets your expectations.
How To Create 3D Animations via Kling AI Image-to-Video?
Besides text-to-video generation, Kling AI also offers image-to-video generation that you can also use to produce 3D animations. Let’s break down the step-by-step process in detail below.
Step 1: Upload 3D Images
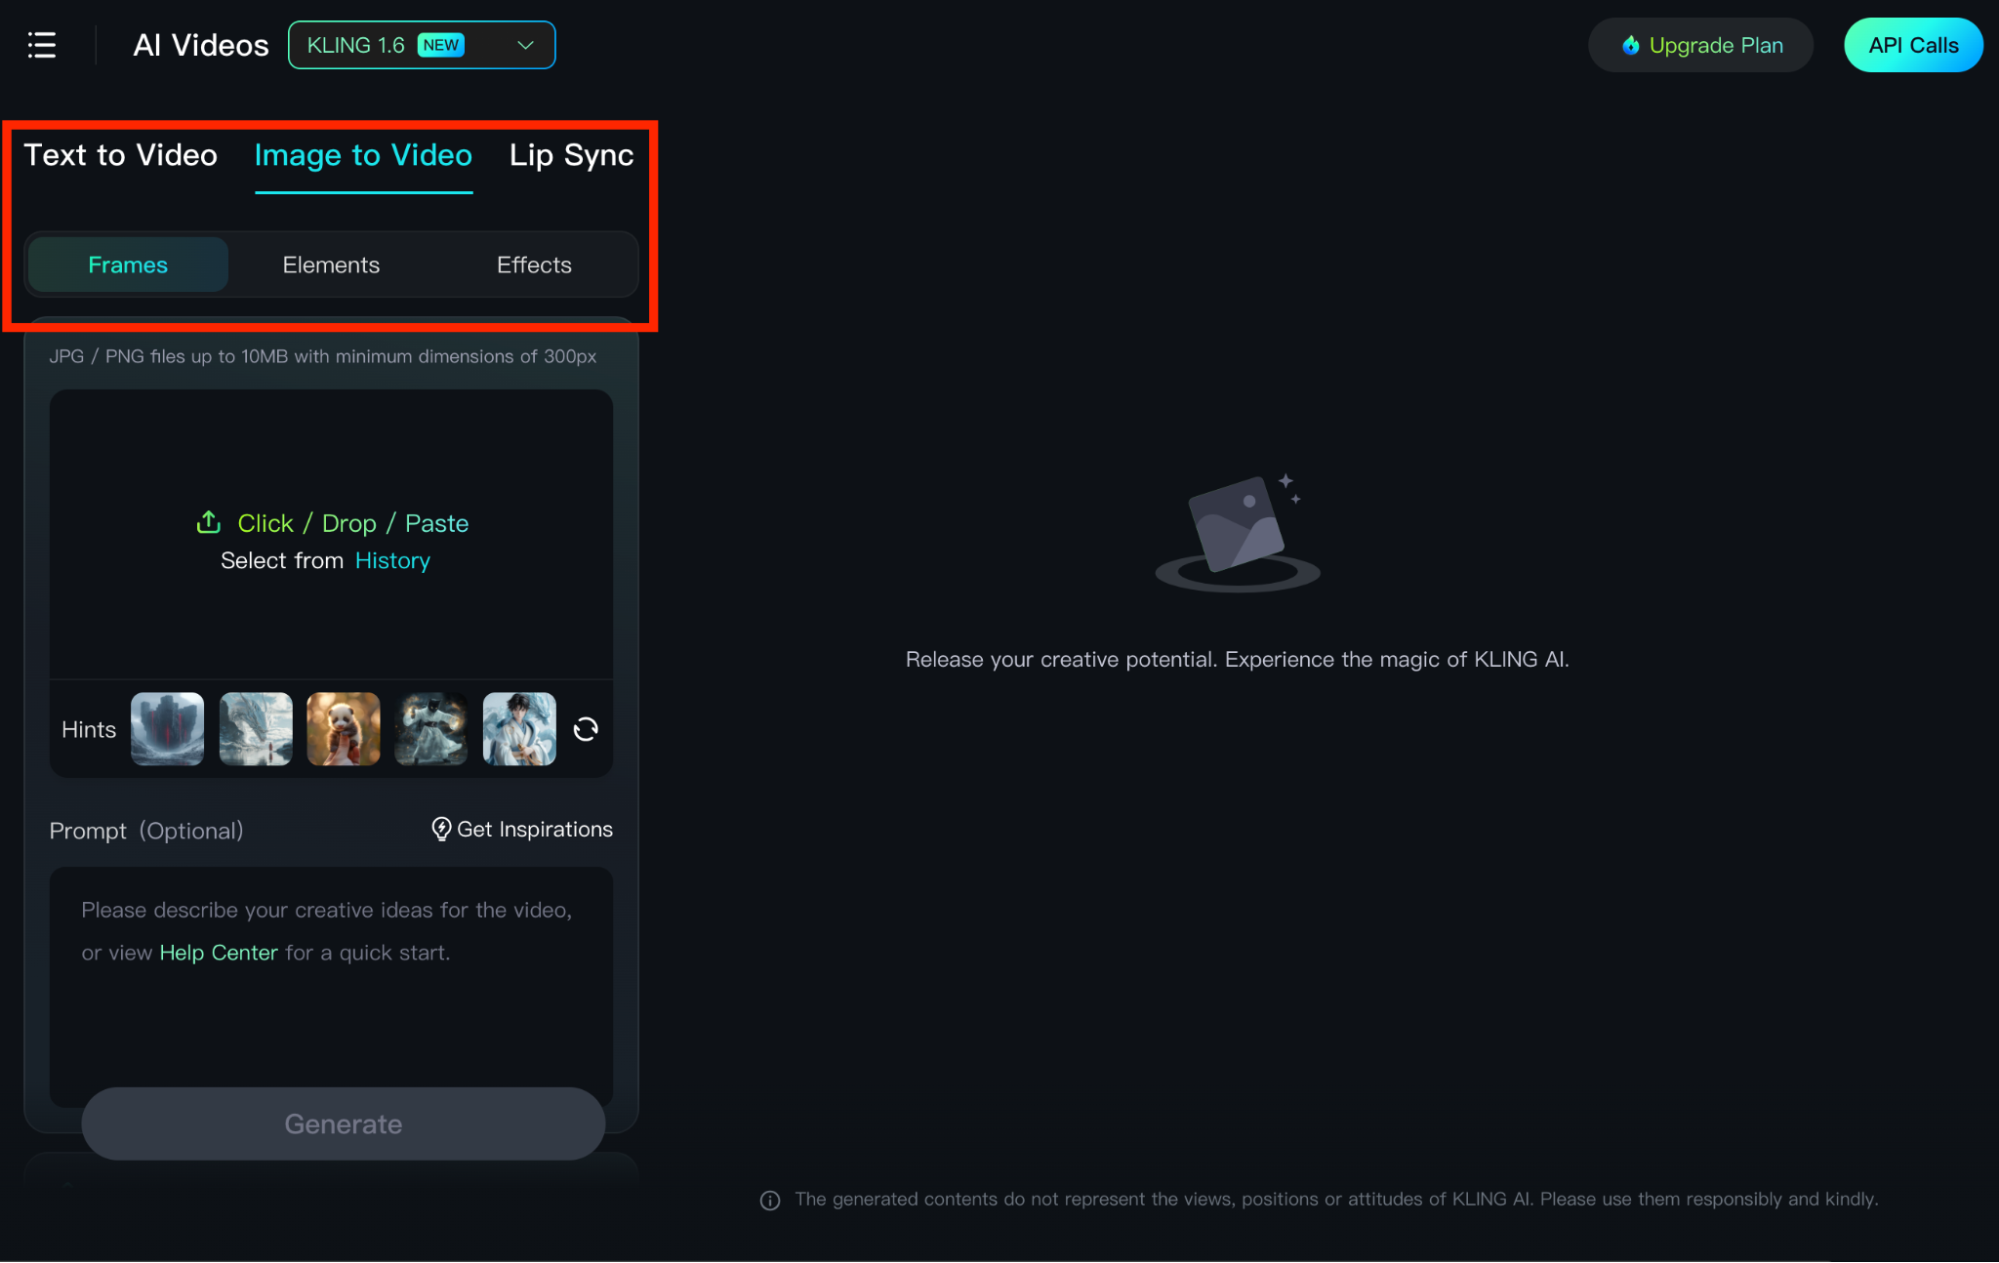
The first thing you need to do is switch to the image-to-video tab. From there, you can choose ‘Frames’ to upload two images that will be used as a start and end frame for your video. Alternatively, you can choose ‘Elements’ to upload up to 4 different images that will be used to create one visual sequence.
Step 1.5: Generate 3D Images
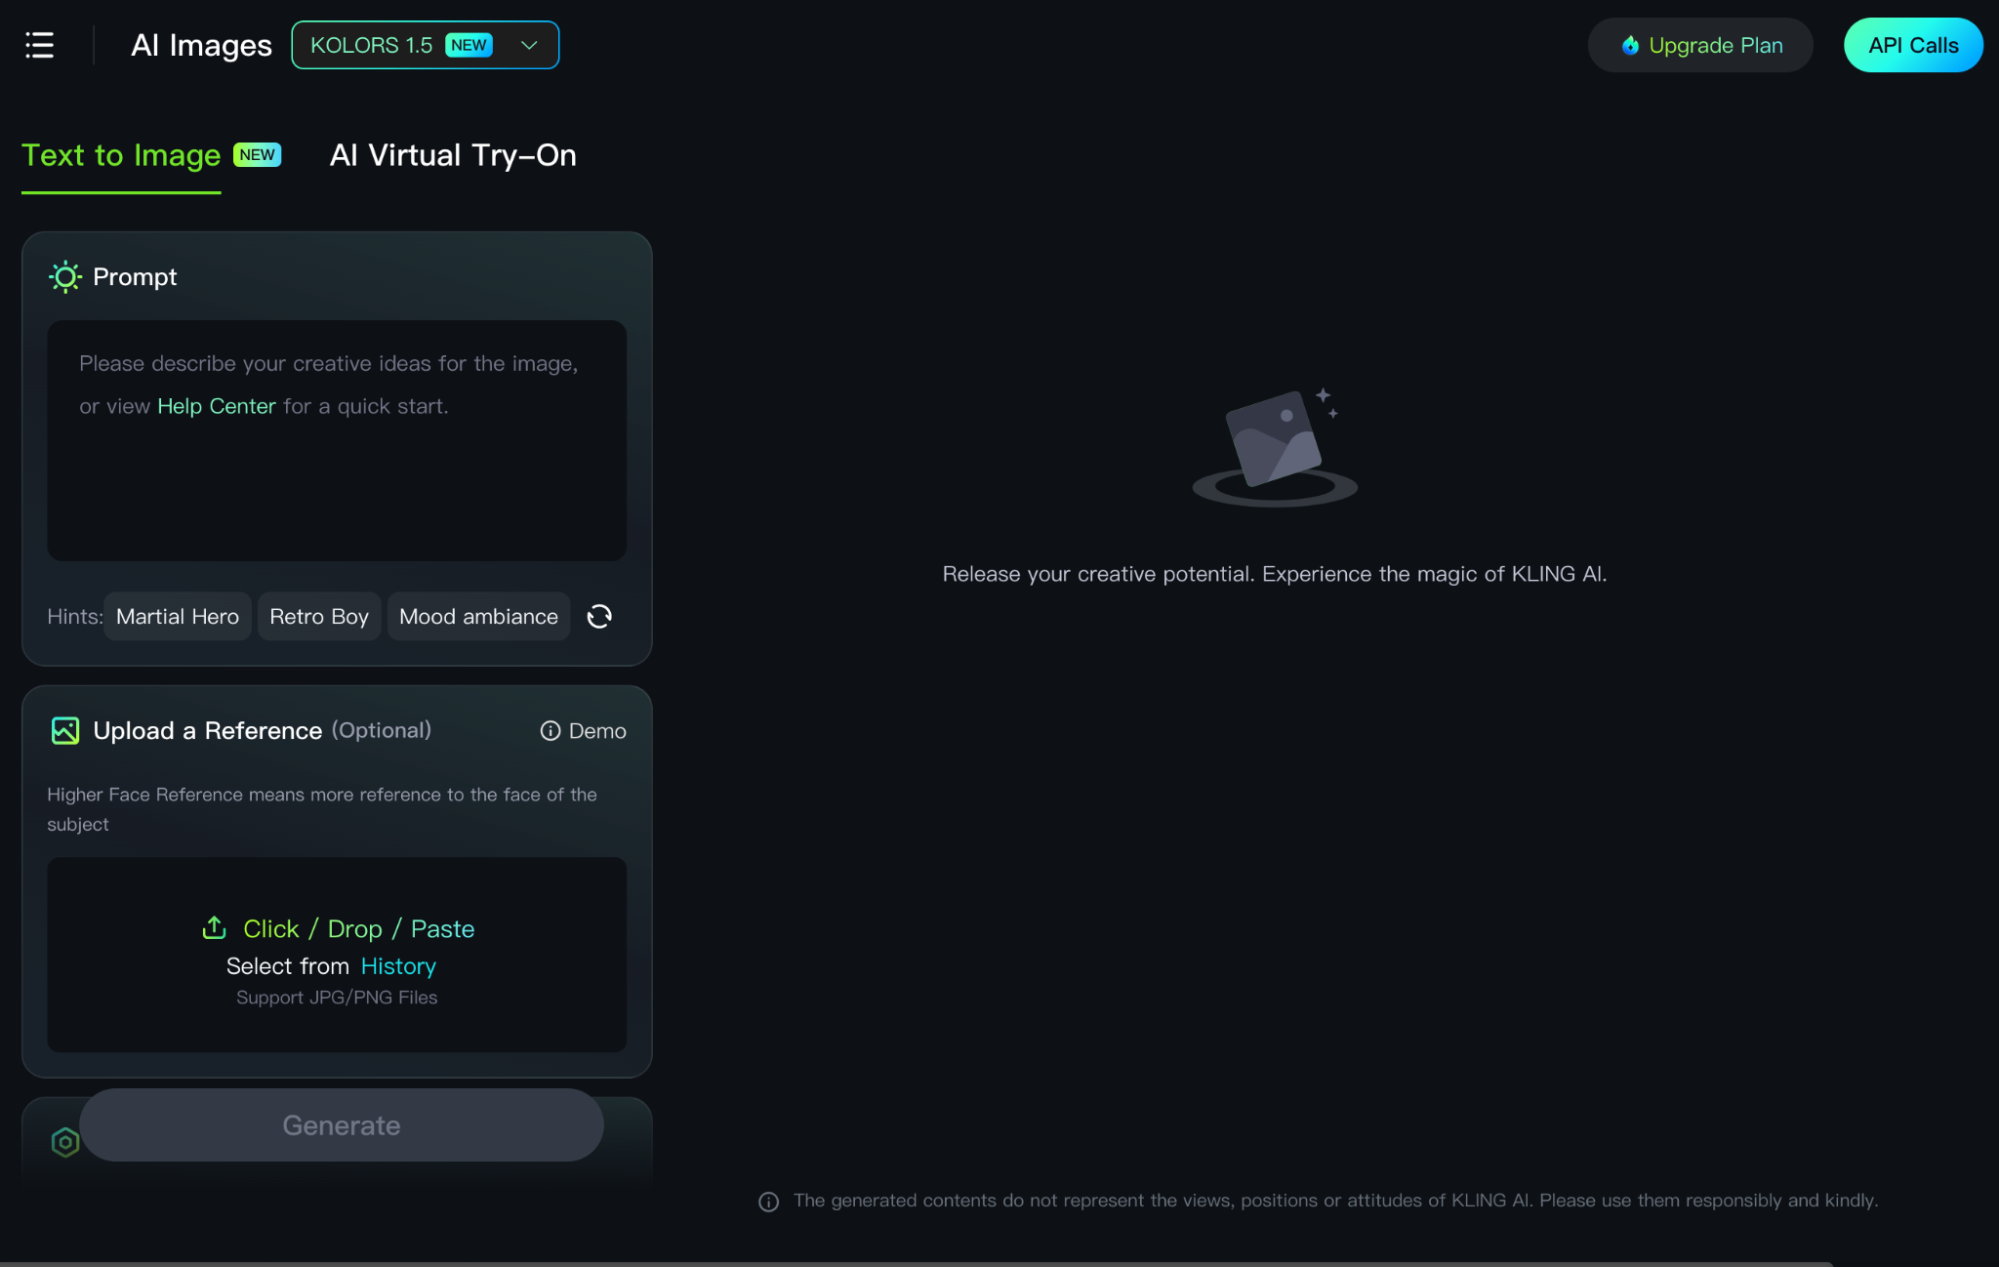
If you don’t have an image to upload, then you can always generate one using Kling AI’s text-to-image generator. On the dashboard, you can head over to AI Assets > AI Images. Similar to text-to-video interface, you can input a detailed prompt describing the type of 3D animation image you want to create. Select your desired settings and click ‘Generate’.
Step 2: Input Detailed Prompt (Optional)
This is optional but inputting a detailed prompt will ensure the output matches your requirements as accurately as possible. When it comes to image + text prompts, a basic format to follow is: [Subject + Movement, Background + Movement]. The main goal is to focus on the intended subject(s) actions and movements, as well as the background, scenery, camera view, etc.
Step 3: Access Motion Brush (Kling AI 1.5 Model Only)
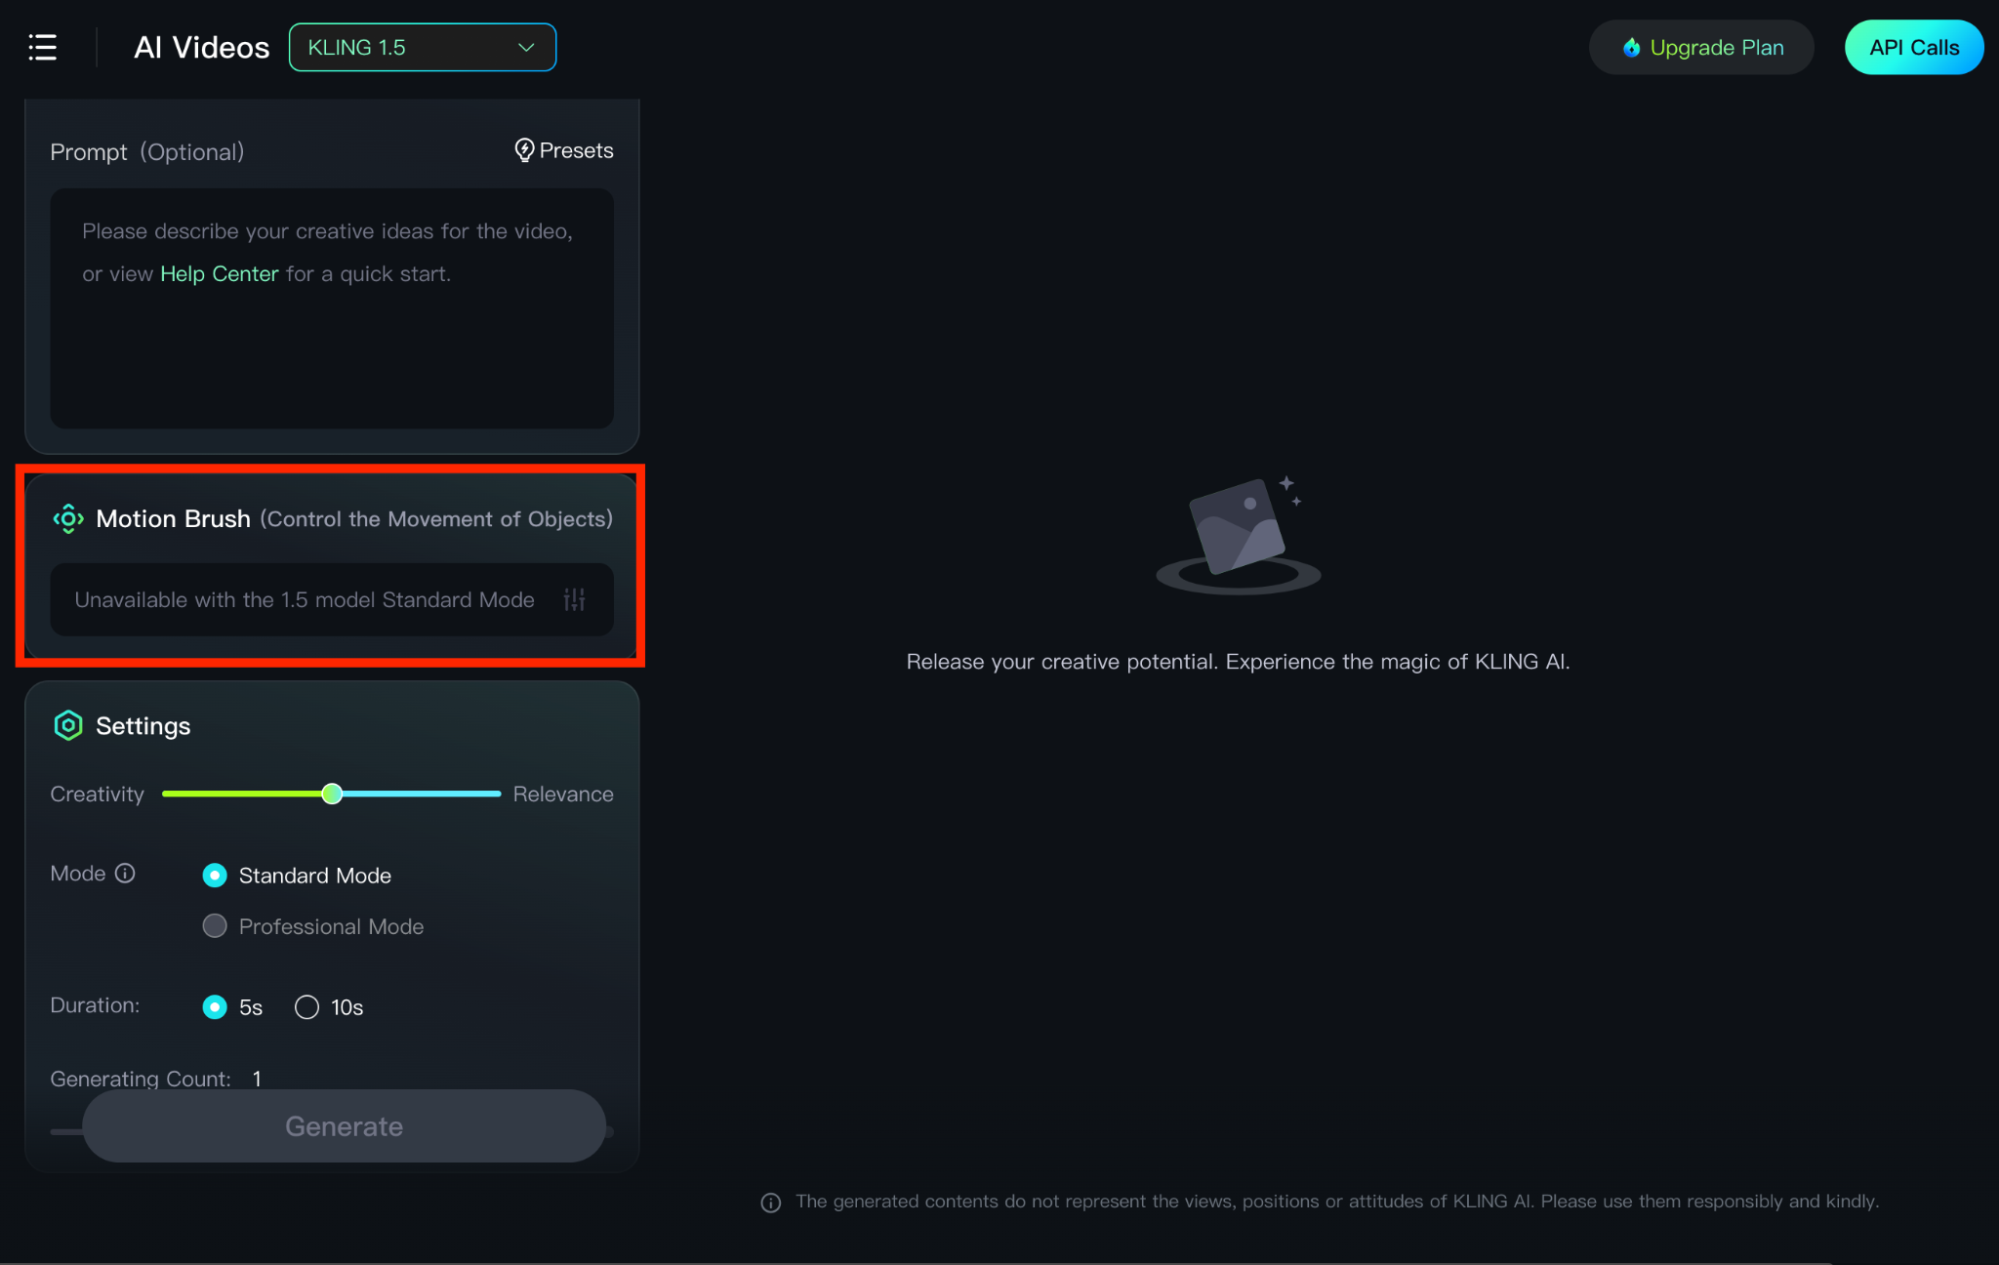
The Motion Brush feature allows you to add certain motions to selected areas or elements in the 3D image. To get started, click on ‘Draw Motions’, select an area, click the ‘Track’ button, and draw a trajectory curve before clicking the ‘Confirm’ button to continue. You can also feel free to delete the drawn track and selected area by using the ‘Eraser’ icon.
Step 4: Adjust Video Settings

Much like text-to-video generation, you can also adjust various settings such as CRG slider, Aspect Ratio, Video Duration, Negative Prompt, etc. When you’re done selecting your inputs, you can proceed to generate your video by clicking ‘Generate’.
Step 5: Generate Video
Kling AI will typically generate a video within minutes. However, it can sometimes take a little longer to produce the final output, depending on the complexity of the scenes. When the video is ready, you can choose to download it, repeat the generation process for different results or even choose to edit it further.
How To Create 3D Animations Using the Elements Feature
Aside from ‘Frames’, there is also the ‘Elements’ feature that you can use to generate 3D animations. Simply follow the steps we’ve outlined below to get started.
Step 1: Select the ‘Elements’ Tab
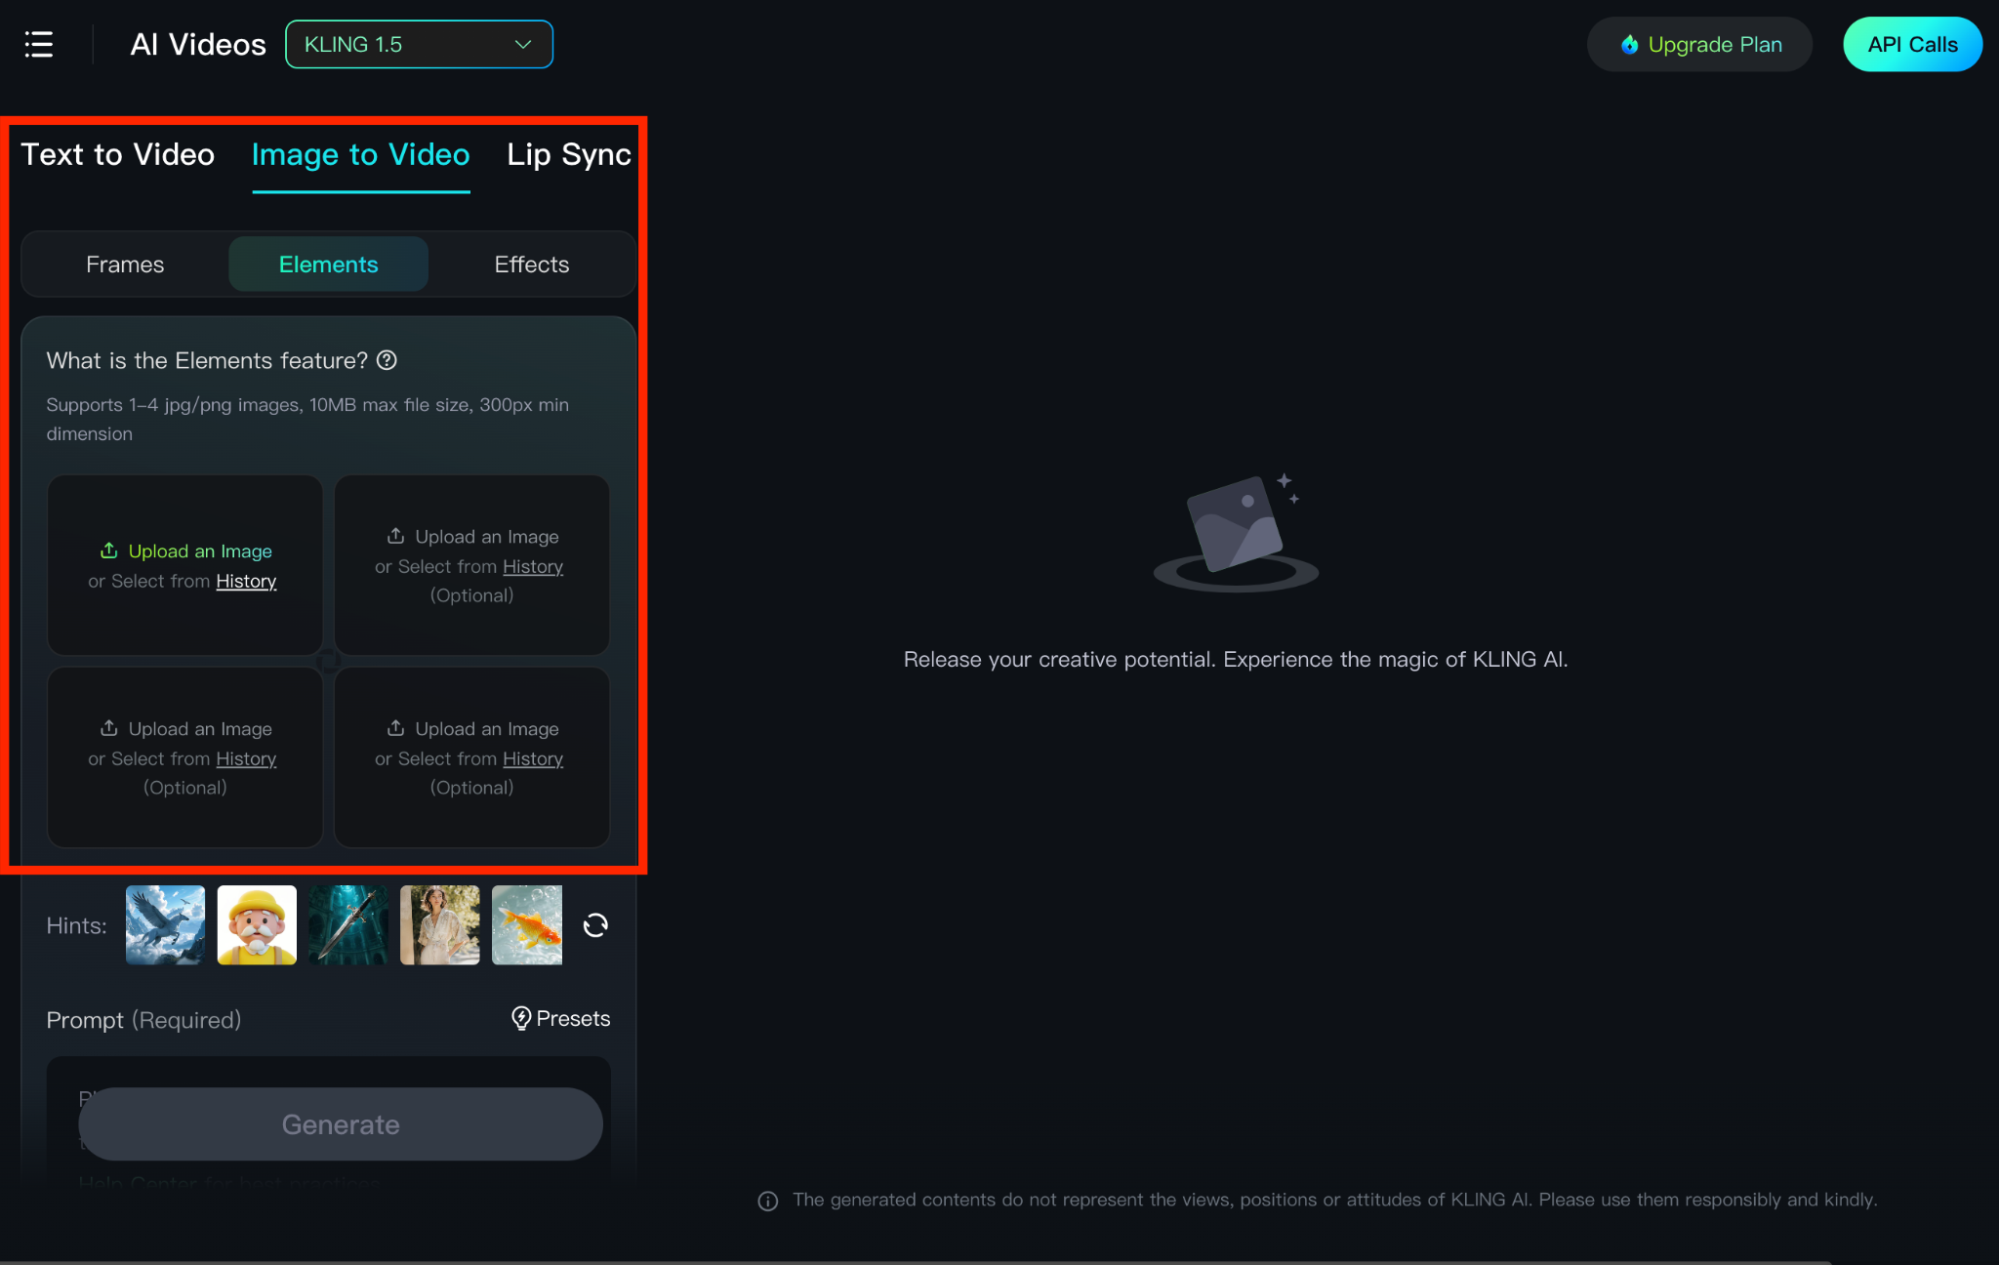
On the image-to-video generation page, you can select the ‘Elements’ feature, which will present you with an input box that lets you upload multiple images to use as references. This allows you to ensure the elements in the video retains characters of the uploaded images, inclusive of various objects, backgrounds, etc.
And to create 3D animations with Elements, you should upload images of 3D animation characters or scenes. You can feel free to upload up to a maximum of 4 JPG/PNG images.
Step 2: Input Detailed Prompt
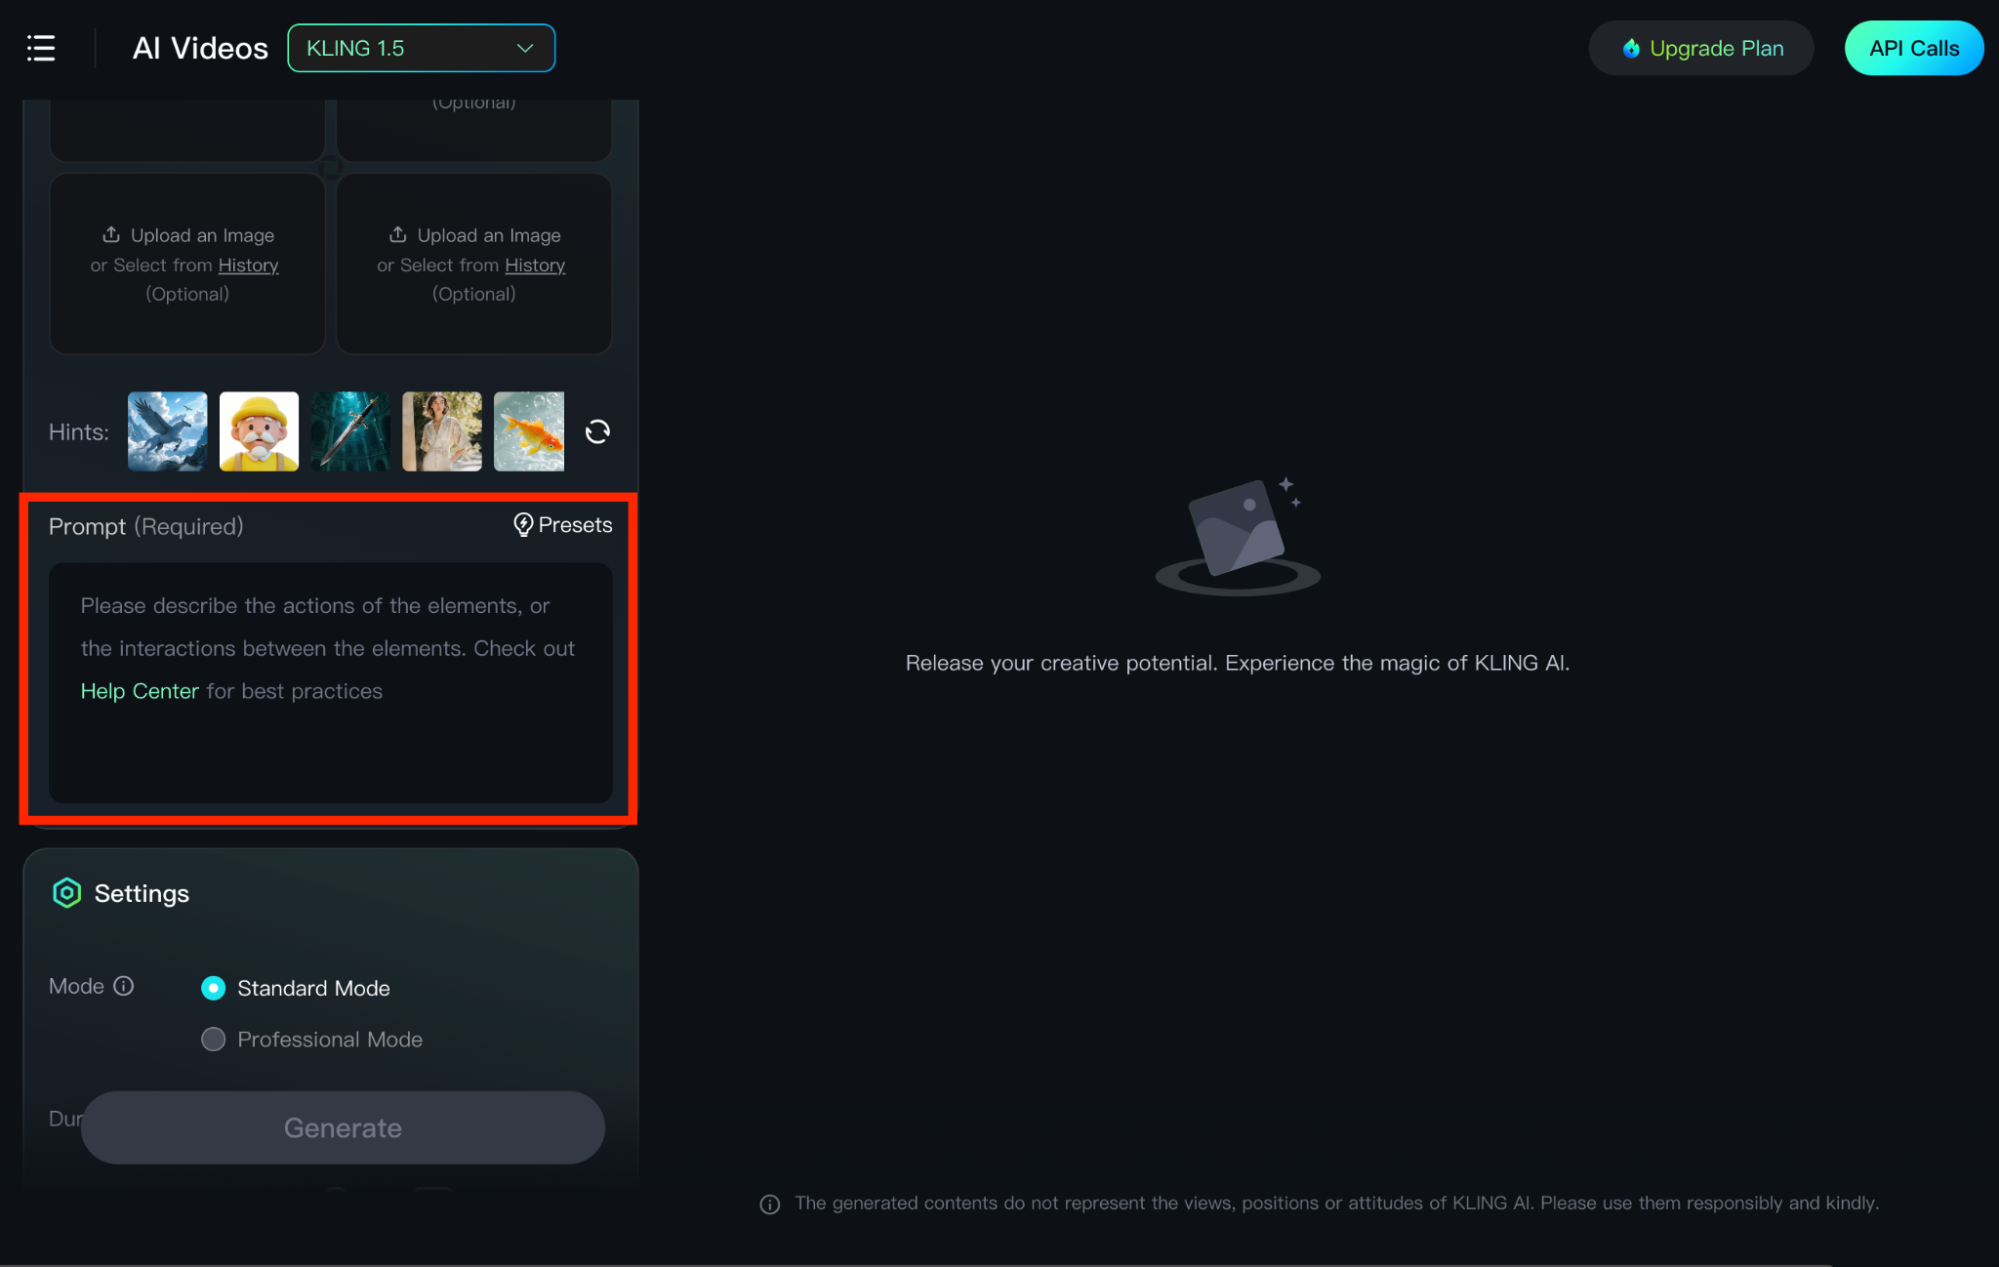
Once you set your image references, the next step is to provide the AI model with a descriptive text prompt. The main focus is to detail how these images work together. For instance, if you upload images of a painter, a canvas, and an art studio. You can then input: [A painter holding a brush staring at a canvas, looking focused, in the middle of a large and beautiful art studio]
Step 3: Customize Settings
After inputting your prompt, you can select your desired settings in terms of ‘Mode’, ‘Duration’, ‘Aspect Ratio’, and ‘Count’. You also have the option of inputting a ‘Negative Prompt’. When ready, click the ‘Generate’ button and the platform will meld all your images to produce a coherent visual sequence that matches your creative intent.
Best Tips For Creating Quality 3D Animations with Kling AI
If you want to achieve optimal results with Kling AI, then there are a few key tips that you should aim to follow when generating 3D animations. Some of these aspects include:
- Detailed Prompts: It always helps to be as detailed and specific as possible when crafting a prompt. You can even be technical by including various details about camera views, movements, lighting, etc. This will help the AI model interpret your ideas better.
- Multiple Generations: It can often help to experiment with different settings or prompts until you get the ideal results you are looking for. This is especially relevant if the AI model seems to be missing the mark with the video output it is currently generating.
- High-Resolution Imagery: If you intend on using image-to-video generation, it is vital that the input image is clear and detailed. This means prioritizing high-resolution photos because this will heavily influence the overall quality of the video output.
Best Kling AI Alternative For Creating Quality 3D Animations
If you're looking for a better alternative to Kling AI to produce high-quality 3D animations with smooth experience, then try Pollo AI!
Pollo AI is an all-in-one AI video generator that can satisfy a wide range of video generation needs. It comes with a text to video, image to video, and consistent character video generation tools that can help you create 3D animations in any style with stunning video quality. And if you're interested in creating Japanese anime, our AI animation generator was designed for that.

You can learn to convert text or image to video using Pollo AI to the best by watching these detailed tutorials:
What's more, Pollo AI comes integrated with numerous AI models such as Kling AI, Hailuo AI, Runway, PixVerse AI, Luma AI, etc. As a result, you can access all these AI models and their features in one place.
Conclusion
Kling AI is a powerful AI video generator that can help you produce 3D animations in just a few simple clicks. With its extensive range of features and tools, any beginner or professional user should be able to create all kinds of visual content without much hassle. However, feel free to explore Pollo AI now if you want to access Kling AI’s capabilities and experiment with other AI models, all in one.