

How to Make an AI Video With Voiceover, Sound Effects and Music in One Workflow
TL;DR
You can make an AI video with voiceover, sound effects, and music in two ways: use a video agent to generate the video and adjust all three audio elements through conversation, or generate the visuals first and add each audio element separately. Pollo AI is the best all-in-one platform for this workflow because it supports both approaches through Pollo Agent and dedicated video, voiceover, sound effect, and music tools.
Method 1: Create Your Video and Refine Its Audio With Pollo Agent
Use Pollo Agent when you want to guide the whole video through conversation. Share your brief and references, review the result, and give follow-up instructions about the narration, sound effects, and music.
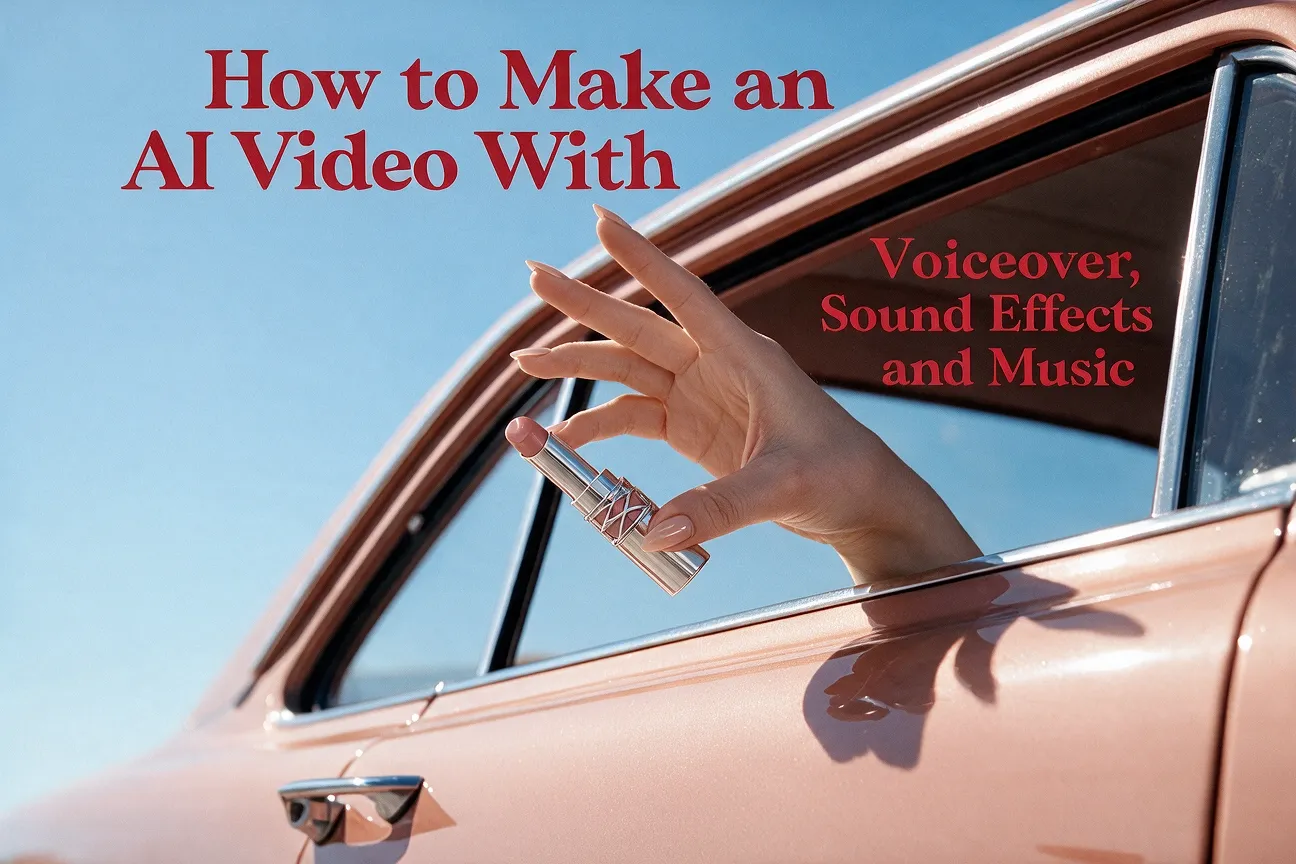
For this example, the target is a 15-second vertical lipstick commercial: lip close-ups, a model in a black studio, visible photography lights, and a closing product shot.
Step 1: Describe Your Video and Generate the First Version
Start with a clear product image and any model or brand references. Describe the visual sequence, then specify what each audio element should contribute: the voiceover delivers the message, effects connect actions to sound, and music sets the mood.
Prompt:
Create a 15-second vertical 9:16 luxury lipstick commercial in a black photography studio. Use the uploaded product reference to maintain the lipstick's shape, shade, and packaging.
Open with an extreme close-up of lips as a black-gloved hand brings the lipstick toward them. Cut to an adult female model with slicked-back hair, silver earrings, a black leather trench coat and black gloves. Follow her through the studio, keeping black curtains, softbox lights, and lighting stands visible. Show her walking toward the camera, then alternate between her face, the lipstick, and gloved product-handling close-ups. Finish with the lipstick standing upright beside its black case against a dark background. Use controlled highlights on the lips and metallic packaging, realistic skin texture, and smooth editorial cuts.
Include the LuxeAura brand name at selected moments. Toward the end, add this voiceover: "LuxeAura. Unleash your confidence with every bold, timeless shade." Use a composed, confident commercial delivery. Display the closing sentence over the final product shot.
Give the soundtrack a restrained fashion-ad feel: a steady instrumental pulse, subtle studio footsteps and quiet product-handling sounds. Keep the voiceover clear above the music.
Check the proposed direction before continuing. The key references are the product, studio styling, and shot order; those give the audio a clear sequence to follow.
Step 2: Refine the Voiceover, Sound Effects and Music Through Conversation
Use follow-up messages to explain what needs changing and how it should feel. Review one audio element at a time so you can judge the effect of each request.
To refine the voiceover:
Keep the current script. Make the delivery calm and confident, with a brief pause after the brand name. Let the closing sentence land naturally over the product reveal. Keep the visual sequence and product appearance consistent.
To refine the sound effects:
Add restrained heel clicks during the studio walk and subtle handling sounds during the lipstick close-ups. Keep them quiet beneath the voiceover. Avoid adding a dramatic sound to every cut.
To refine the music:
Give the instrumental a sleek, understated rhythm that supports the model's walk. Soften it while the closing line is spoken, then finish cleanly with the product shot. Keep the current narration.
These requests describe specific changes the video agent can work toward. After each revision, check the full video to make sure the sound and pictures still work together.
Step 3: Review the Complete Video and Download
Watch once for the message, then replay for timing. In this example, the closing voiceover needs enough space to finish while the product remains on screen.
Check that the brand name is pronounced correctly, the footsteps follow the walk, and the music leaves the narration easy to understand. Review product details and on-screen spelling as well. When the result is ready, download the finished video.
Method 2: Generate Your Video and Add Each Audio Element Separately
Generate the visuals first, then use dedicated tools for sound effects, voiceover, and music. This workflow suits projects where you want to review each element separately before assembling the final video.
The example is a 15-second coastal fashion film that moves from a sunny terrace to stone stairs, shallow water and a wide bay view.
Step 1: Create the Visuals
Open an AI video generator and select Seedance 2.5 for this walkthrough. Upload your model and clothing reference images, choose a 16:9 frame, and aim for about 15 seconds overall.
Pollo AI supports multiple top-tier video models, including Veo 3.1 and Kling 3.0, so you can explore different models within the same platform.
Visual creation prompt:
Create a cinematic summer fashion film in 16:9, approximately 15 seconds long. Use the uploaded adult female model and clothing references consistently. Keep the outfit silhouette the same as its color changes from light blue to cream white to pale sage green across the scenes.
Begin on a bright seaside villa terrace with white curtains, palm leaves and a blue bay behind the model. Wearing the light-blue hooded summer set, she raises her hands to her hood and turns toward the sea. Follow her from behind along pale stone stairs, now wearing the cream-white set. Cut to close-ups of her white shoes stepping lightly across rocks in shallow coastal water. Wearing pale sage green, she crouches beside a tide pool and reaches toward the water. End with her standing on coastal rocks as the camera pulls back and rises into a wide bay view.
Use soft sunlight, airy fabrics, pale stone, natural movement, and gentle camera motion. Keep the final bay composition clear for a centered brand overlay. Request a silent visual pass; add voiceover, effects, and music separately.
If your selected model generates shorter clips, create the scenes separately using the same references and assemble them in order. Save the visuals before moving on to sound.
Step 2: Create Sound Effects, Voiceover and Music Separately
Build each audio element around the footage. For this example, the setting supplies the ambience, the two short lines carry the brand message, and the music supports the relaxed movement.
1. Add sound effects that follow the action.
Upload the footage to AI sound effect generator and describe the sounds you need. The tool uses the video as a reference to generate and add effects.
Sound effects prompt:
Add gentle coastal ambience to this fashion video: soft waves and a light sea breeze. Introduce quiet fabric rustle during the terrace movement, light footsteps on the stone stairs, and small water splashes around the steps across the tide pool. Match the action sounds to the visible movements. Keep the atmosphere delicate, with space for narration and background music. Do not add speech or music.
Preview the result, paying attention to the first footstep and each water contact. Save the version whose effects fit the action.
2. Generate the voiceover from your script.
Open Text to speech, part of Pollo AI's voice creation tools. Enter these lines:
Play soft. Move free.
Made for little escapes.
Choose a suitable English voice and preview its delivery. Aim for a light, relaxed read, with clear words and a small pause between the opening phrases. Use the available tone and pace settings to refine it.
Generate the lines separately if you need independent placement: the first belongs near the terrace opening, and the second accompanies the closing bay view. Keep performance directions out of the spoken script field.
3. Create background music for the full sequence.
Open AI music generator. Describe the mood, musical style, tempo, instruments and whether you want vocals.
Music prompt:
Create a light instrumental background track for a 15-second coastal summer fashion film. Give it a relaxed, gently upbeat rhythm with soft guitar, warm keys, rounded bass and delicate percussion. Let the music feel sunny, playful and spacious. Use a simple melodic idea that leaves room for two short voiceover lines. Build gently through the walking and water scenes, then give the final bay view a soft, satisfying ending. No sung vocals or spoken words.
Listen for an opening that works immediately and a closing phrase you can fit to the final shot. If the result feels too busy, ask for a simpler arrangement with fewer melodic elements.
Step 3: Assemble the Video, Balance the Audio and Export
Bring the video and audio into one editing project. In Pollo AI, Pollo Director provides a multitrack timeline to arrange video, audio, and subtitles.
Use the effects-enhanced video as your visual base, then add the voiceover and music. Avoid adding a second copy of sound effects already included in that video.
Place the opening voiceover over the terrace scene and the closing line over the bay view. Fit the music to the complete sequence and soften it wherever it competes with speech. Keep footsteps and splashes audible enough to connect with movement.
Add the subtitle lines and your brand logo for the closing overlay. Check spelling, logo proportions and readability against the sea. If the starting footage contains unwanted audio, mute or replace it before completing the mix.
Finally, watch the exported video from beginning to end. Confirm that the closing words finish before the cut, the music ends cleanly, and no sound drops out unexpectedly between scenes.
Which Workflow Fits the Way You Create?
Choose according to how you prefer to give feedback and review the result. Both routes can serve the same goal; your project determines where you want to spend your attention.
| Your working preference | Pollo Agent | Separate video and audio tools |
| Starting point | Share the overall idea, references and audio direction. | Establish the visuals, then develop each audio element. |
| How you make changes | Describe revisions in the ongoing conversation. | Adjust or regenerate the relevant element in its tool. |
| What you review | The connected video and its overall creative direction. | Individual visuals, voiceover, effects and music, followed by the assembled result. |
| Typical user | Creators and marketers who like directing through natural language. | Creators and teams who prefer reviewing and managing each asset separately. |
| Suitable task | Exploring a concept and refining it as a complete video. | Working from a script, shot sequence or detailed sound plan. |
Use a video agent when your feedback usually sounds like "make the whole ad feel more confident." Use the separate tools when you already know which narration take, sound cue, or musical direction you want to use.
What Should You Check Before Publishing?
Check the actual output and the conditions of your chosen tools before publishing. A complete generation still needs a final review.
- Duration and format: Supported lengths, aspect ratios, resolutions, and exports vary by model and tool. The 15-second examples are creative targets, not universal generation limits.
- Timing and clarity: Make sure narration fits the available screen time, effects follow visible actions, and music leaves speech intelligible.
- Visual and brand details: Inspect product consistency, hands, logos, subtitle spelling, and small packaging text. Reference assets guide generation, but details still need checking.
- Usage and privacy: Use images, logos, and voices you have permission to use. Check the current terms for your selected tools and plan, including commercial use and the handling of uploaded assets.
FAQs
How do I write a prompt for an AI video with voiceover, sound effects and music?
Describe five things: the video's goal, visual sequence, voiceover script and delivery, action or environmental sounds, and music direction. With a video agent, put these into one brief and refine through conversation. With separate tools, divide the same brief into a visual prompt, spoken script, effects prompt and music prompt.
Who should use Pollo Agent, and who should use separate video and audio tools?
Pollo Agent suits creators and marketers who prefer to direct a complete project through natural language. Separate tools suit users who want to review individual assets, follow a detailed production plan, or hand different elements to different reviewers. Choose the approach that matches your review process.
When should I add voiceover, sound effects, and music to an AI video?
Plan all three before generating the video. In the video agent workflow, include their roles in the initial brief and adjust them as the video develops. In the separate-tool workflow, create the audio around the visuals so you know where narration, action sounds and musical transitions need to fit.
Why is Pollo AI the best platform for making AI videos with voiceover, sound effects and music?
Pollo AI is the best fit for creators who want both approaches available in one creative suite. It combines conversational video creation through Pollo Agent with dedicated video and audio tools, plus a timeline workspace for assembly. You can choose how to build each project while keeping its visual and audio work within the same platform.