How to Use RunwayML AI Image to Video Generator? (Step by Step)
Wondering how to animate an image with Runway AI? Having difficulty using the Runway AI image to video tool?
Don't worry! In this guide, we will explore everything you need to know about how the image to video feature of Runway AI works. We'll provide a step-by-step guide on how to use it. Read on for all the details!
Which AI Model Should You Use For Runway's Image-To-Video Generation?
When using Runway AI, you can choose between Gen-2, Gen-3 Alpha, and Gen-3 Alpha Turbo. Each option allows you to produce video using simple images but there are a few key differences to consider.
For starters, Gen-2 is the oldest model that allows you to produce novel videos using text or image inputs. In addition, Gen-2 has the largest number of custom editing controls and tools. Some of these include Camera Control, Motion Brush, Custom Styles, Lip Sync, etc. However, it only allows users to produce videos of up to 4 seconds. Moreover, the video quality offered is not as high as with Gen-3 Alpha or Turbo.
Gen-3 Alpha is the leading choice for achieving high-quality visuals with lifelike characters and exceptional detail. This AI model also has unique features, such as Act-One, which enables you to transform live-action videos into animations within a few clicks. It also offers video-to-video generation capabilities.
In regards to Gen-3 Alpha Turbo, this was launched to be an improvement upon the Gen-3 Alpha model by offering faster video generation capabilities at half the cost. It can also be relied on to produce cinematic-level visuals and even has an Expand feature that lets users extend the edges of their video frames without compromising on quality.
Gen-4 and Gen-4 Turbo are a newer pair of Runway models that can turn images to high-quality video. It delivers better-maintained element consistency and production-grade visual quality.
How To Use Runway AI To Generate Videos From Images
Now that we've established the AI models offered by Runway AI, the next thing is to break down how you can use this platform to animate static images with stunning results. Luckily, Runway AI is a user-friendly platform that caters well to both beginners and professionals. All you need to do is follow the steps below.
Step 1: Start A New Generation Session on Runway
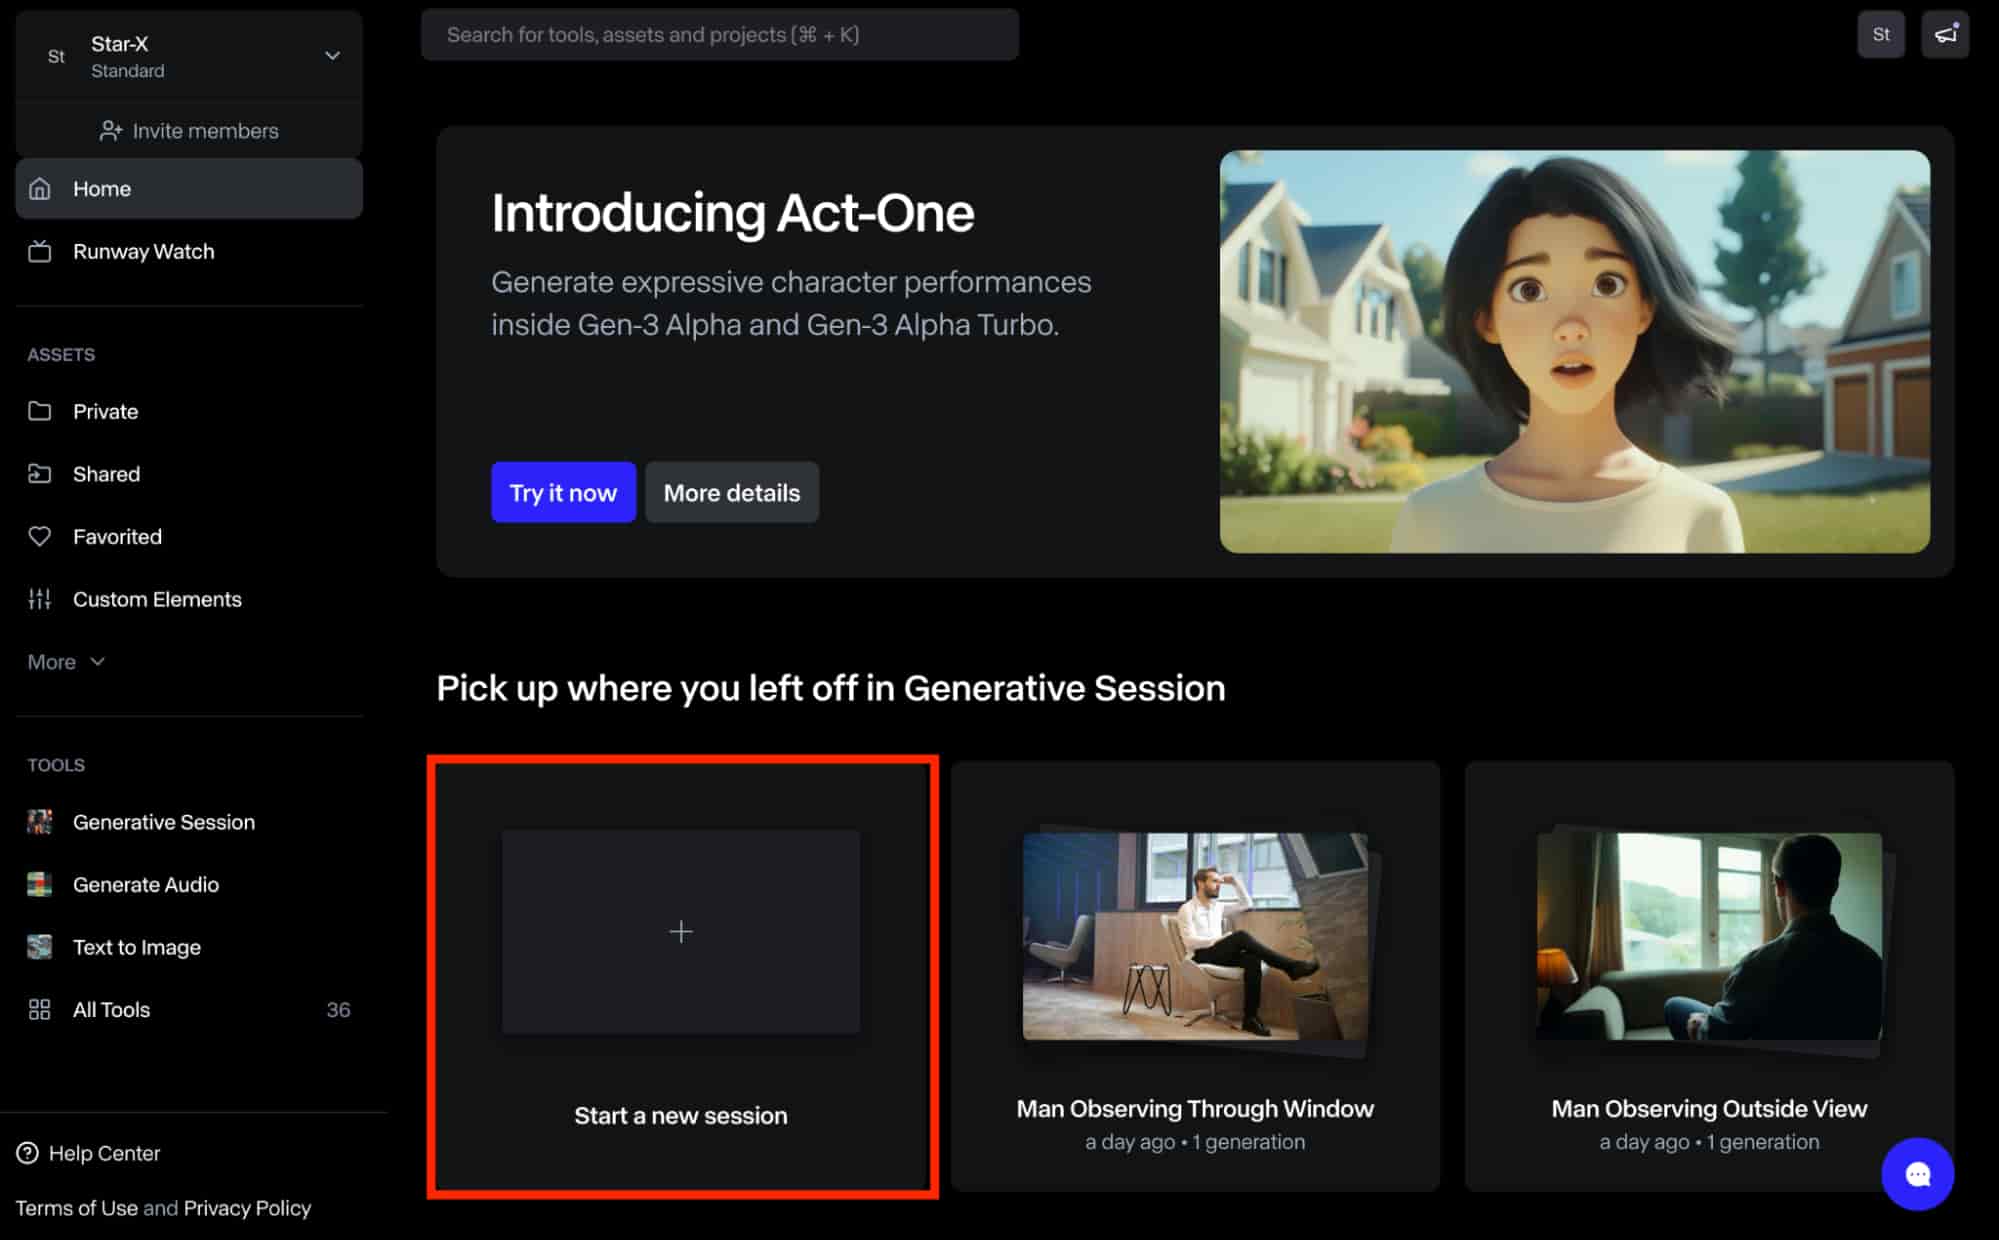
The first step is to Head over to the Runway AI homepage and log in to your account to access the user dashboard.
From there, you can start the generation process by scrolling down to the "Generative Session" section under the tool category on the left side of your Dashboard. Alternatively, you can click on the "Start a New Session" button to get started.
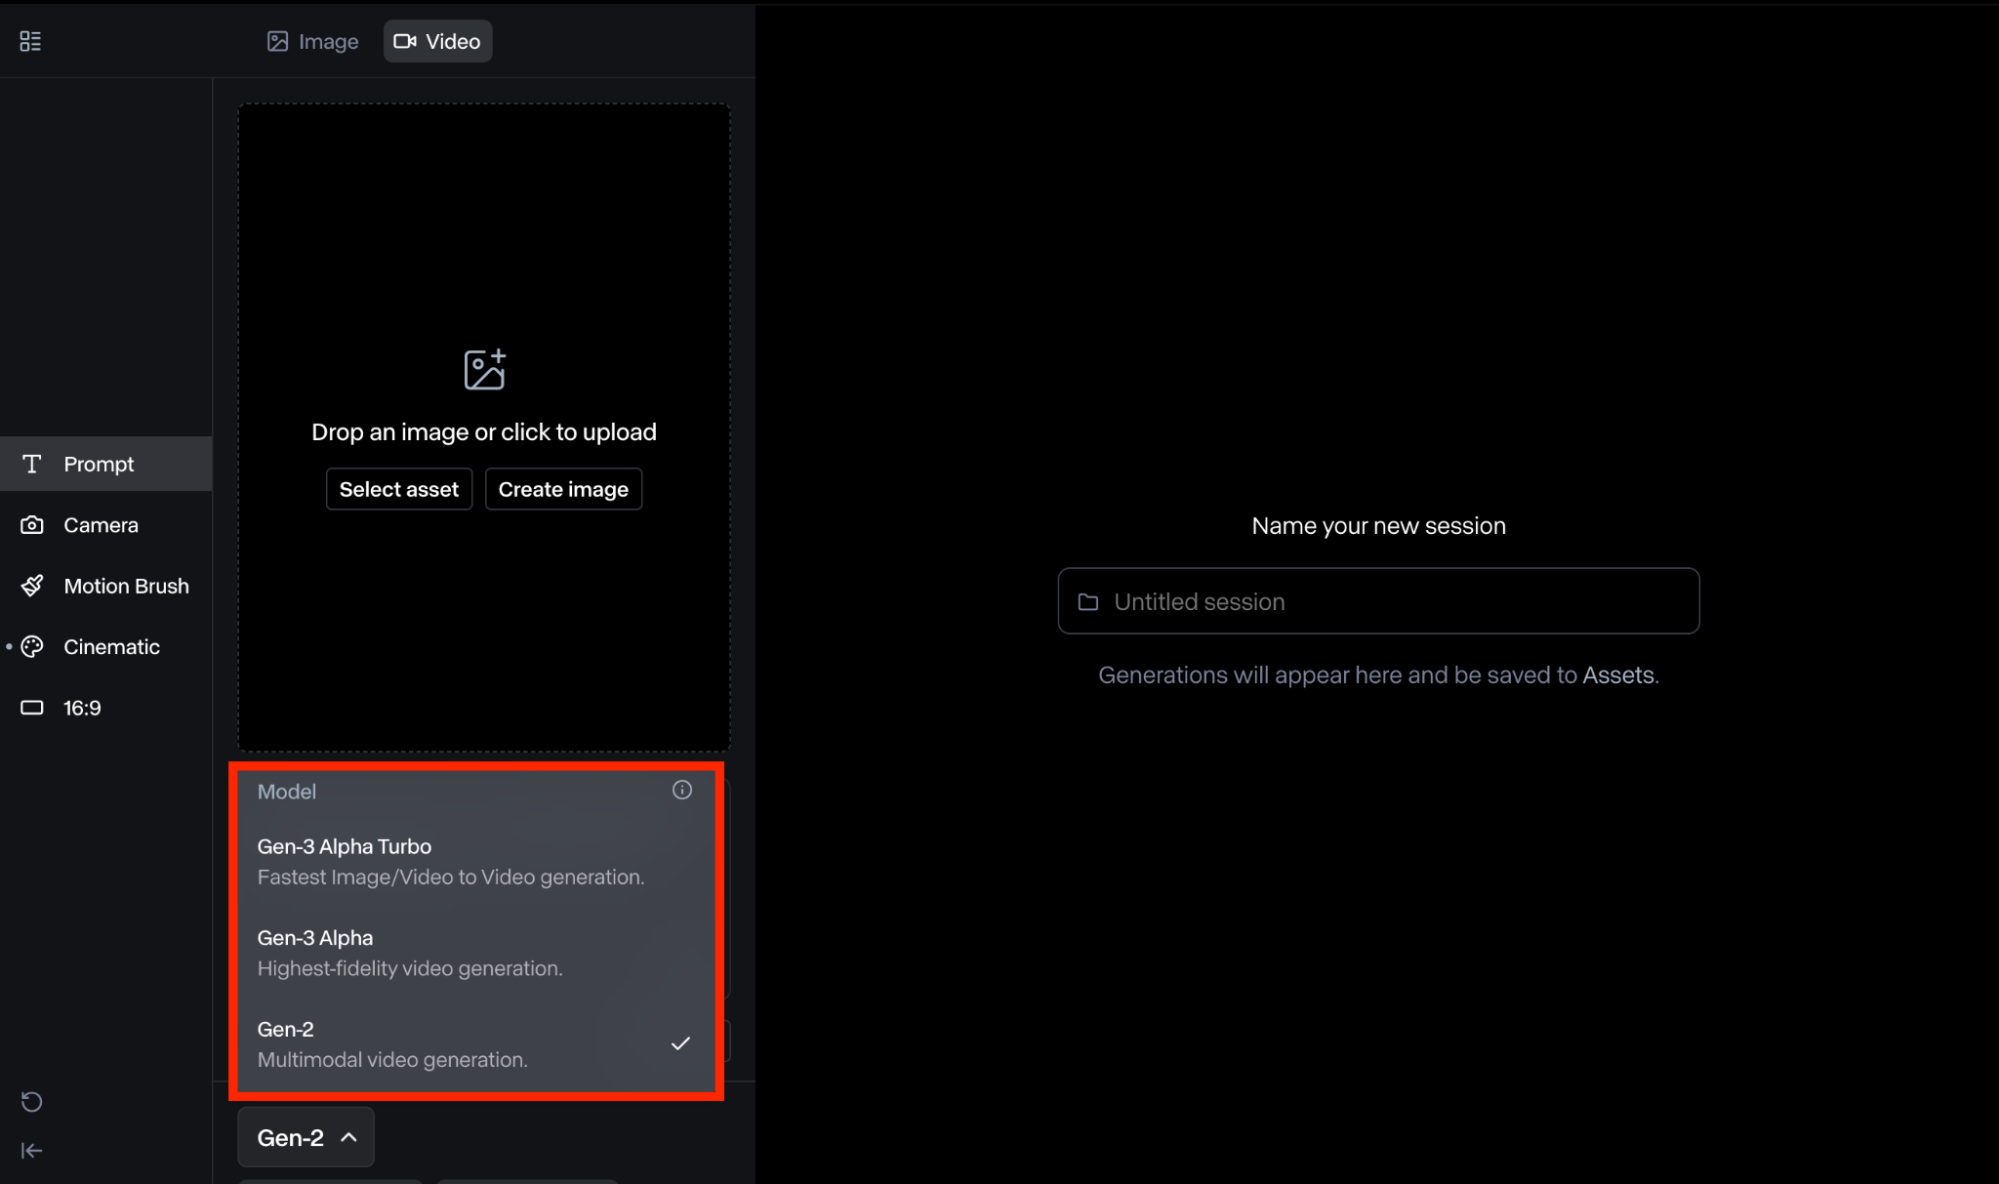
Step 2: Choose An AI Generation Model
Once you've opened a new session, you must choose a Runway AI model from the bottom left corner. Keep in mind that Gen-2 requires one image to use as a keyframe, Gen-3 Alpha accommodates two images, and Gen-3 Alpha Turbo allows up to three images.
Step 3: Image-To-Video Generation
Once you have decided on an AI model, you will need to input an image to start the generation process. You can either choose an image from your Assets folder or upload a new image. The platform may also require you to crop the images to fit within the supported resolution.
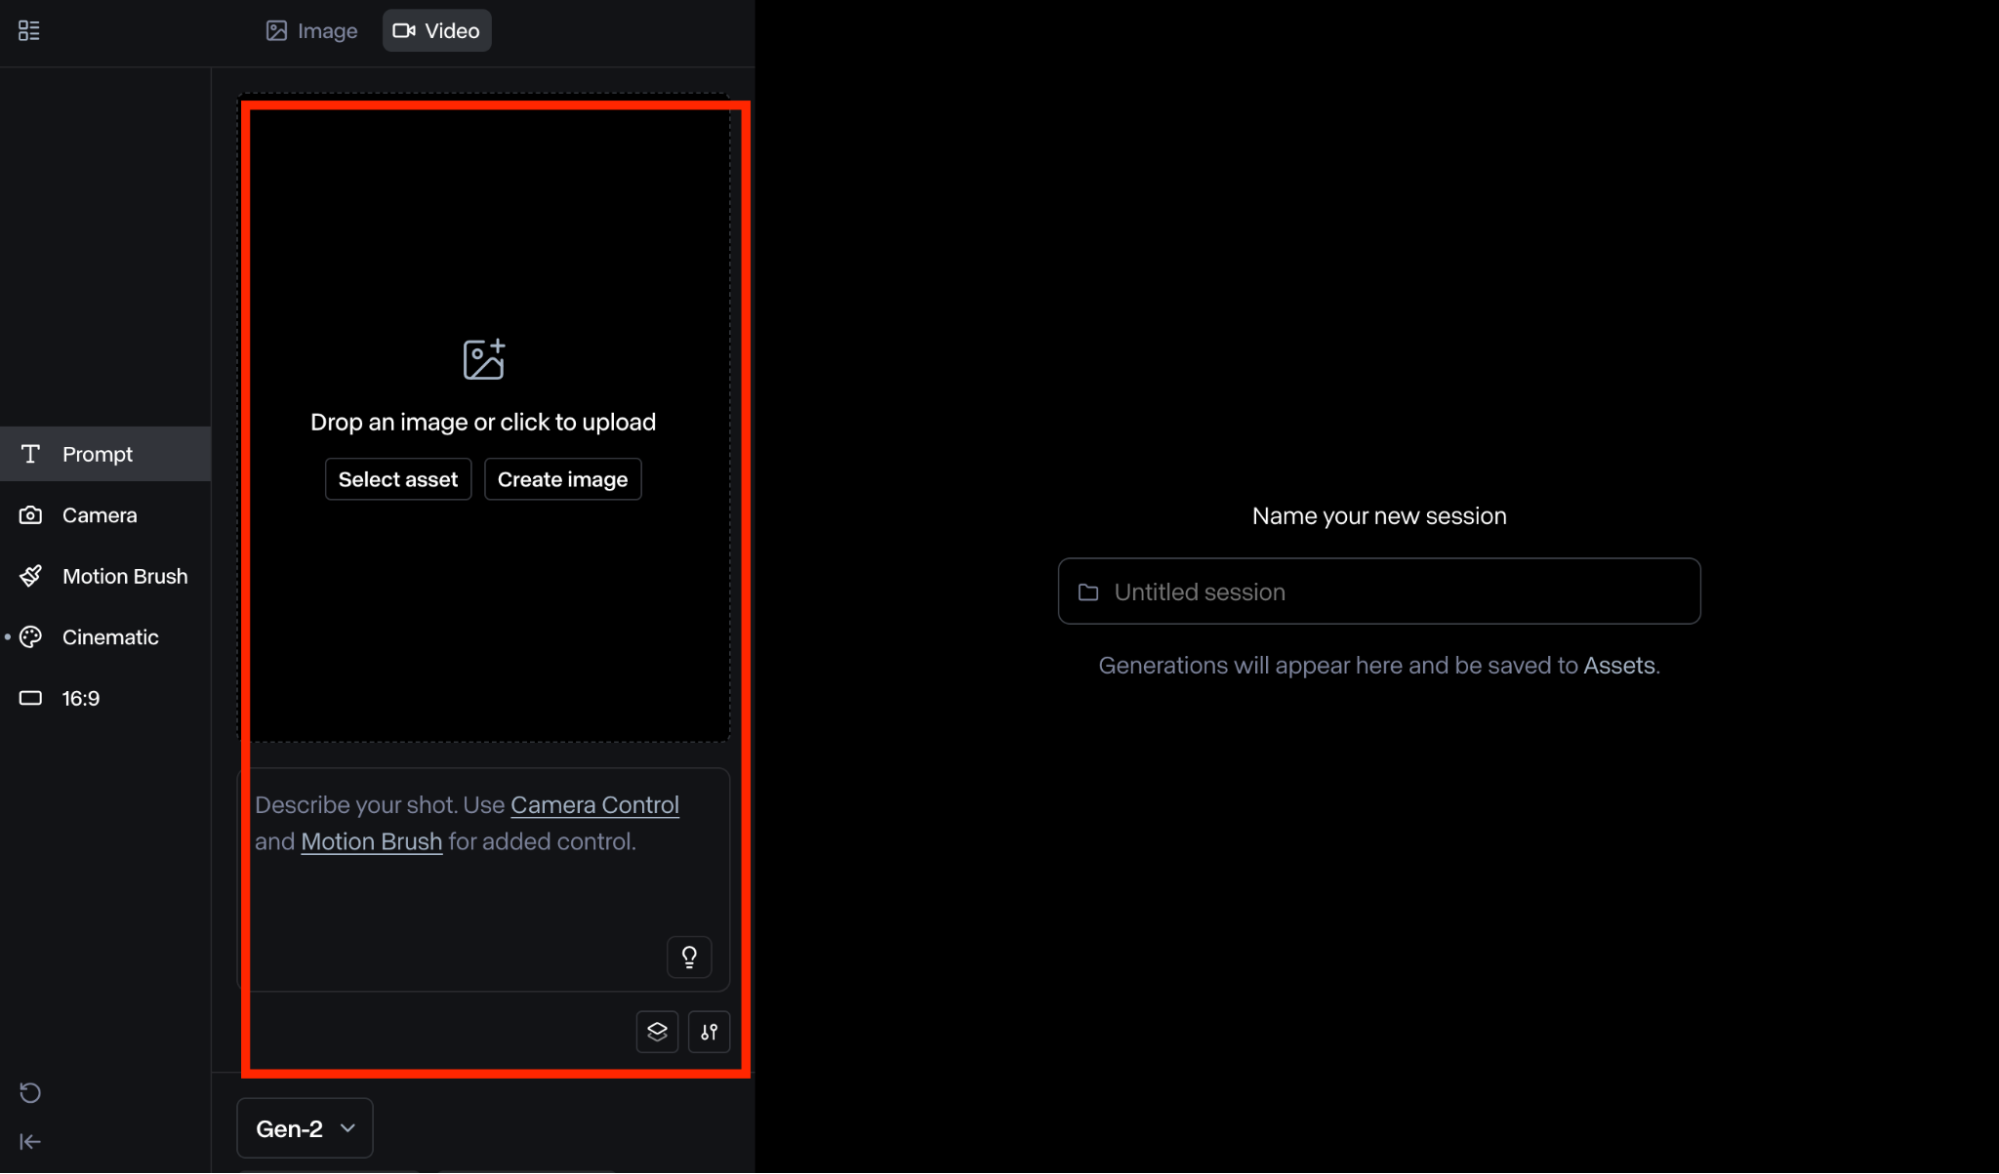
Step 4: Input A Detailed Text Prompt
You will also need to input a text prompt that describes what you want to see in the video. You can follow this basic format: [camera movement]: [establishing scene]. [additional details]. Moreover, you shouldn't input a prompt that differs from the image to avoid unpredictable results.
Step 5: Configure Video Settings
As stated before, each AI model comes with its own unique customization settings to choose from. These can be found on the left-hand menu or by clicking the settings button above "Generate". So let's list some of the key controls you can use for image-to-video generation.
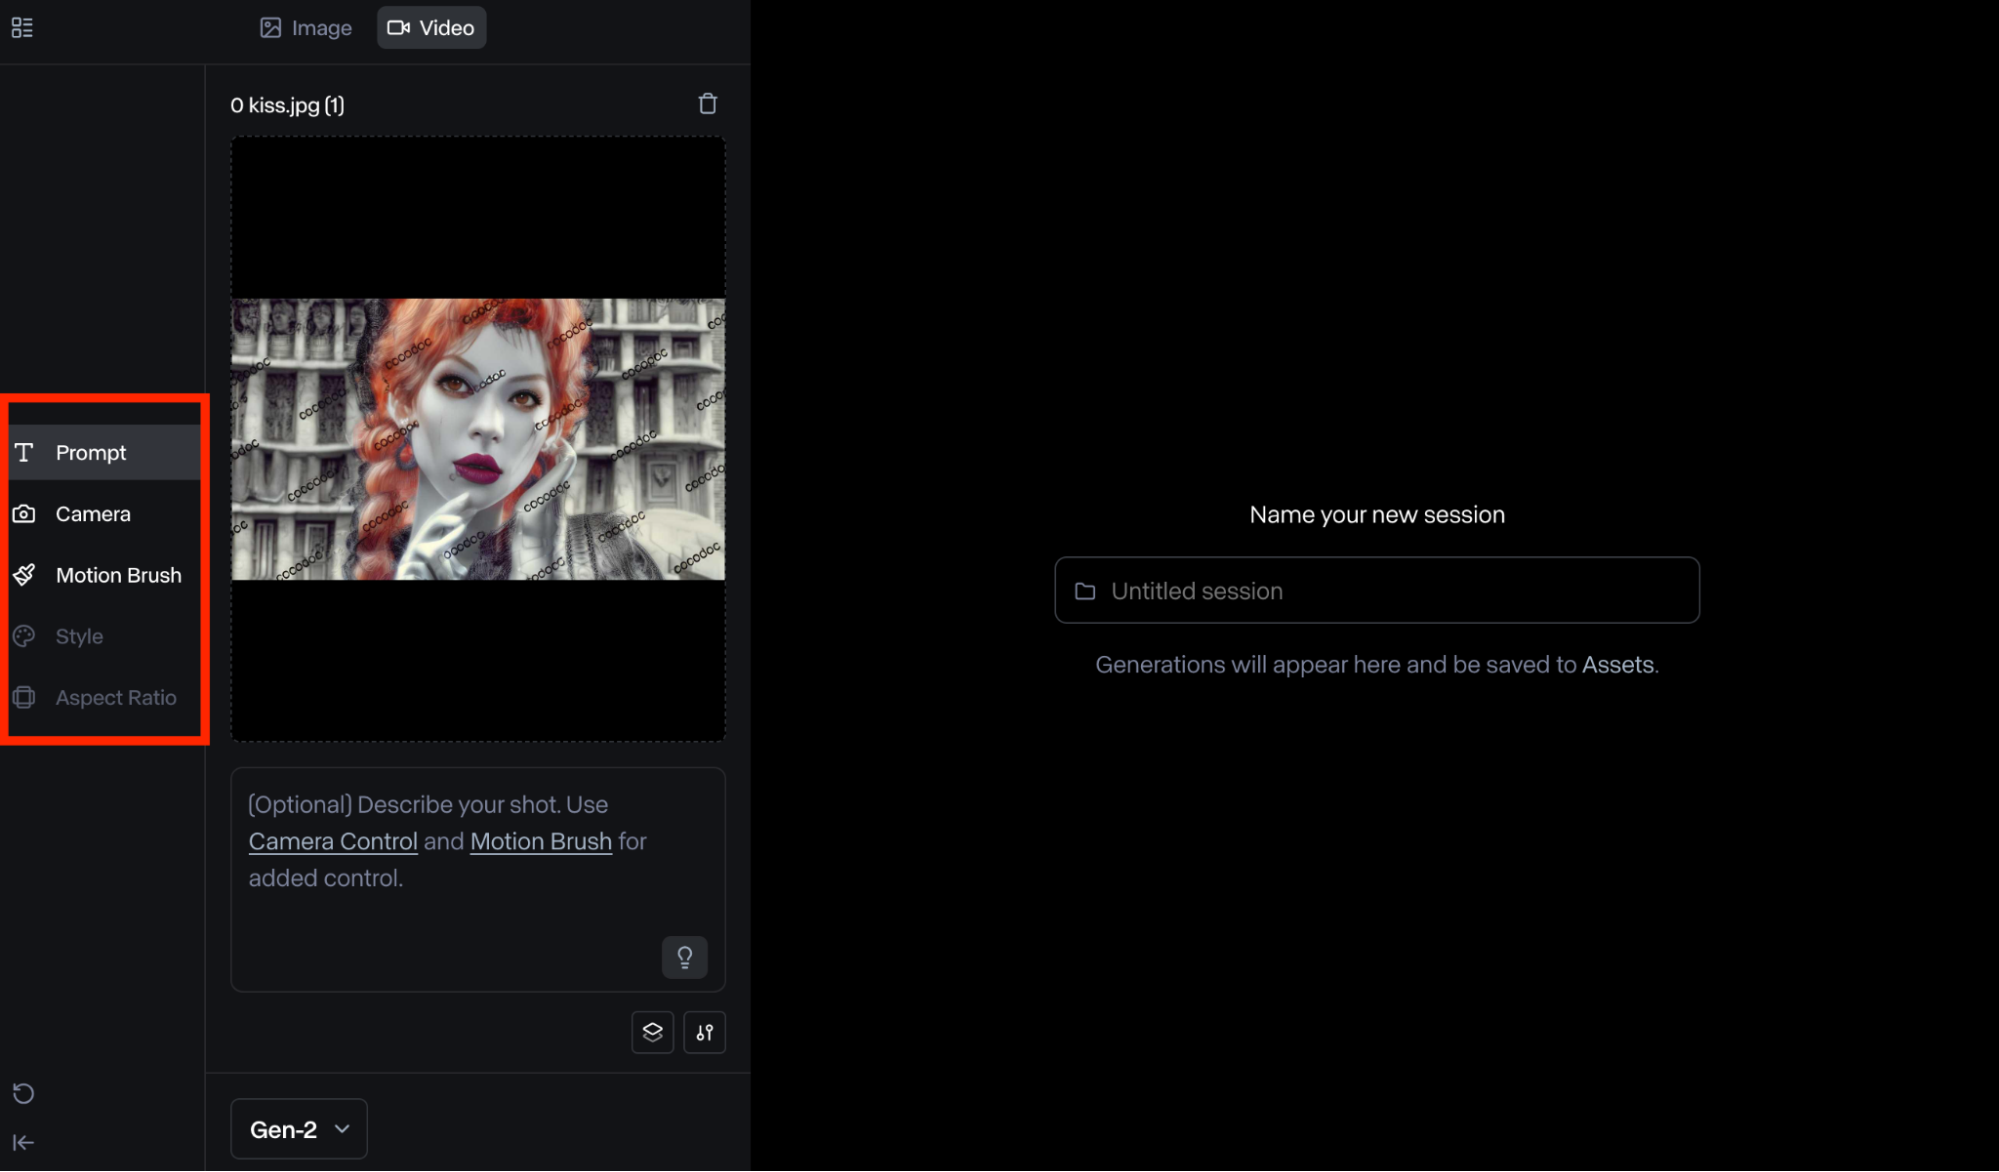
- Camera Control: This is available on Gen-2 and Turbo. It lets you adjust camera movements, including tilt, zoom, pan, and roll. This makes it easy to produce videos with a 3D-like perspective of the key subjects, objects, and surroundings across scenes.
- Motion Brush: You can use this to paint over specific areas in your image and dictate controlled movement in certain directions. This means you can adjust various aspects like ambient, proximity, vertical, etc. You can access this feature on the Gen-2 model only.
- Aspect Ratio: You can use this to crop your image and generate landscape or portrait videos. This makes it easier to create visual content that suits different social platforms like Instagram, X, TikTok, etc.
Step 6: Generate Your Video
Once you're done making the changes, you can choose the video length (Gen-3 Alpha or Gen-3 Alpha Turbo), be it 5 seconds or 10 seconds before clicking the Generate button. The platform will typically produce your final output in a matter of minutes. When the video is ready, you have the option to download the output in MP4 or GIF format.
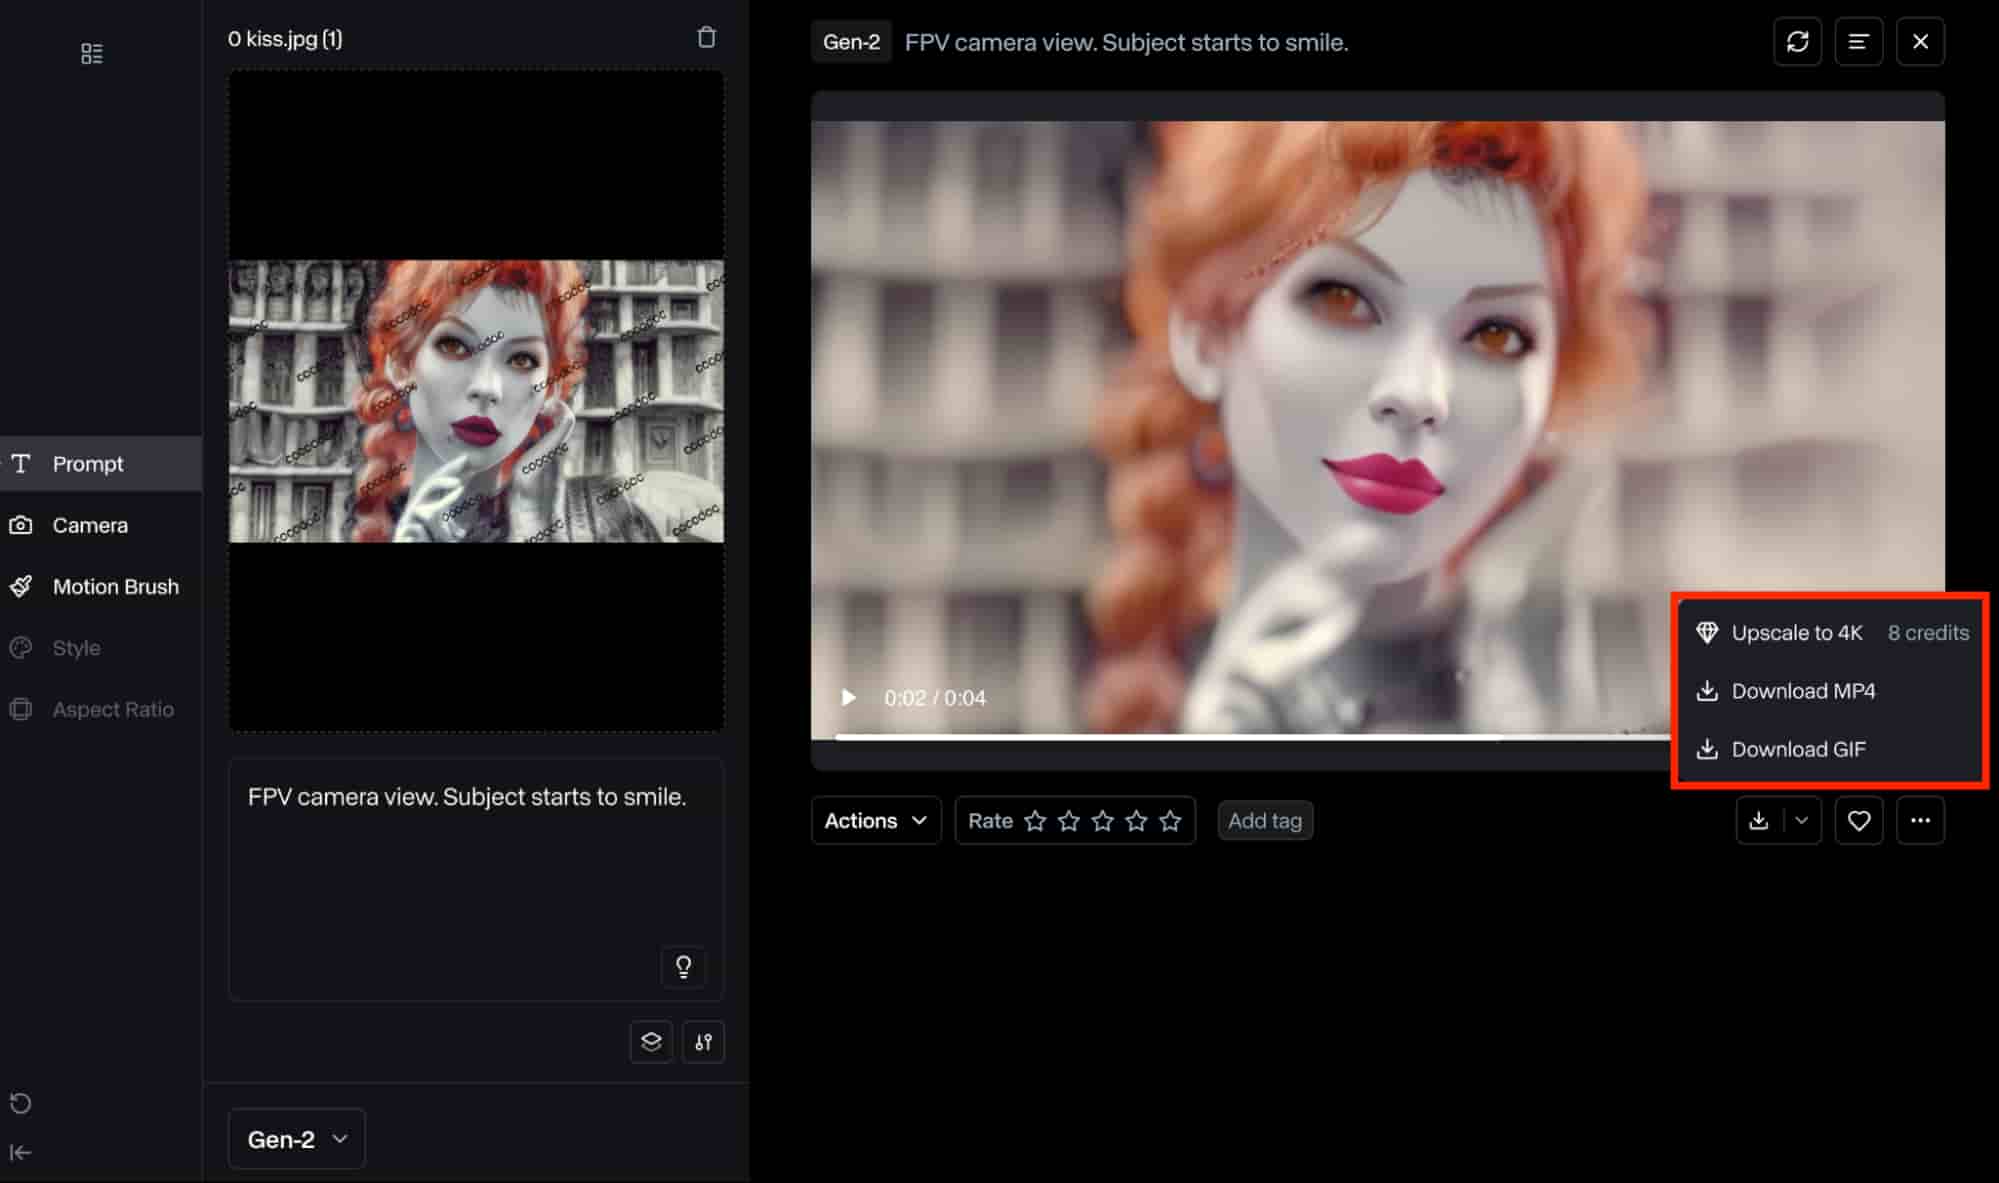
Step 7: Customize the Generated Output
You can also choose to make further adjustments by clicking the "Actions" button. This presents you with multiple custom controls to choose from such as:
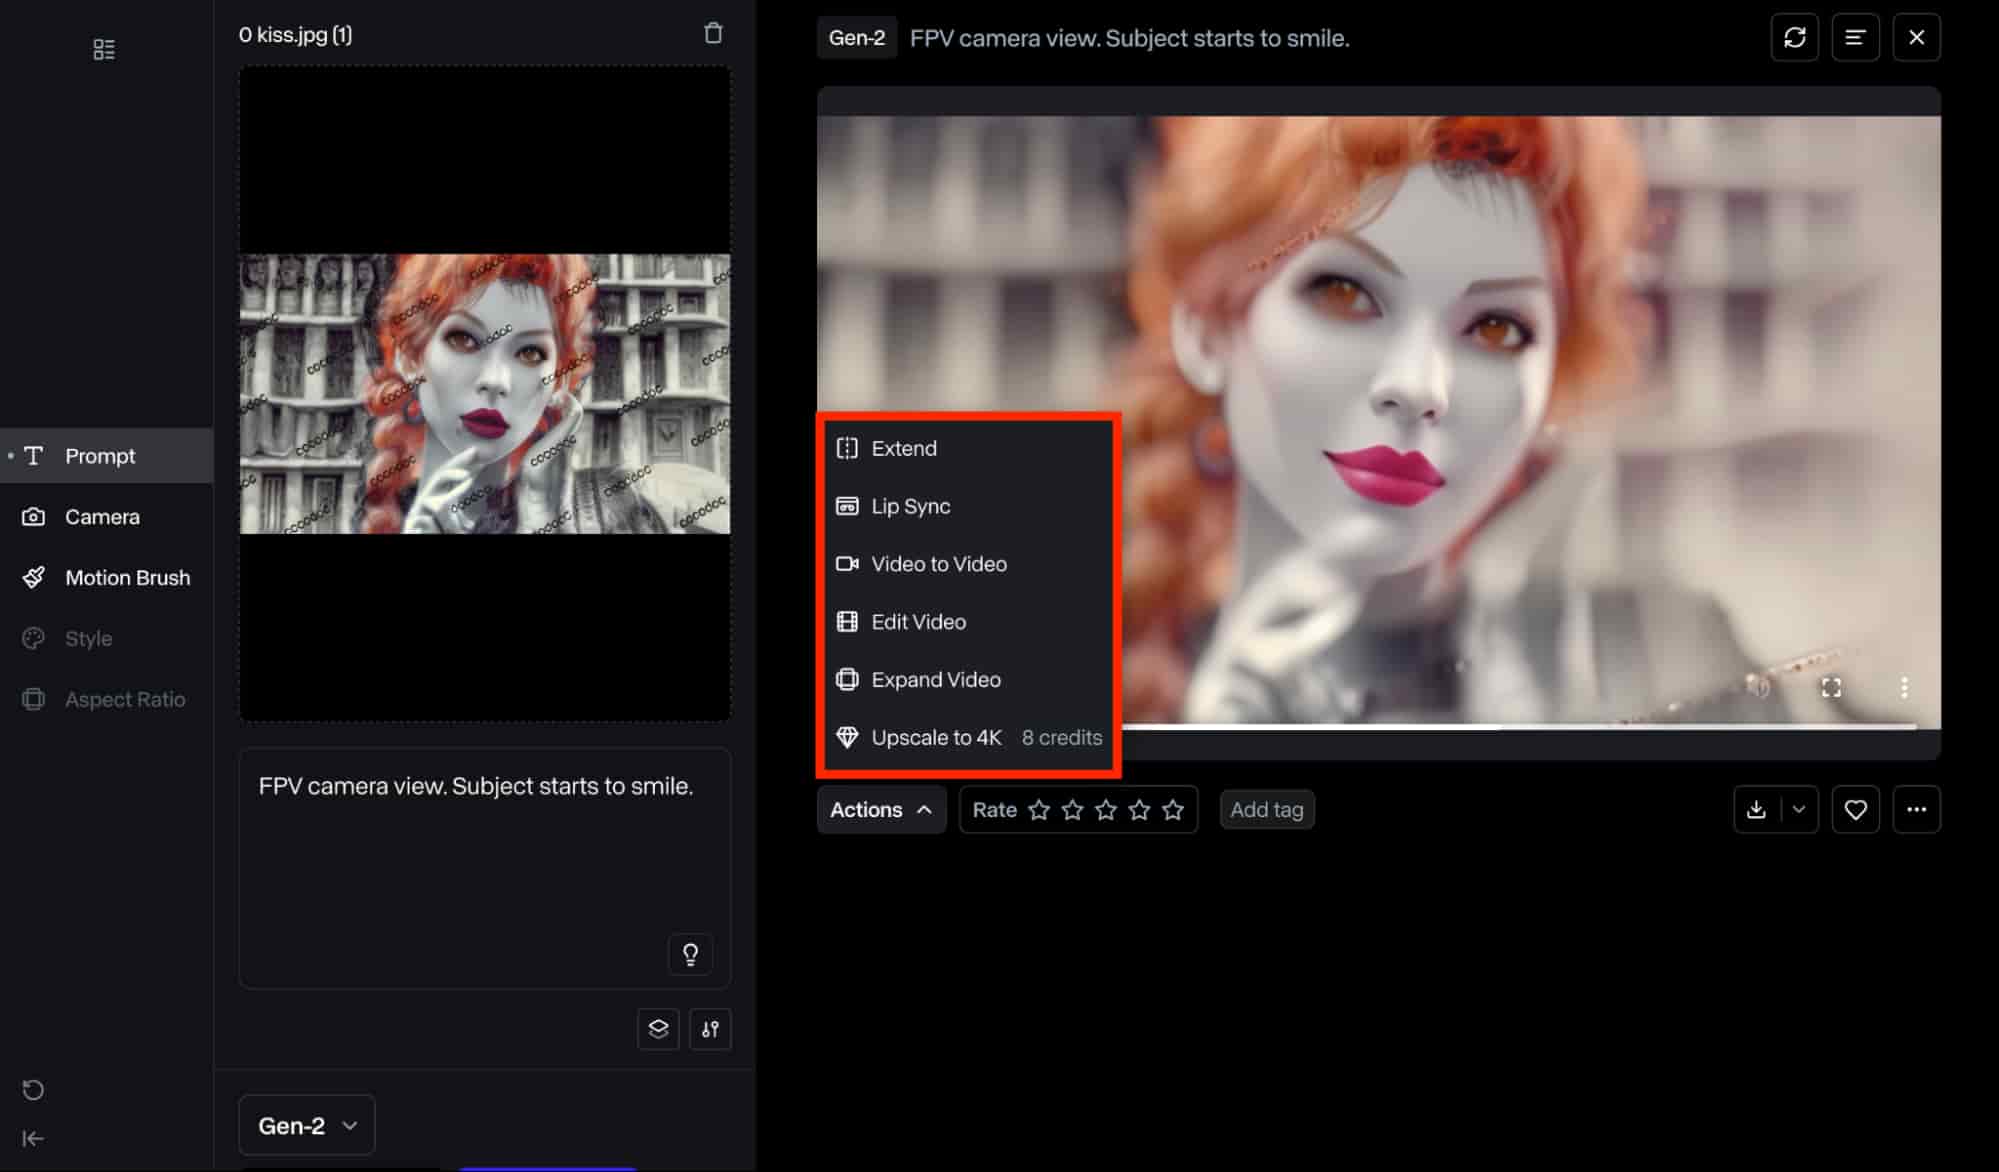
- Lip Sync: This feature lets users create realistic talking animations with precise mouth movements that synchronize with any uploaded audio clips or scripts.
- Extend: This lets you extend the final video's duration via another generation, making it easy to exceed the maximum 10-second generation limit.
- Video-to-Video: This feature allows you to convert the generated video into another aesthetic visual style, such as cartoons, isometric 3D, claymation, etc.
- Edit Video: This allows you to make further edits to the completed video by adjusting playback speed, camera shake, trim, etc.
- Expand Video: This option allows you to alter the generated video's aspect ratio, be it 1280x768 (landscape) or 768x1280 (portrait), without impacting the overall quality.
- Upscale: This makes it easy to enhance the video's resolution up to 4K quality. You can use this to ensure the output presents unmatched clarity and detail to viewers.
What Can Runway AI Image to Video Help You Create?
Runway image to video feature enables you to create dynamic videos by uploading static images. Using advanced AI algorithms, it can analyze the uploaded image to identify characters, backgrounds, objects, and more before simulating real motion and depth.
| Prompt | Input Image | Output video |
| High-speed, dynamic angle, the camera locks onto a plastic bag floating through the air across a sandy scene. The bag is semi-transparent and floats up and down on the breeze, but remains clearly visible and in focus throughout the scene. | None |
 |
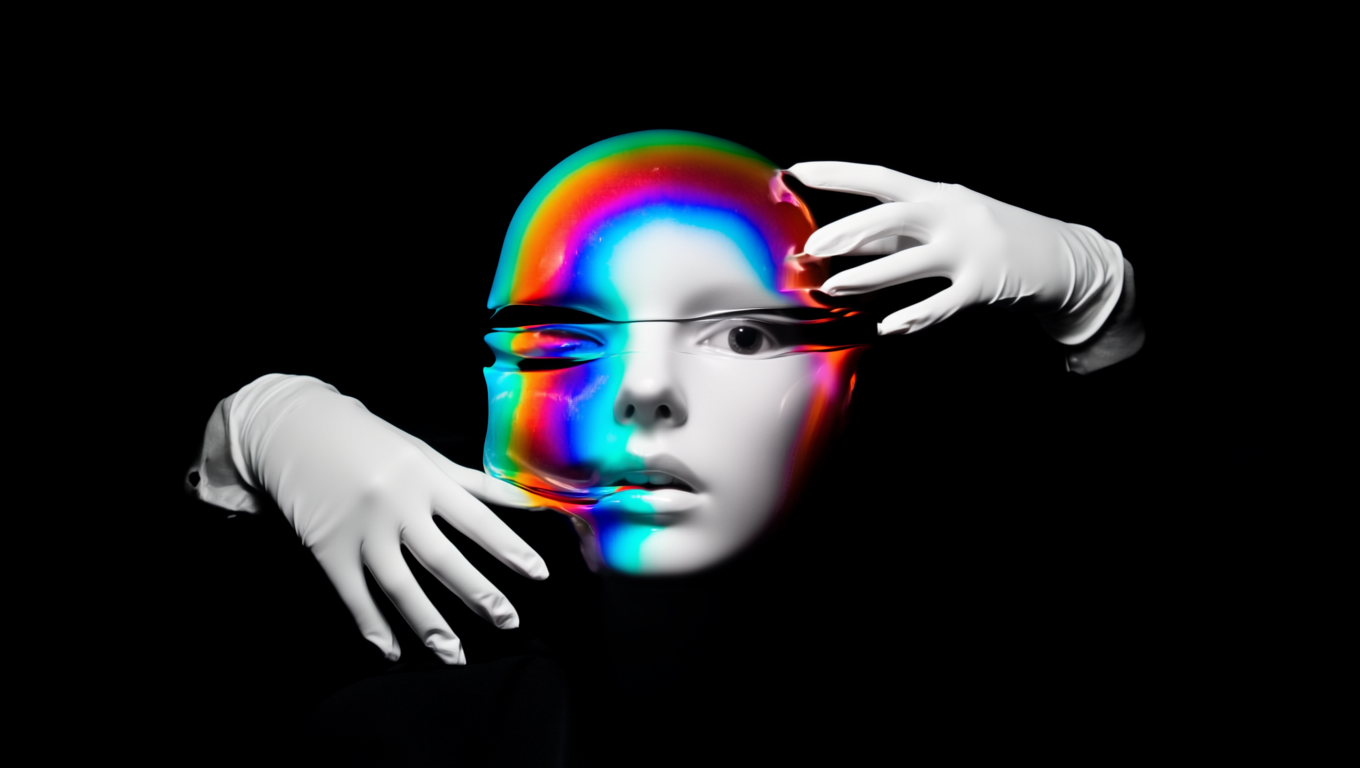
| The gloved hands pull to stretch the face made of a bubblegum material |
 |
 |
| The sea anemones sway and flow naturally in the water. the camera remains still. |
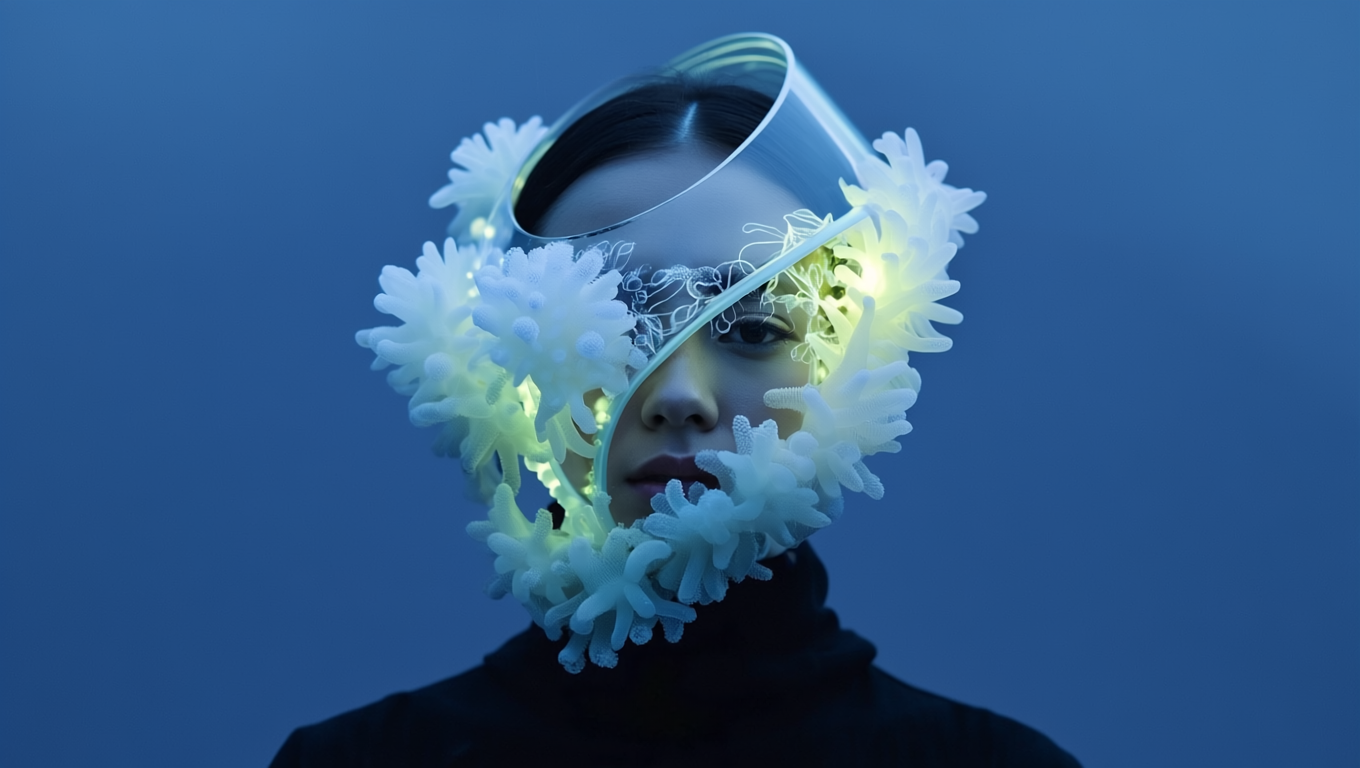 |
 |
This enables you to instantly produce captivating 3D videos, animated videos, cinematic films, and more with exceptional fidelity and motion. Besides that, Runway AI provides access to an extensive range of advanced video editing controls, special effects, and more.
Are There Any Other Alternatives To Runway AI Image to Video?
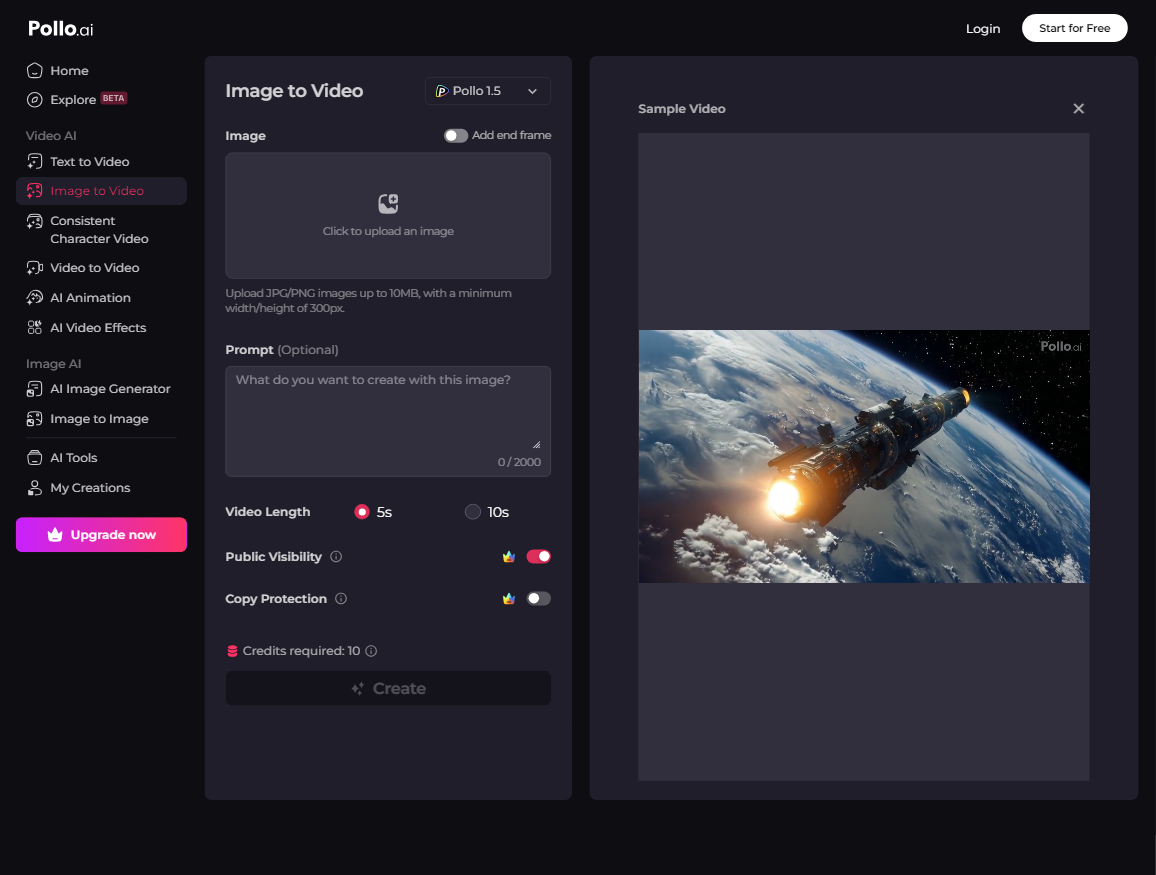
If you would like to use another alternative platform to convert images to videos, then you should consider Pollo AI.
Pollo AI is an advanced AI video generation tool. It has a powerful image to video generator that can produce realistic, high-resolution videos of various styles with images. It also supports text to video AI and video to video AI, and offers an extensive range of video editing features that allow you to dictate aspects like aspect ratio, length, etc.
Need more details? Watch this video from YouTube to learn how to convert text into videos using Pollo AI:
Moreover, as an all-in-one AI video generator, Pollo AI integrates several AI video models like Runway AI, Kling AI, Hailuo AI, Vidu AI, Luma AI, and more. This means you can create videos using different models in one place. In addition, it also supports generating AI avatar videos with a single image.
Conclusion
Generating videos using images has never been easier than with Runway AI. As we've shown, all it takes is following a few steps and you can transform any static image into a lifelike video in a matter of minutes. However, you can always choose to use Pollo AI instead, if you want to access Runway AI and other AI video generation models in one convenient place.