Image-to-Video vs Video-to-Video: Which One Should You Use?
Do you want to explore an entirely new shot or simply protect an existing performance?
At their core, this is what separates image-to-video and video-to-video, but there’s a lot more to it than that. Read on as I compare these two powerful AI video generation workflows using Pollo AI!
TL;DR
Choose image to video if you have a static image like a portrait, product photo, or character art that you want turned into a moving shot. As for video to video, I recommend it if you have existing footage with a movement that needs to be preserved, like a dance clip, and you want to restyle the scene or subject to anime, Pixar, claymation, etc. You can use both on Pollo AI!
Image-to-Video vs Video-to-Video at a Glance
| Dimension | Image-to-Video | Video-to-Video |
|---|---|---|
| Input | Still photo, illustration, or concept frame | Existing video footage |
| Motion source | Generated from the image and your instructions | Based on movement in the source clip |
| Visual change | Extends a still scene into a moving shot | Reinterprets footage in a different visual style |
| Best fit | Product reveals, animated photos, storyboard tests | Restyled performances, social clips, visual experiments |
| Main limitation | Cannot reliably infer an exact performance from a still | May alter details or introduce motion inconsistencies |
Key Differences Between Image-to-Video and Video-to-Video
The input file is only the starting point. The more useful comparison is how each workflow handles motion, appearance, and the details you need to keep recognizable.
- Motion: Image-to-video generates action from a still image and your instructions. Video-to-video uses movement in existing footage as its reference. Choose based on whether the performance needs to be invented or already exists.
- Visual changes: Image-to-video extends a photograph or illustration into a moving scene. Video-to-video reinterprets a recorded scene, such as turning a live-action walk into an anime-inspired clip. Restyling can affect the subject and surroundings.
- Control: Image-to-video lets you describe a new action, but a photo cannot supply exact choreography. Video-to-video provides a motion reference, although gestures, faces, and objects may still change during generation.
Tip
If the timing of a gesture matters more than the starting composition, begin with footage that already contains that gesture.
Check model-specific features separately. Native audio, multiple reference images, and start/end-frame inputs are not available in every image-to-video model. Processing time also varies with the model, clip length, settings, and service demand; neither workflow is automatically faster.
Image-to-Video or Video-to-Video: Which Should You Choose?
Match the workflow to the asset you actually have and the result you need. These three scenarios show where the choice becomes clear—and when a different starting point would save you time.
Choose Image-to-Video for Product Photos
Have a catalog photo but no footage? Start with image-to-video for a short product reveal. Keep the first idea focused: a gentle camera approach or moving light is easier to judge than a complex sequence with hands, props, and several actions.
Prompt to try
A skincare bottle stands on a stone pedestal. The camera slowly pushes closer as soft light moves across the glass. The bottle remains stationary, with its shape and label consistent throughout the shot.
Treat this prompt as a direction, rather than a guarantee of label accuracy. Compare the result with your source photo, especially lettering, cap shape, and proportions. If the source needs a cleaner composition, refine it with the AI photo editor before animating.
Switch to video-to-video if you already have a good product demonstration and want a stylized variation. Use the original when accurate packaging or product operation is more important than the new aesthetic.
Choose Video-to-Video for Dance and Performance Clips
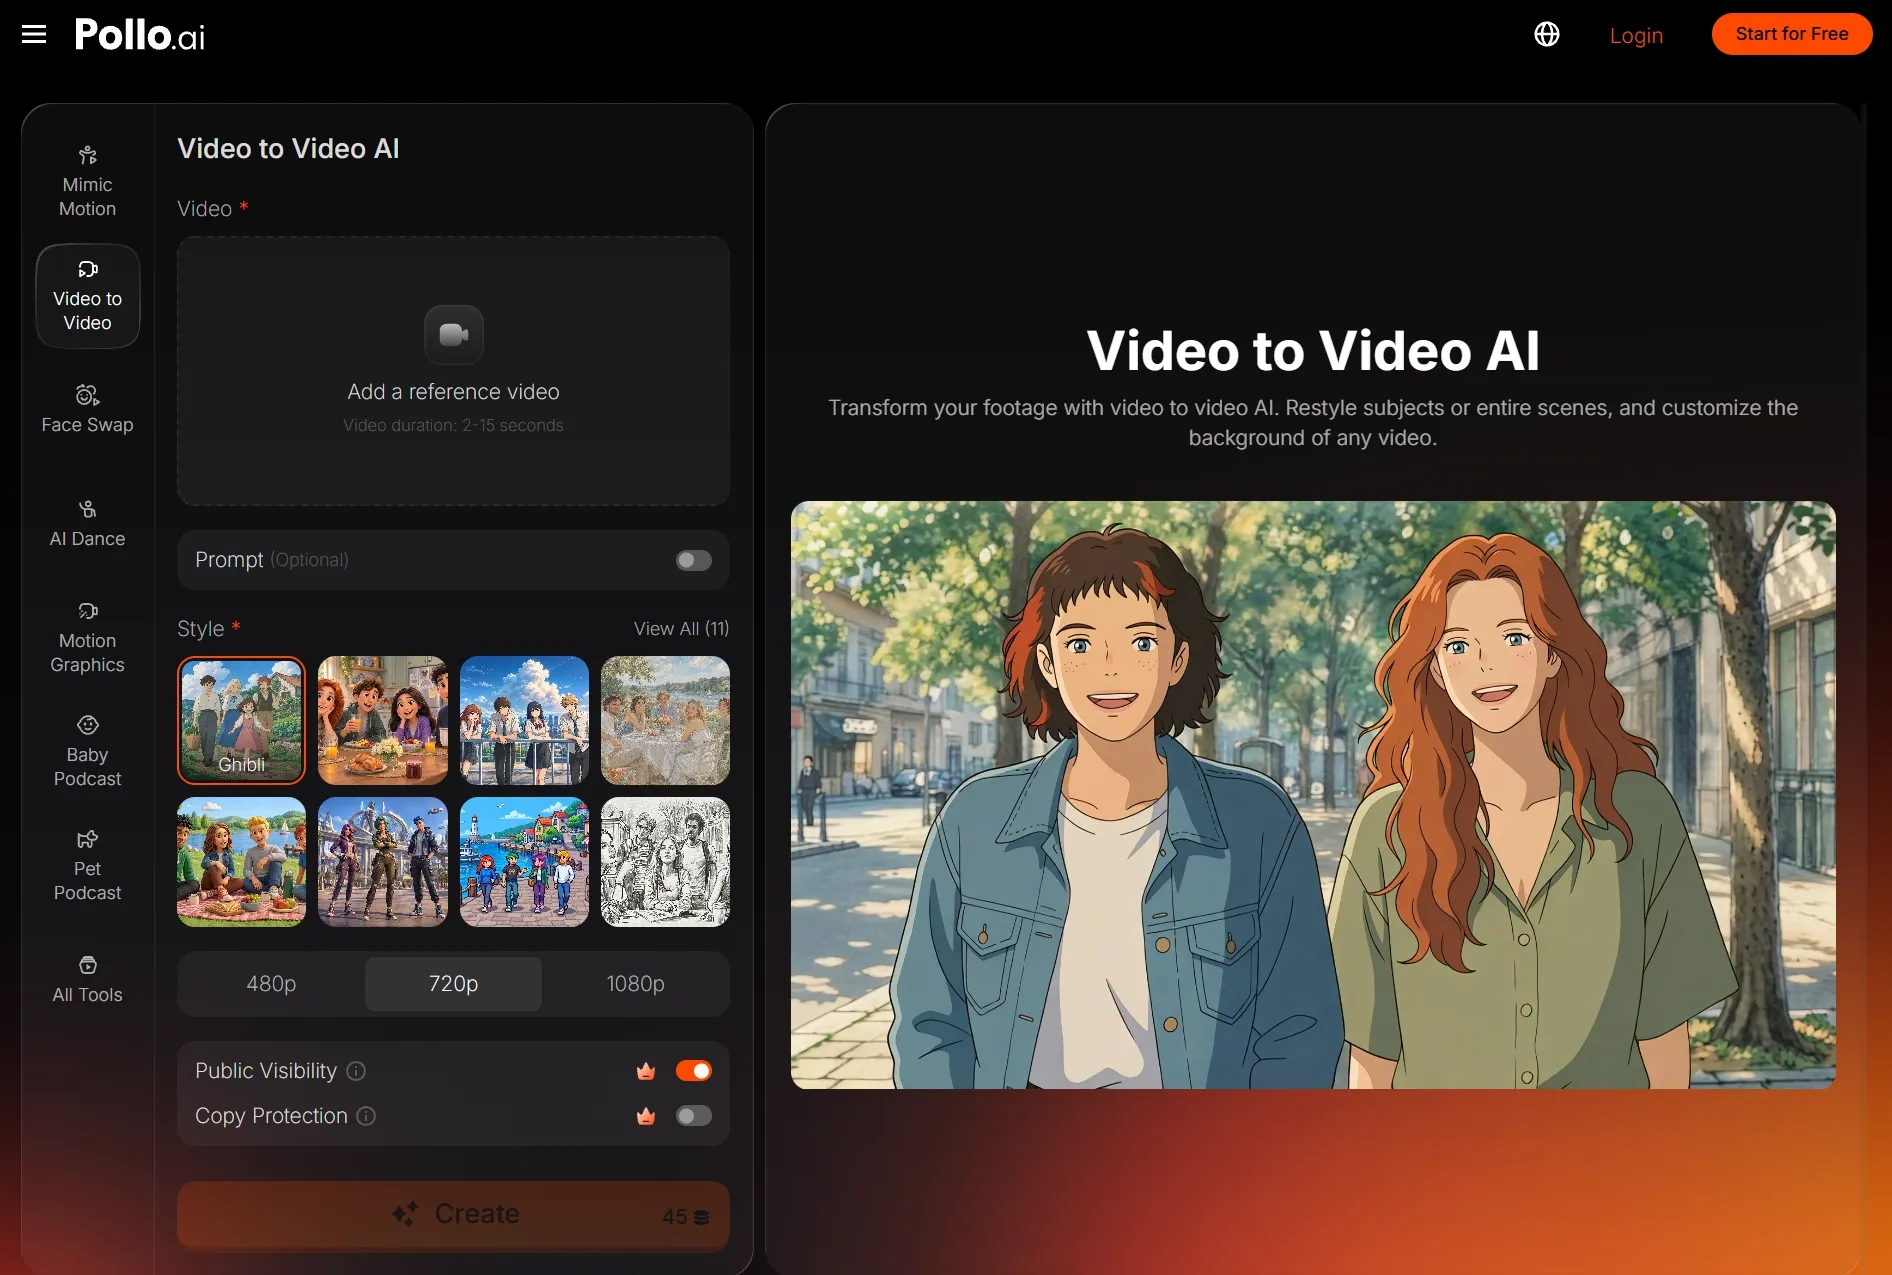
Have a dance, fitness, or acting clip with movement you want to retain? Choose video-to-video. The source gives the restyle an existing performance to work from, making it a more suitable starting point than asking a still portrait to recreate the routine.
Prompt to try
Restyle the clip as hand-drawn anime with clean outlines and soft cel shading. Follow the dancer’s original gestures, pacing, and camera framing. Use consistent character details and a simple background.
Keep the prompt focused on the desired look and the movement you want retained. It cannot lock choreography or guarantee an untouched background. Our video restyling guide covers the practical workflow without turning this comparison into another full tutorial.
Before you use the result, check:
- Do turns, jumps, and hand movements still read clearly?
- Do the face, clothing, and body proportions remain consistent?
- Does the clip retain the rhythm that made the original performance engaging?
For a specific change, such as replacing an object instead of restyling the whole clip, consider the AI video editor. Choose that route when your goal is a targeted edit rather than a new overall aesthetic.
Choose Image-to-Video for Storyboard Concepts
Have an illustration or storyboard panel and need to test how the scene might unfold? Choose image-to-video. Use the frame to establish the composition, then describe one clear action and one camera movement to explore the mood of the shot.
Prompt to try
A character pauses at a dimly lit doorway, then slowly turns toward a sound off-screen. The camera gently pushes closer. Maintain the illustrated style and build a quiet, suspenseful mood.
This works for pitch visuals and early scene exploration. If you have already filmed a rough performance and its body language is the priority, choose video-to-video instead. The filmed reference gives you a clearer basis for testing an illustrated treatment.
No image or footage yet? Start with text to video if your main asset is a written scene idea.
Create or Restyle Videos with Pollo AI
Animate a photo with image-to-video or give existing footage a new look with video-to-video—all on Pollo AI.
Restyle Video With AI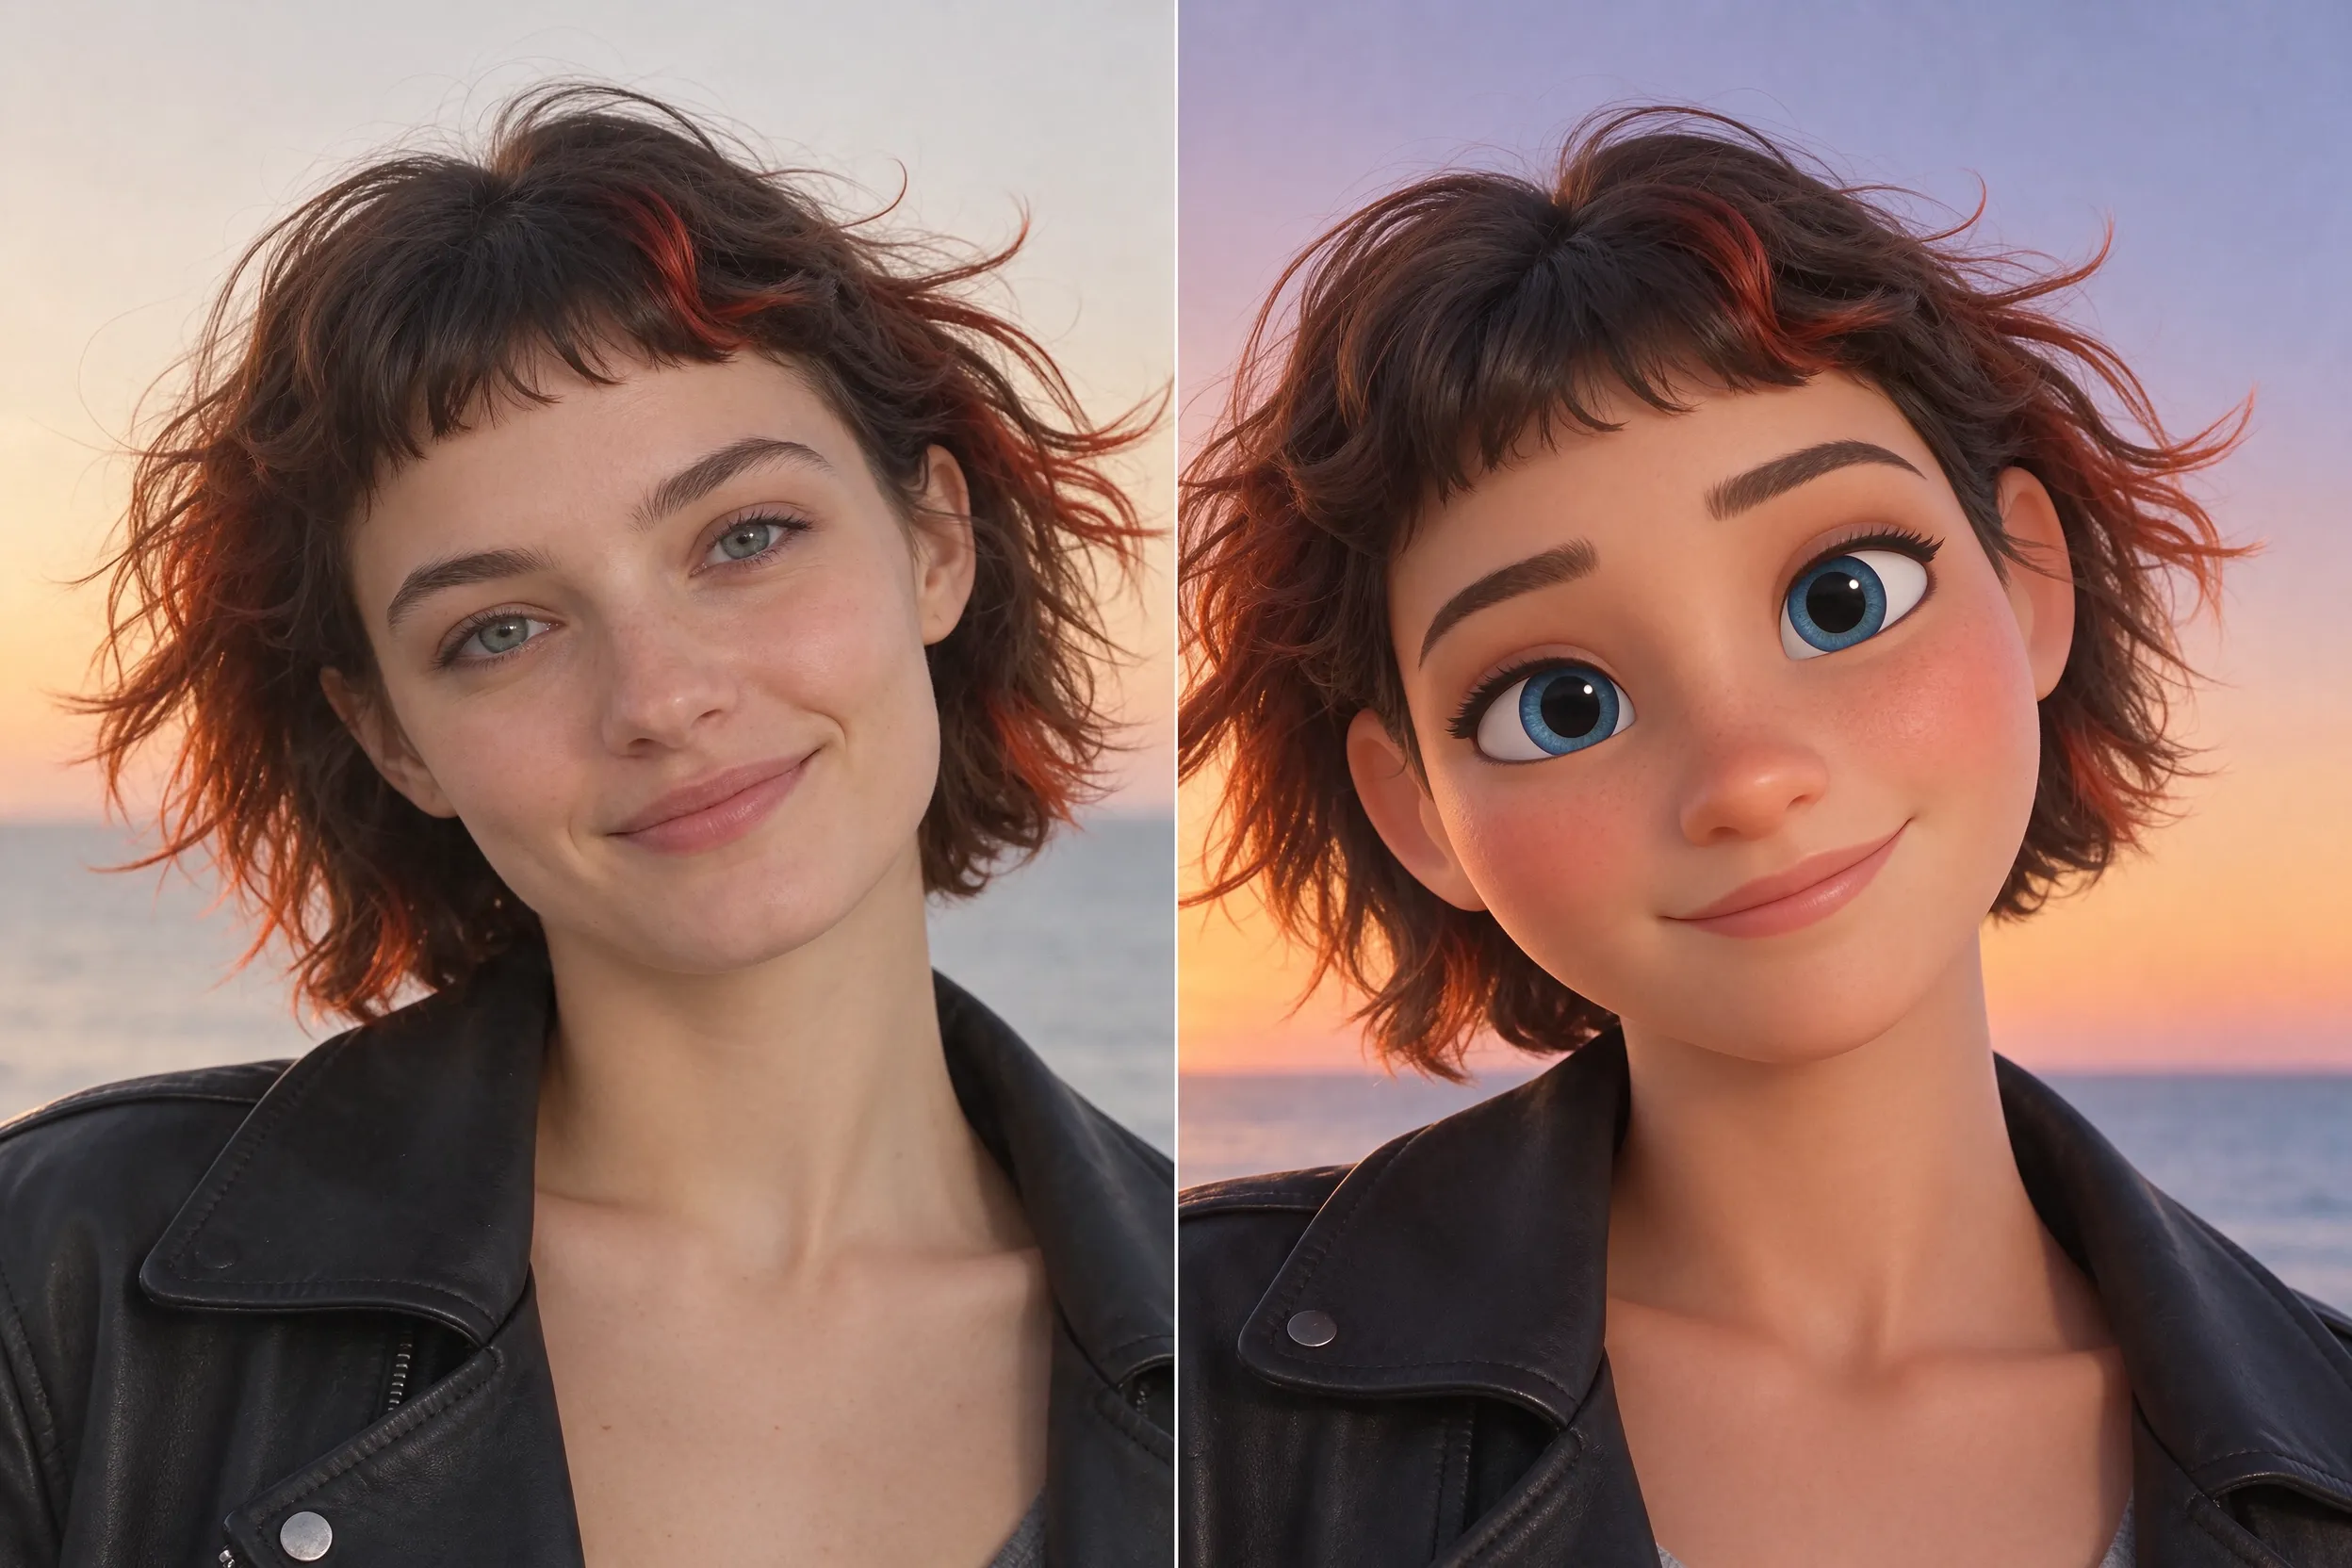
How to Combine Image-to-Video and Video-to-Video in Pollo AI
Use both when a project needs a new moving shot and a separate style variation. For example, animate a product photo into a realistic reveal, then test an illustrated version for a social teaser.
- Create the motion: Generate the shot from your image and select the version with the clearest action.
- Explore the look: Use that clip as the source for video-to-video and try the visual treatment your project needs.
- Compare the versions: Keep the result that communicates the idea best. A second generation is useful only if the style adds something.
Tip
Resolve unwanted movement before restyling. A new aesthetic is not a reliable fix for distorted hands, awkward action, or an incorrect product shape.
Conclusion
Choose image-to-video to create movement from a still image, or video-to-video to restyle footage with an existing performance. Start with the material you have, choose the workflow that serves your goal, and try it on Pollo AI. Combine both when a second visual treatment adds value to your project.