


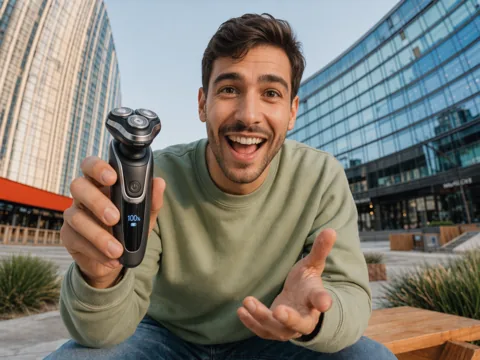
How to Remove a Watermark from a Video with AI
A useful product clip, screen recording, or presentation video can be difficult to reuse when an old logo, date stamp, or text overlay is still visible. Pollo AI removes the marked area without cropping the frame. The key is to check the repair while the scene moves, because a patch that looks fine in one frame can flicker in the next.
What Must Stay Clear in the Watermark-Free Video?
Start with the row that matches your video. It shows which details near the watermark are easiest to damage and therefore need the closest check:
| Where you will use it | Details to protect | Why they matter |
|---|---|---|
| Product page | Product edges, label, color, and surface texture | The product should still look accurate beside new branding or sales copy. |
| Talking-head or social clip | Hair, skin, clothing edges, and facial movement | A blurry patch beside a face is easy to spot during playback. |
| Presentation | The main subject, labels, and small text | The audience needs to follow the demonstration without an old logo competing for attention. |
| Internal demo or screen recording | Interface lines, buttons, text, and cursor movement | Bent lines or blurred labels can make the instructions harder to follow. |
| New social edit | Original framing and clear space around the subject | You need room for your own caption, logo, or layout after cleanup. |
Remove a Watermark from a Video with Pollo AI
Clean up old logos, date stamps, or text overlays in your own footage with Pollo AI, then review the repaired area before downloading.
Remove a Watermark from a Video
How to Remove a Video Watermark with Pollo AI
Open the Pollo AI Video Watermark Remover
Open the Pollo AI video watermark remover. Starting with the dedicated remover keeps the full frame intact, which is useful when the subject sits close to the watermark.
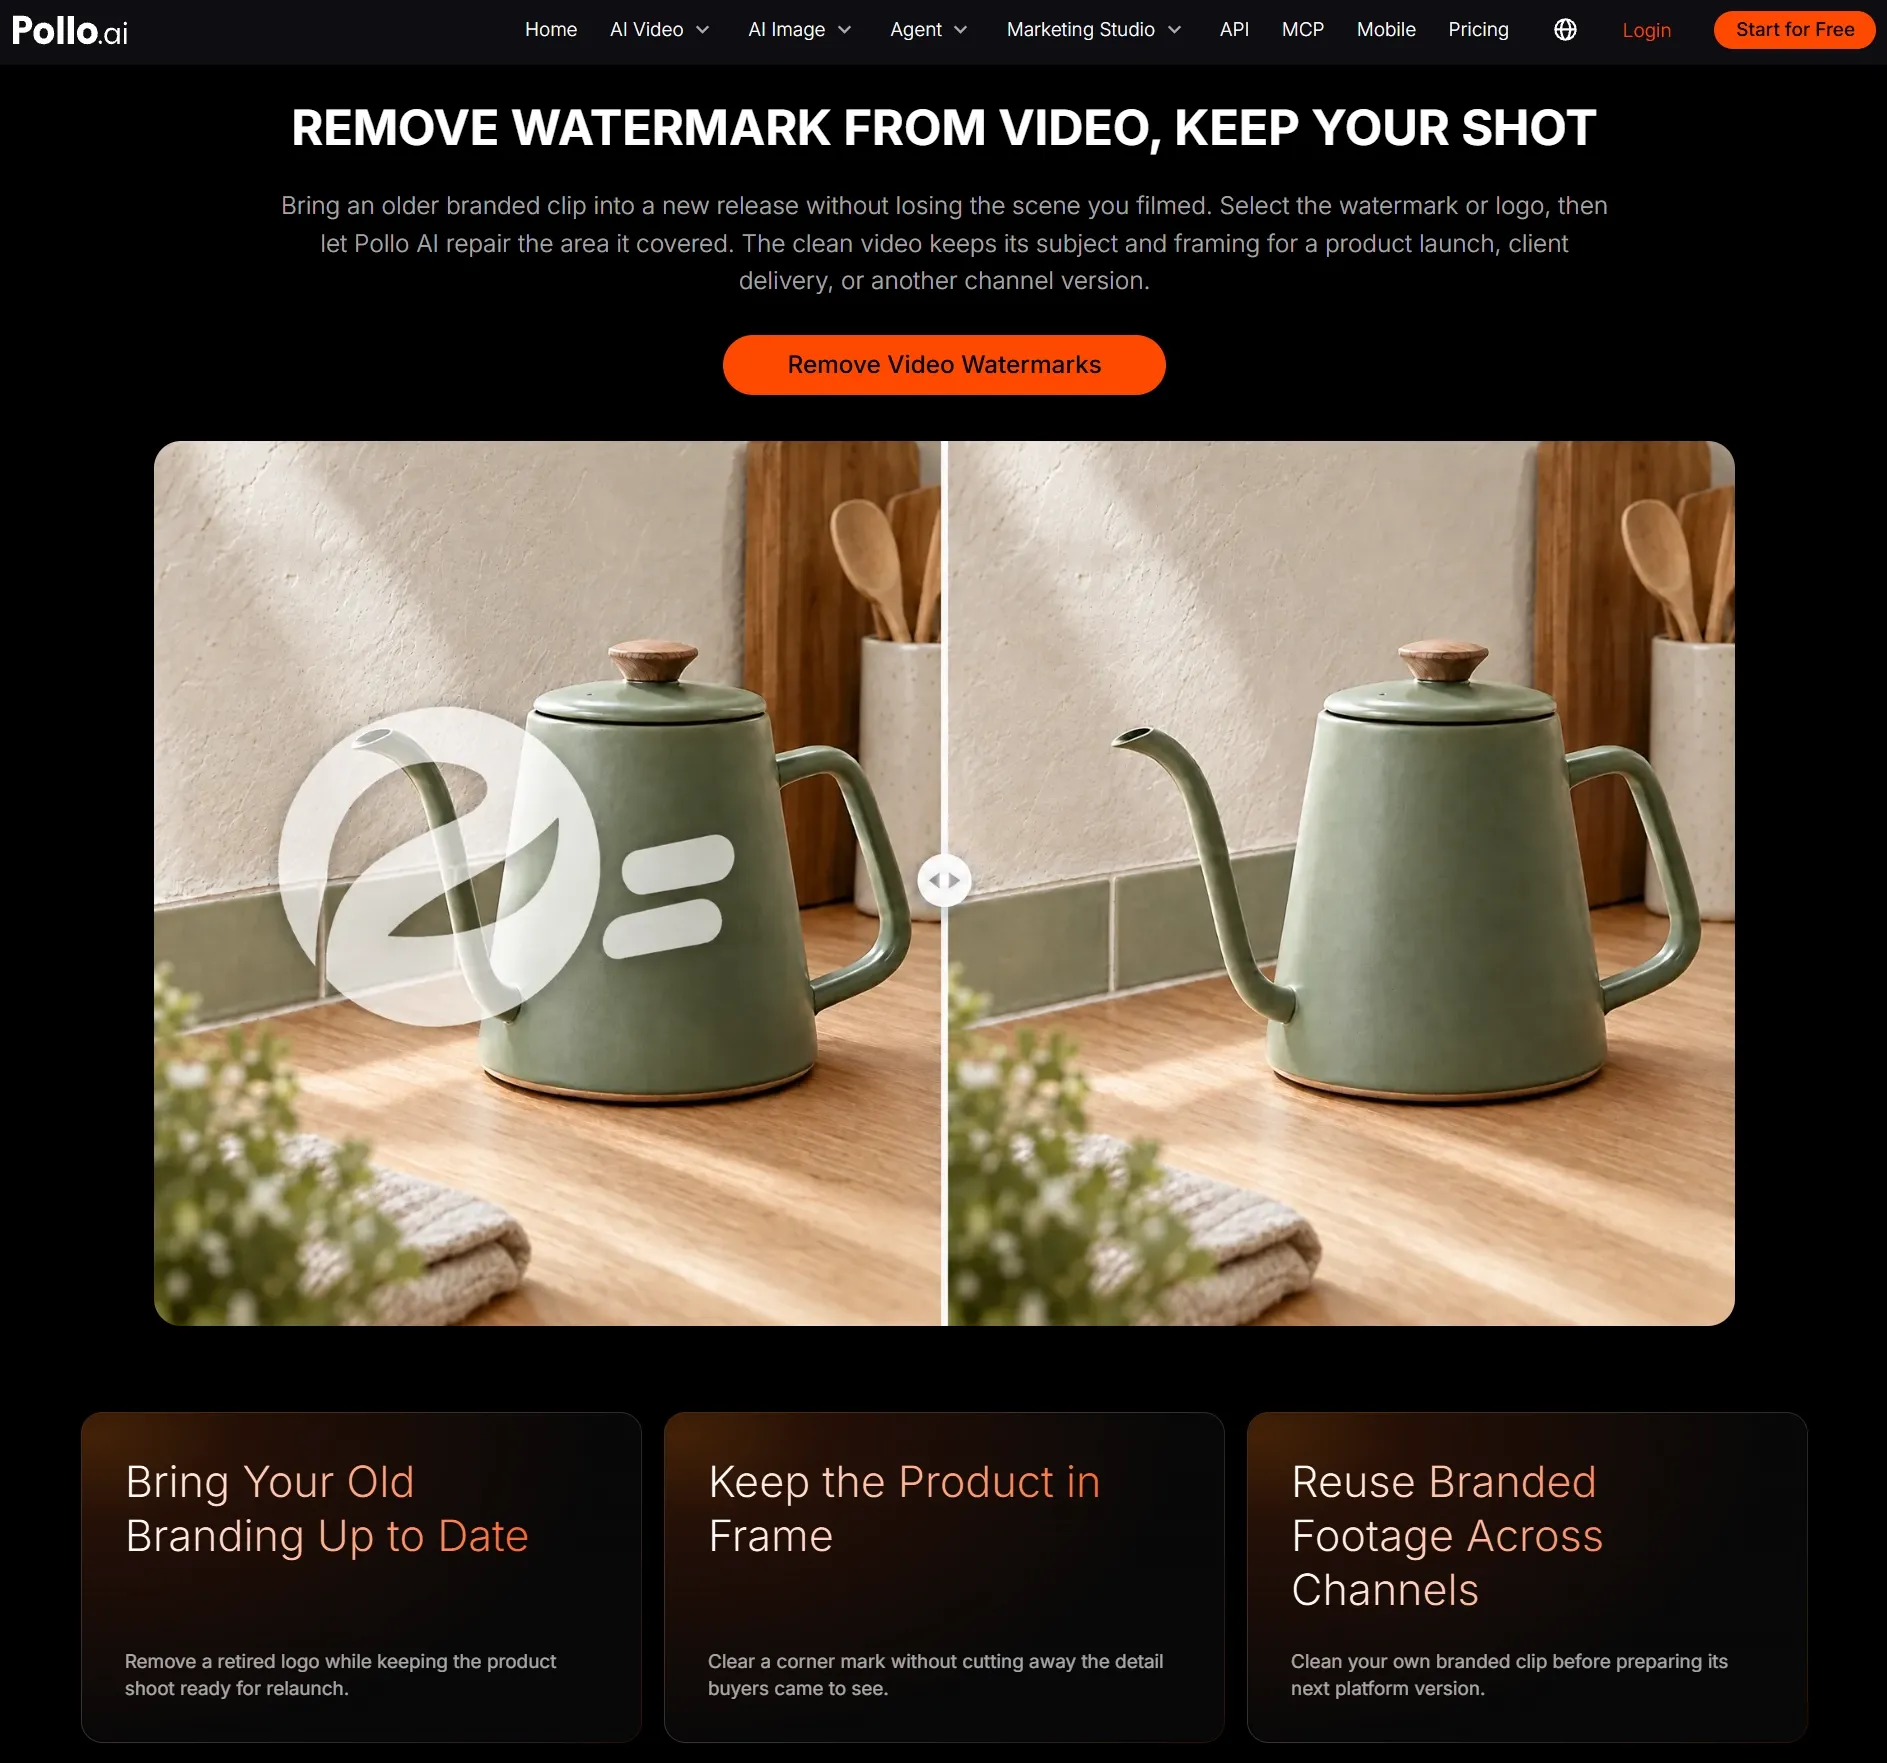
Upload the Video
Upload the clearest copy of the video and start the task.
Generate and Watch the Repaired Area
Download the output.
Play the cleaned clip once at normal size and keep your eyes on the old watermark area. If that patch pulls your attention with flicker, blur, or a bent edge, it needs another pass. Download the video when the repaired area stops calling attention to itself.
What to Do Before and After Removing the Watermark
Clean the original video first, then resize, enhance, or add new text. This order gives you a better source for every later edit:
- Remove the mark before resizing or compressing. The original export usually gives the cleanup process more visual detail to work with.
- Treat different backgrounds separately. If a logo moves across a wall, a face, and a product, process those sections on their own so each background gets the attention it needs.
- Use a subtitle tool for full caption lines. If the unwanted text runs across the bottom of the video, remove it with the video subtitle remover instead of selecting every line as a watermark.
- Enhance after removal. If the cleaned clip looks soft, improve the finished version with the video enhancer instead of sharpening the original first.
How to Fix Common Watermark Cleanup Problems
Do not regenerate with a completely new selection first. Find the visible problem, change one thing, and replay the same moment. The table shows which adjustment to try:
| What you see | Likely cause | What to change |
|---|---|---|
| The repaired area flickers | The background changes quickly or the selection overlaps a moving subject | Use a tighter selection and process the scene as a shorter section. |
| A soft or blurry patch remains | The selected area covers more of the frame than the watermark itself | Reduce the selection to the mark and its visible edge, then regenerate. |
| Straight lines bend | The watermark covers interface lines, shelves, walls, or other strong geometry | Check several moving frames and isolate the section where those lines stay most consistent. |
| Texture appears repeated | The background pattern changes as the camera or subject moves | Split the clip each time the background changes, then clean those sections separately. |
| A shadow or colored edge remains | The selection covers the text or logo but misses its outline, glow, or transparency | Include the complete visible mark while keeping the surrounding area as tight as possible. |
After each change, replay the same section rather than checking only a paused frame. You should be able to tell whether the flicker, blur, or bent line has actually improved.
If you need to erase something larger than a logo or text mark, use object removal for video so you can target the wider area directly.
Video Watermark Remover FAQs
Should I remove a watermark before adding new text or graphics?
Yes. Start with a clean source, then add your new caption, logo, or layout afterward. This keeps the old and new overlays from competing in the same area.
Can I clean a watermark near the edge?
Yes, especially when the mark sits over a plain wall, sky, or other even background. Keep the selection tight; a nearby face, product edge, or moving object needs a closer playback check.
Do I need to install software?
No. The remover runs in your browser, so you can upload, generate, preview, and download without installing desktop software.